If you’re a cat owner, you know how tricky grooming your furry friend can be. A cat grooming bag can make this task easier, safer, and less stressful for both you and your pet.
Imagine having a simple, handy bag that keeps your cat calm and secure while you groom. In this tutorial, you’ll learn step-by-step how to make your own cat grooming bag at home. By the end, you’ll have a practical tool that saves time and helps your cat feel comfortable during grooming sessions.
Ready to make grooming easier? Let’s get started!
Materials Needed
Gathering the right materials is the first step to making a cat grooming bag. Choosing good fabric and tools helps create a strong, useful bag. This section lists all you need to start your project. Keep everything ready for smooth crafting.
Fabric Choices
- Durable cotton or canvas fabric for strength
- Water-resistant nylon for easy cleaning
- Soft lining fabric for your cat’s comfort
- Matching thread for sewing
- Fabric scissors for clean cuts
Essential Tools
- Sewing machine for faster stitching
- Measuring tape to get exact sizes
- Pins or clips to hold fabric in place
- Seam ripper for fixing mistakes
- Iron to press seams flat
- Marker or chalk for fabric marking
Optional Accessories
- Zippers or Velcro for secure closing
- Pockets or compartments for grooming tools
- Adjustable straps for carrying comfort
- Decorative patches or embroidery
- Reinforcement tape for extra durability
Preparing The Fabric
Preparing the fabric is the first important step in making a cat grooming bag. Good preparation helps ensure the bag looks neat and lasts long. The fabric must be measured and cut with care. Marking stitch lines clearly guides the sewing process. These tasks make the sewing easier and more accurate.
Measuring And Cutting
Start by choosing a durable and washable fabric. Use a ruler or measuring tape to get exact dimensions. Measure twice to avoid mistakes. Mark the fabric with chalk or a fabric pen. Cut the pieces carefully along the marked lines using sharp fabric scissors. Keep the edges smooth and even.
Marking Stitch Lines
Use a ruler and fabric marker to draw stitch lines. These lines show where to sew the fabric pieces together. Mark inside the cut edges to keep the seams neat. Double-check the lines for accuracy. Clear stitch lines save time and help create a strong bag.
Sewing The Main Bag
Sewing the main bag is where your cat grooming bag truly starts to take shape. This stage involves putting together all the fabric pieces you’ve cut and preparing the structure that will hold everything securely. Paying attention to details now will make your bag sturdy and functional, ready to carry all your grooming tools without any hassle.
Assembling The Pieces
Begin by lining up the main fabric pieces with the lining fabric, right sides facing each other. Pin them carefully to avoid shifting while sewing. Sewing along the edges with a straight stitch will join these layers into a solid base.
Don’t forget to leave a small gap at the bottom or side for turning the bag inside out later. Reinforce stress points like corners with backstitching to prevent wear and tear. How strong you make these seams will determine how long your bag lasts through daily use.
Creating The Inner Pockets
Inner pockets keep your grooming tools organized and easy to reach. Cut smaller pieces of fabric to size for pockets and hem the top edges to prevent fraying. Sewing these pockets onto the lining before assembling the bag gives you flexibility in placement.
Consider adding different sized pockets for brushes, combs, and nail clippers. You might even want a zippered pocket for small items like treats or receipts. Have you thought about how you use your tools? Customizing the pockets can save you time and frustration when grooming your cat.

Credit: www.amazon.com
Adding Straps And Handles
Adding straps and handles to your cat grooming bag is essential for comfort and ease of use. The right straps make carrying your bag simple, even during longer trips. Handles give you quick grab options, so you’re never fumbling when your cat needs a fast grooming session.
Choosing Strap Material
Think about durability and comfort when selecting strap material. Nylon webbing is strong, easy to clean, and widely available. It also resists stretching, which keeps your bag secure over time.
Leather straps offer a stylish look but can be heavier and require more care. If you want something soft and flexible, cotton webbing might be your best bet. It feels nice on your shoulders but may wear faster with heavy use.
Have you considered adjustable straps? They help you customize the fit, making the bag more comfortable and practical. Adjustable buckles or sliders add convenience and ensure the bag stays close to your body, keeping your hands free.
Attaching Straps Securely
Strong attachment points keep your straps safe and reliable. Sew your straps onto reinforced areas of the bag, like double-stitched seams or fabric patches designed to handle weight.
Using heavy-duty thread and a tight stitch pattern prevents the straps from tearing off. If you have access to a sewing machine, a box stitch or an X-stitch pattern works best for strength.
Don’t forget to test the strap’s hold before using the bag with your cat inside. Give the straps a firm tug to make sure they won’t come loose. Adding rivets or metal rings can also boost durability if you expect to carry heavier items.
Finishing Touches
Secure all seams tightly to ensure durability and prevent loose threads. Attach zippers and pockets neatly for easy access and a polished look. Finish edges smoothly to give your cat grooming bag a clean, professional appearance.
Finishing touches can transform your DIY cat grooming bag from functional to fabulous. These final steps are where your creativity truly shines, allowing you to personalize the bag to suit your style and your cat’s needs. Whether it’s ensuring the bag stays securely closed or adding a bit of flair, these details make all the difference.Adding Closures
Secure closures are crucial for your cat’s safety and comfort. Consider using Velcro strips for easy access and a snug fit. They provide flexibility and prevent any accidental openings during grooming sessions. Alternatively, snap buttons offer a more robust closure, giving your bag a professional finish. Ensure the buttons are evenly spaced and securely attached. You don’t want them coming loose at the wrong moment.Decorative Elements
Decorating your grooming bag adds a personal touch that reflects your personality. Iron-on patches are a simple way to add color and character. Choose designs that resonate with you or even ones that feature your cat’s name. For a more textured look, consider sewing on colorful ribbons or lace trims. This can add a charming and unique twist to an otherwise plain bag. Have you ever thought about using fabric paints? With a few strokes, you can create custom designs that are truly one-of-a-kind. What unique element will you choose to make your bag stand out?
Credit: www.amazon.com
Tips For Using The Grooming Bag
Using a grooming bag effectively can make your cat’s grooming sessions smoother and more enjoyable. It’s not just about having a bag, but how you organize and maintain it that truly makes a difference. Here are some practical tips to help you get the most out of your grooming bag.
Organizing Grooming Tools
Keep your grooming tools easy to find by sorting them into separate compartments or small pouches inside the bag. Group similar items together, such as brushes, nail clippers, and combs, so you won’t waste time digging around during grooming.
Consider using clear plastic sleeves or zippered pockets. This way, you can quickly spot what you need without opening every section. Ask yourself: how much time could you save if everything had its own place?
Don’t forget to include a small towel or wipes in the bag. They come in handy for quick cleanups or calming your cat if fur gets messy during grooming.
Cleaning And Maintenance
Keep your grooming bag clean to avoid unpleasant smells and buildup of fur or dirt. After each grooming session, remove loose hair and wipe down the interior with a damp cloth.
For deeper cleaning, check if your bag is machine washable or wipe it with mild soap and water. Dry it thoroughly before storing to prevent mold or mildew.
Regularly inspect your bag for any wear and tear. Small tears or broken zippers can lead to losing tools or make the bag harder to use. How often do you check your grooming gear’s condition?

Credit: www.walmart.com
Frequently Asked Questions
What Materials Do I Need For A Cat Grooming Bag?
You need durable fabric, a zipper, mesh panels for ventilation, strong thread, and sewing tools. Quality materials ensure durability and comfort for your cat.
How Long Does It Take To Make A Grooming Bag?
It typically takes 2 to 3 hours to sew a cat grooming bag. Time varies depending on your sewing skills and design complexity.
Can I Customize The Grooming Bag Size?
Yes, you can customize the bag size to fit your cat perfectly. Measure your cat before cutting fabric for a comfortable fit.
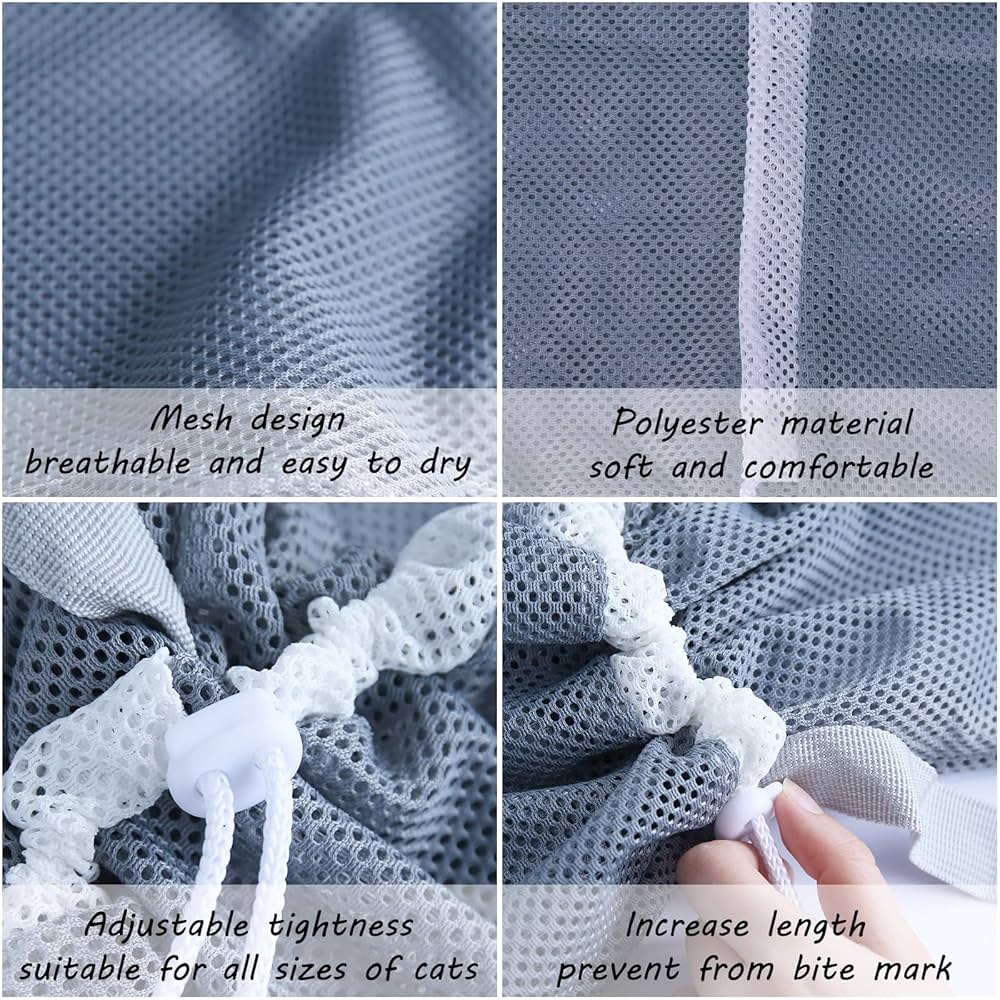
How Do I Ensure Proper Ventilation In The Bag?
Incorporate mesh panels or breathable fabric sections for airflow. Proper ventilation keeps your cat calm and comfortable during grooming.
Conclusion
Making a cat grooming bag is simple and useful. You save money by creating your own. It keeps your cat calm during grooming sessions. Use soft fabric for comfort and strong zippers for safety. Store all grooming tools in one place.
This bag helps you stay organized and ready. Try this easy project to make grooming easier. Your cat will thank you with a happy purr. Give it a try and enjoy grooming time more.


Leave a Reply