Looking for a fun and creative way to keep your cat entertained? You’re in the right place.
Knitting a cat toy mouse is easier than you think, and it’s a great way to give your furry friend something special to play with. Imagine your cat chasing, pouncing, and having hours of fun with a toy you made yourself.
Ready to learn how? Let’s dive into the simple steps that will turn yarn into your cat’s new favorite toy.
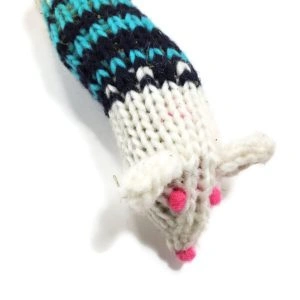
Credit: 1001patterns.com
Materials Needed
Gathering the right materials is the first step to knitting a cat toy mouse that your furry friend will love. Choosing quality supplies not only makes the knitting process smoother but also ensures the toy lasts through many play sessions. Let’s look at what you need to get started.
Choosing Yarn
Select yarn that is sturdy yet soft enough for your cat to bite and carry around. Wool and acrylic blends work well because they hold shape and are easy to clean. Avoid yarns that shed easily; you don’t want loose fibers irritating your pet.
Think about colors too—bright shades can catch your cat’s eye, but natural tones might blend better with your home decor. Have you noticed your cat’s favorite colors or textures? That can guide your yarn choice.
Selecting Needles
The size of your knitting needles affects the tightness of the stitches. For a small toy like a mouse, needles in the range of US size 5 to 7 (3.75mm to 4.5mm) usually work best. This size helps you create a dense fabric that won’t fall apart easily.
If you’re new to knitting, bamboo needles might be easier to handle since they offer a bit more grip than metal ones. What kind of needles do you feel most comfortable using?
Additional Supplies
You’ll need some extra items to complete your toy mouse. Stuffing is essential—opt for hypoallergenic polyester fiberfill to keep your cat safe. Small amounts of felt or embroidery thread can add eyes, nose, and whiskers.
Also, keep a yarn needle handy for sewing pieces together neatly. Scissors and stitch markers can make the process smoother. Do you have these supplies ready, or is this a good chance to stock up your knitting kit?
Basic Knitting Stitches
Knitting a cat toy mouse starts with learning a few basic stitches. These stitches form the foundation of your project. They help shape the toy and make it sturdy for playtime. Understanding these stitches makes knitting easier and more fun.
Knit Stitch
The knit stitch is the most common knitting stitch. It creates a smooth, V-shaped pattern on the fabric’s front side. Hold the needle with stitches in your left hand. Insert the right needle from front to back into the first stitch. Wrap the yarn around the right needle. Pull the loop through and slide the old stitch off the left needle. Repeat this to form rows of knit stitches.
Purl Stitch
The purl stitch is the opposite of the knit stitch. It creates a bumpy texture on the fabric’s front side. Hold the needle with stitches in your left hand. Insert the right needle from back to front into the first stitch. Wrap the yarn around the right needle. Pull the loop through and slide the old stitch off the left needle. Use purl stitches to add texture or create patterns.
Casting On And Binding Off
Casting on is the first step to start knitting. It creates the first row of stitches on your needle. There are many ways to cast on, but the long-tail cast on is a good choice for beginners. Binding off finishes the project by securing the stitches. It stops the fabric from unraveling. To bind off, knit two stitches. Use the left needle to lift the first stitch over the second. Continue until one stitch remains. Cut the yarn and pull it through the last stitch.
Creating The Mouse Body
Creating the mouse body is where your knitted cat toy truly takes shape. This part blends simple knitting techniques with a bit of creativity. The mouse’s body needs to be firm enough to hold its shape yet soft enough for your cat to enjoy.
Starting The Base
Begin by casting on a small number of stitches to form the base of the mouse. A tight, circular shape works best to mimic the mouse’s bottom. Use a smooth yarn—wool or cotton—that feels nice in your hands and will hold up during play.
Try knitting in the round to avoid seams, which can irritate your cat. If you’re new to circular knitting, flat knitting with careful stitching later works fine too. Keep the base small, around 10-12 stitches, depending on your yarn thickness.
Shaping The Body
Once the base is set, increase stitches gradually to widen the body. This creates a natural, rounded shape. Then, slowly decrease stitches as you knit upward to taper the mouse’s back and head.
Pay attention to the tension of your stitches. Too tight, and the body feels stiff; too loose, and stuffing might peek through. Think about the size your cat prefers—larger for bigger cats, smaller for kittens.
Stuffing Techniques
Stuffing is key to making the mouse cuddly and fun. Use soft polyester fiberfill or scraps of yarn for filling. Avoid anything sharp or heavy that could harm your cat.
Stuff firmly but not overly tight. You want the mouse to hold its shape but still feel squishy. Stop and test the firmness with your fingers as you go, adding more stuffing if needed.
Have you noticed how a well-stuffed toy lasts longer and keeps your cat more interested? Your careful stuffing adds durability and comfort, making playtime more enjoyable for your furry friend.
Adding Details
Adding details to your knitted cat toy mouse brings it to life and makes it irresistible to your feline friend. These small touches not only enhance the toy’s appearance but also improve its texture and playability. Let’s look at how you can easily add a tail, ears, and facial features to make your mouse truly special.
Knitting The Tail
The tail is a key feature that makes the mouse look authentic and fun to chase. Use a simple I-cord technique to knit a thin, flexible tail that’s easy for your cat to grab.
Choose a contrasting color to make the tail stand out or match it with the mouse body for a subtle look. Keep the length around 4 to 5 inches—long enough to wiggle but not so long it gets tangled.
Have you noticed how cats love to bat at dangling things? A tail adds that perfect element of movement to your toy.
Making Ears
Ears give your mouse character and shape. Knit small triangles separately and sew them onto the top of the mouse’s head.
Use a double layer of knitting or fold the triangles for sturdiness, so they don’t flop over during play. You can also add a tiny bit of stuffing inside to make them stand up better.
Try different sizes and shapes until you find the perfect look that captures your cat’s attention.
Embroidering Eyes And Nose
Facial features add personality and charm. Use a contrasting yarn color to embroider small eyes and a nose with simple stitches.
- For eyes, French knots or small satin stitches work well.
- A tiny “V” shape or straight stitch makes a cute nose.
Keep the features small and secure to avoid loose threads that might come off during play. How much detail you add can be a fun way to express your style while keeping your cat safe.
Assembling The Toy
Crafting a delightful cat toy mouse involves knitting simple patterns with colorful yarn. Use basic stitches to form the mouse shape. Stuff the toy gently and add details like whiskers and eyes.
Assembling your knitted cat toy mouse can be a delightful process, bringing your creation to life. It’s the moment where the pieces you’ve lovingly crafted come together to form a fun toy for your feline friend. With some simple sewing and a few final touches, you’ll soon have a completed project that’s ready for play.Sewing Parts Together
Begin by laying out all the knitted pieces. Typically, you’ll have the body, ears, and tail. Align them in the order they will be sewn. Use a tapestry needle and yarn to sew the edges of the body together. A simple whip stitch or mattress stitch will work perfectly. Ensure the seams are tight to withstand your cat’s playful pounces. Attach the ears by sewing them to the top of the body. Position them evenly to give your mouse an adorable look. Securely fasten the tail at the rear of the body, ensuring it’s firmly attached.Final Touches
Now it’s time to add personality to your mouse. Consider using embroidery floss to stitch on eyes and a nose. You can also add a bit of catnip inside for an extra enticing toy. Check for any loose threads or gaps in the seams. You want to ensure the toy is safe and durable for your cat to enjoy. Hold your finished mouse in your hand. Can you imagine the joy it’ll bring to your cat? Now, proudly present your handcrafted toy to your furry friend and watch the fun unfold!
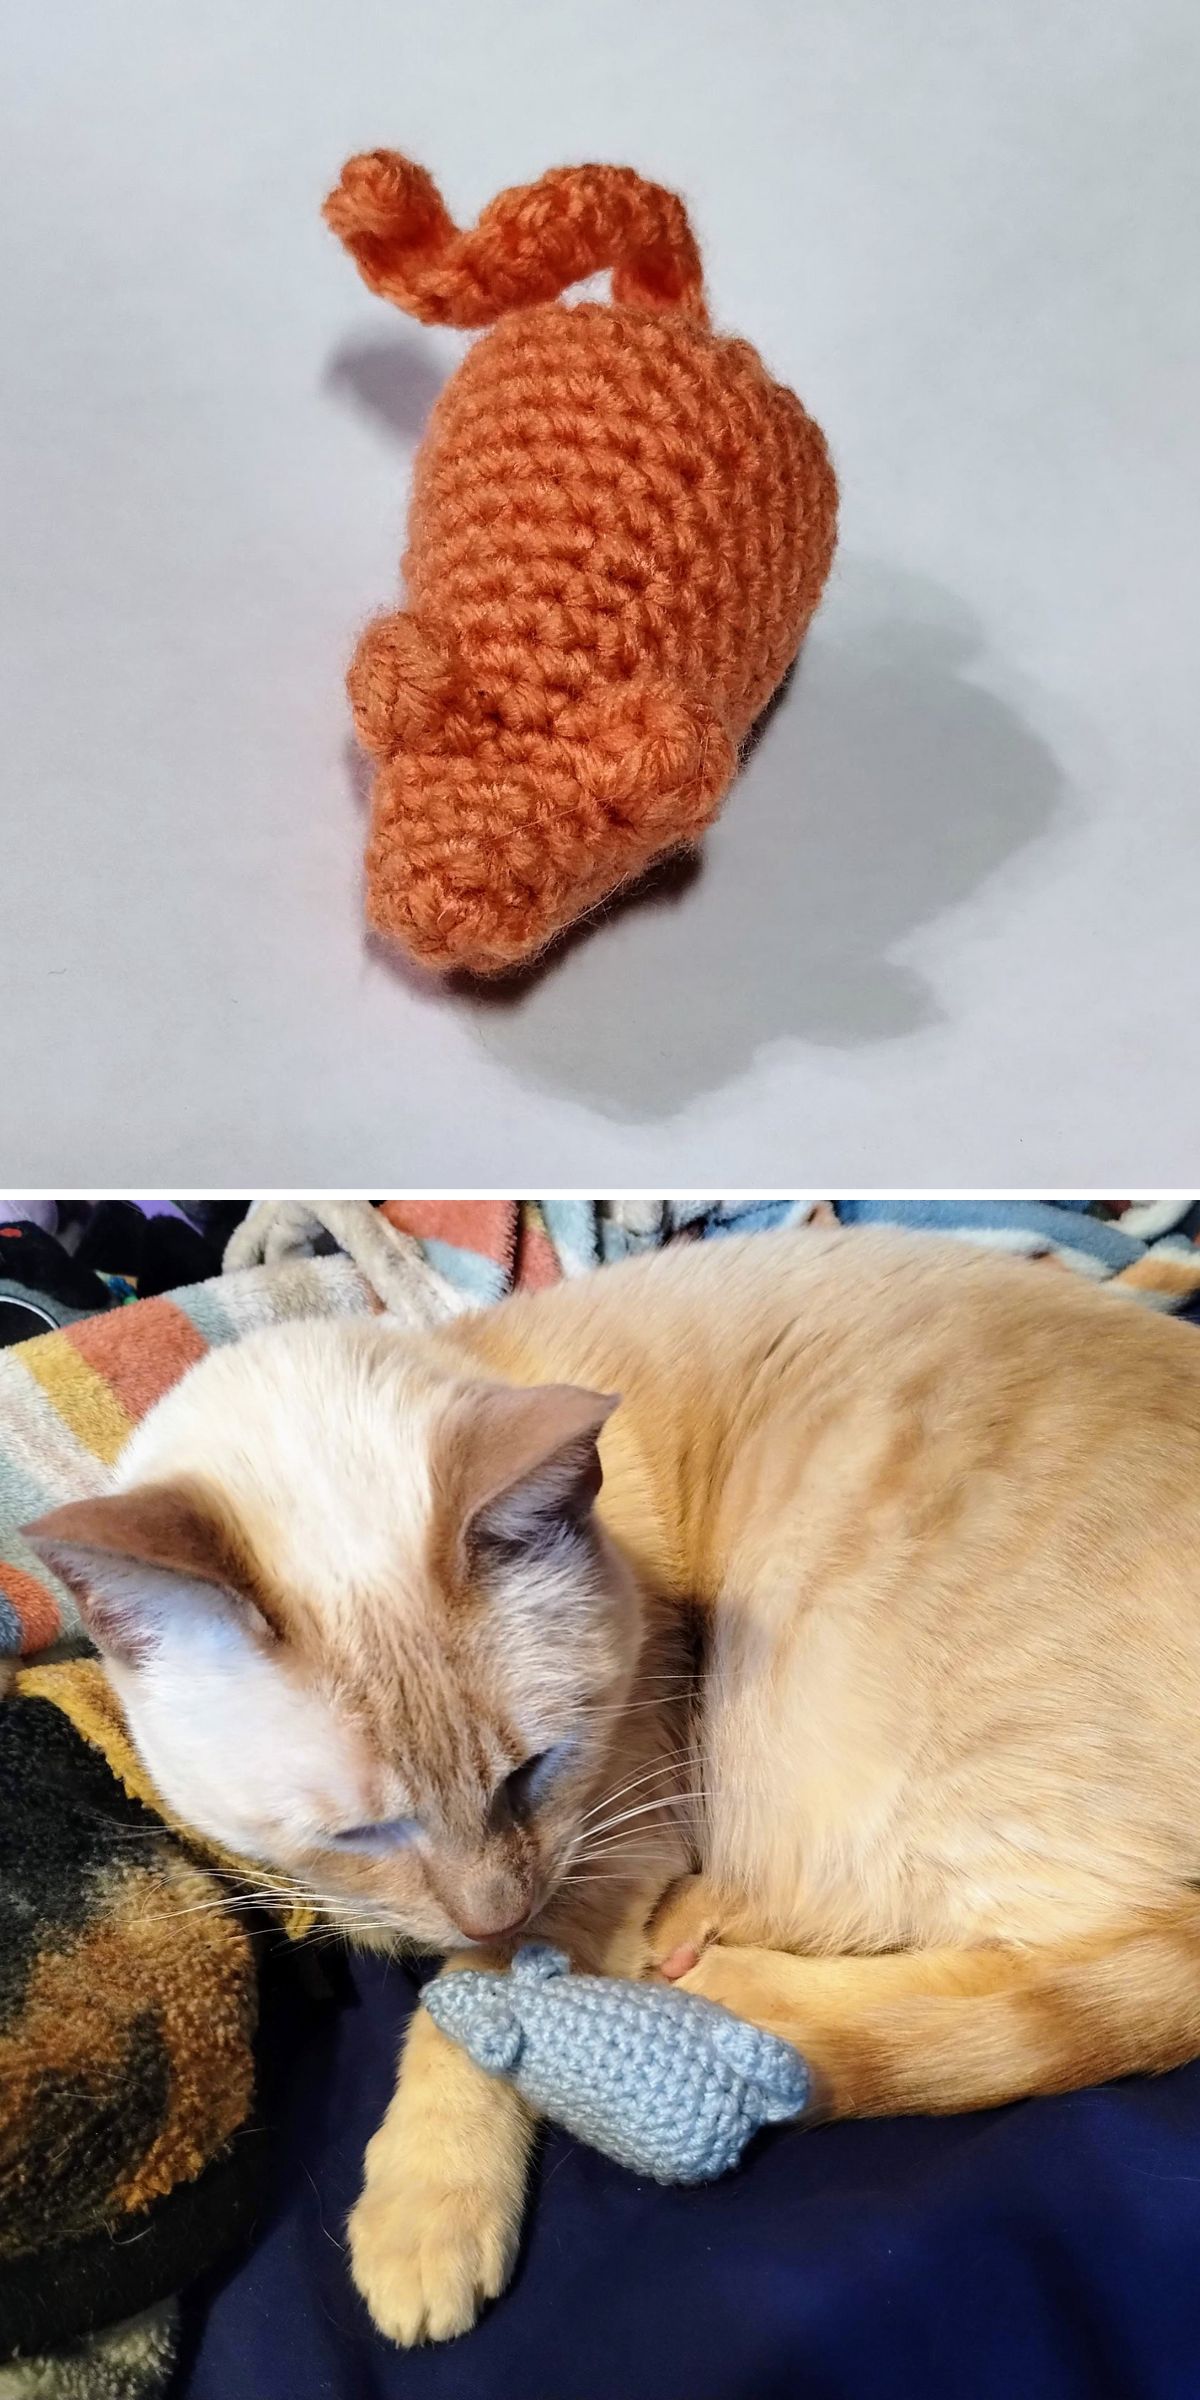
Credit: www.mickeyspetsupplies.com
Safety Tips
Safety is very important when knitting a cat toy mouse. A safe toy keeps your cat happy and healthy. Using the right materials and avoiding small parts can stop accidents. Always think about your cat’s safety before finishing the toy.
Choosing Safe Materials
Pick yarn that is soft and non-toxic. Avoid materials with dyes that might harm your cat. Use natural fibers like cotton or wool. These are gentle and less likely to cause allergies. Check all stuffing to make sure it is safe and clean. Avoid anything that could break apart easily.
Avoiding Small Parts
Small parts can be dangerous if your cat swallows them. Do not use buttons, beads, or tiny decorations. Sew all pieces tightly to prevent loose threads. Use embroidery thread for eyes and nose instead of glued-on items. Check the toy often for wear and tear. Replace or repair the toy if parts start to come off.
Creative Variations
Creative variations make your knitted cat toy mouse unique and exciting. Small changes can catch your cat’s attention and keep playtime fun. Experimenting with colors and scents adds personality to each toy. These simple tweaks make the toy more attractive and enjoyable.
Using Different Colors
Choose yarn in bright, contrasting shades. Cats respond well to bold colors that stand out. Mixing two or three colors in stripes or patches adds visual interest. Use soft pastels for a gentle look or vibrant tones for a lively feel. Color changes are easy and add charm to your toy mouse.
Adding Catnip
Catnip makes toys irresistible to many cats. Sprinkle dried catnip inside the mouse before sewing it closed. Alternatively, sew a small pouch inside to hold catnip securely. Refresh the catnip regularly for long-lasting appeal. This simple addition encourages active play and keeps your cat entertained longer.
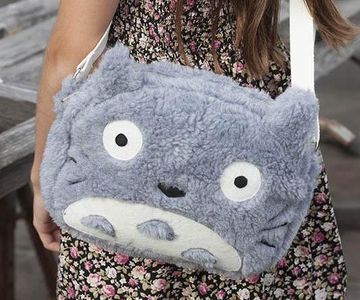
Credit: www.instructables.com
Frequently Asked Questions
What Materials Do I Need To Knit A Cat Toy Mouse?
You need yarn, knitting needles, stuffing, and a small bell or catnip. Choose soft yarn for safety and comfort.
How Long Does It Take To Knit A Cat Toy Mouse?
Knitting a cat toy mouse typically takes 1 to 2 hours. Time varies with your knitting experience and pattern complexity.
Can Beginners Easily Knit A Cat Toy Mouse?
Yes, beginners can knit a cat toy mouse. Use simple patterns and basic stitches to get started confidently.
How Do I Make The Cat Toy Mouse Safe For Cats?
Use non-toxic yarn and secure all parts firmly. Avoid small parts that cats might swallow.
Conclusion
Knitting a cat toy mouse is simple and fun. You only need basic supplies and a little patience. This project brings joy to you and your cat. Handmade toys can last longer and feel special. Try different colors and sizes to keep your cat interested.
Enjoy the process and watch your pet play happily. Knitting can also relax your mind and improve your skills. Start today and create a cozy toy your cat will love.


Leave a Reply