Do you want to make your cat happy with a fun, safe toy that you created yourself? Sewing an adorable cat toy is easier than you think—and it’s a great way to show your furry friend some extra love.
Imagine watching your cat pounce, bat, and cuddle with a toy made just for them. In this guide, you’ll find simple steps and helpful tips to create a charming toy that your cat will adore. Ready to get started and bring a smile to your pet’s face?
Keep reading!
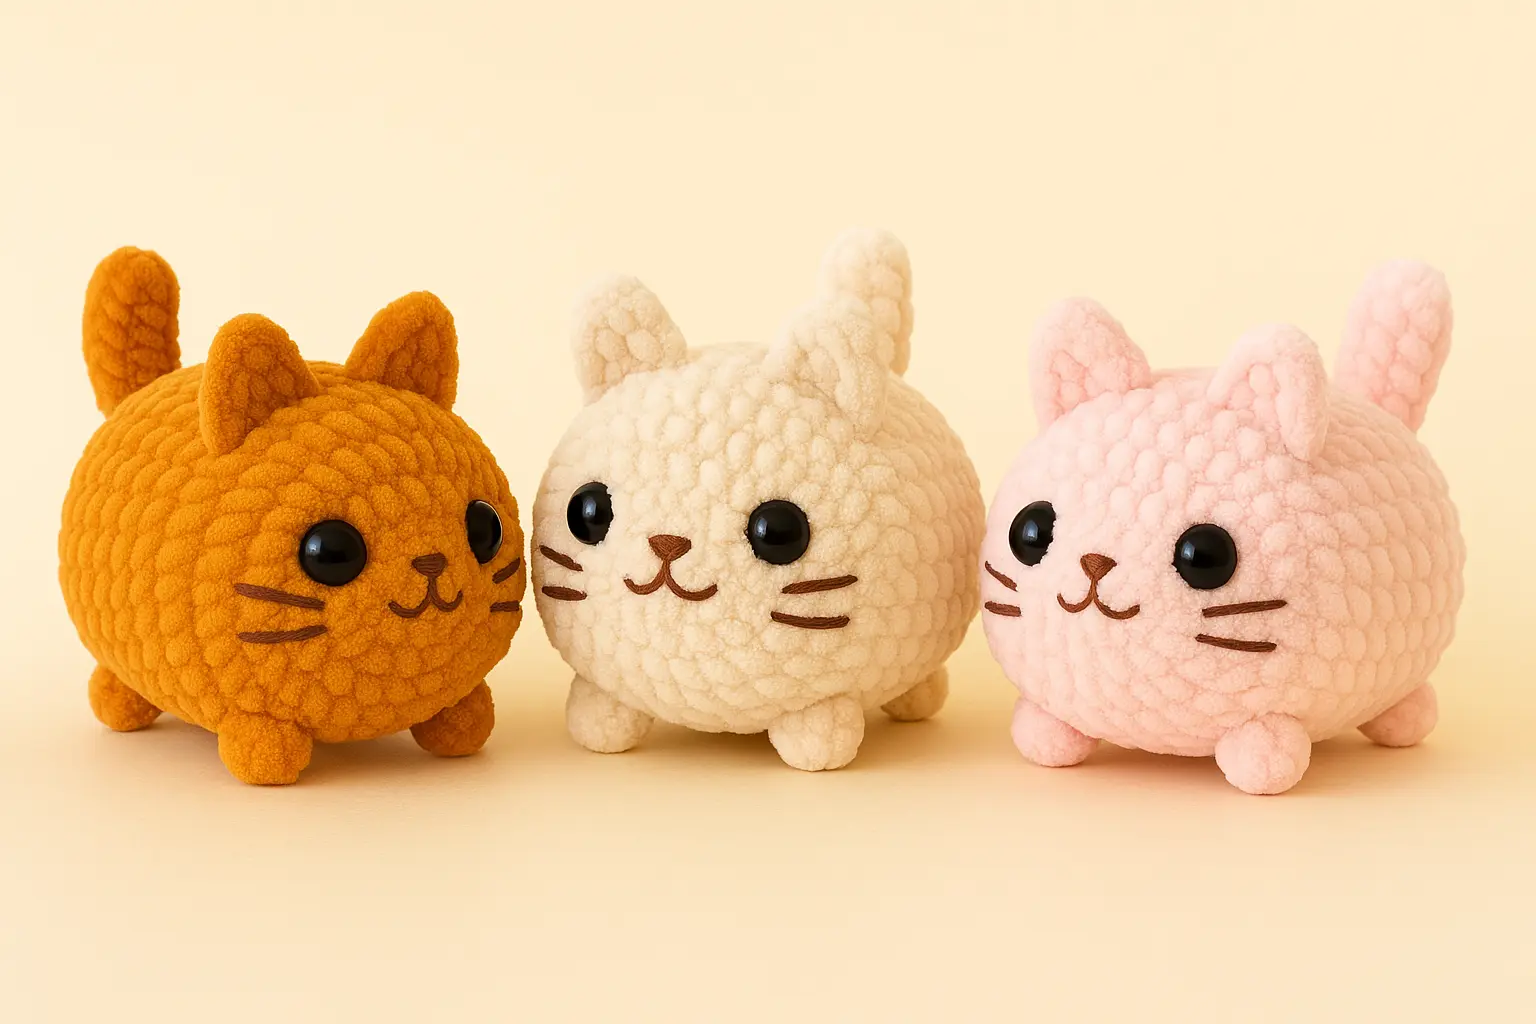
Credit: topamigurumi.com
Materials Needed
Gathering the right materials sets the foundation for creating a cat toy that your furry friend will love. Choosing the best fabrics, stuffing, and additional supplies not only affects the toy’s durability but also its safety and appeal. Let’s break down what you’ll need to get started on a project that’s both fun and rewarding.
Fabric Choices
Pick fabrics that are soft yet tough enough to handle cat claws and bites. Cotton and felt are popular because they are gentle on paws and easy to sew. Avoid materials with loose threads or those that shed easily, as these can be harmful if ingested.
Think about the texture your cat prefers. Some cats love crinkly fabrics, while others are attracted to smooth ones. Adding different textures can make the toy more interesting and engaging for your cat.
Stuffing Options
Stuffing gives the toy shape and a satisfying feel. Polyester fiberfill is a common choice because it’s lightweight and holds up well after many play sessions. If you prefer an eco-friendly option, consider using cotton stuffing or repurposed fabric scraps.
Do you want to add a little extra fun? A sprinkle of catnip mixed into the stuffing can make the toy irresistible. Just be sure to sew the toy tightly to keep the catnip secure inside.
Additional Supplies
- Needle and thread:Use strong, durable thread to keep the toy intact through rough play.
- Scissors:Sharp fabric scissors make cutting easier and more precise.
- Catnip (optional):Adds excitement and encourages play.
- Ribbon or yarn:Great for adding tails or whiskers, but ensure they’re securely attached.
- Fabric marker or chalk:Helps mark your sewing pattern clearly.
Have you ever noticed how a simple change in fabric or stuffing makes a huge difference in your cat’s interest? Choosing materials carefully can turn your homemade toy into your cat’s new favorite plaything.
Preparing Your Fabric
Preparing your fabric is the first important step to sew a cute cat toy. Good preparation helps your sewing go smoothly. Choose soft, durable fabric that cats will enjoy. Wash and iron the fabric before cutting. This makes it easier to handle and keeps the toy neat.
Cutting The Pieces
Cut your fabric carefully using sharp scissors. Follow the pattern or shape you want for the toy. Use pins to hold the fabric layers together. Cut slowly to keep the edges clean. Make sure to cut all pieces you need before starting to sew.
Marking Stitch Lines
Mark stitch lines on the fabric with a fabric pen or chalk. These lines guide your sewing and keep it straight. Draw clear, light lines that you can remove later. Mark seam allowances to know where to sew and where to leave space.
Sewing The Toy
Creating a cat toy can be a delightful project. It requires basic sewing skills and some creativity. Start by preparing your materials and tools. A needle, thread, fabric, and stuffing are essential. Let’s dive into the sewing process!
Basic Stitch Techniques
First, learn the basic stitches. The running stitch is simple and effective. Use it for seams and edges. Thread your needle and knot the end. Push the needle through the fabric and create small, even stitches. Try to keep them close together.
The backstitch is another option. It’s stronger and more durable. Sew backward to reinforce the seam. This technique is great for active play toys. Practice both stitches on scrap fabric. This ensures confidence and skill.
Assembling The Parts
Now, it’s time to assemble your toy. Cut out the fabric pieces for the body and ears. Use a template for accuracy. Place the fabric pieces together, right sides facing each other. Pin the edges to hold them in place.
Sew around the edges, leaving a small opening. This opening allows for turning and stuffing. Once sewn, turn the fabric right side out. Stuff the toy with soft filling. Make it firm but not too tight.
Finally, close the opening with small stitches. Ensure they are neat and secure. Add details like eyes or a tail using embroidery or small fabric pieces. Your adorable cat toy is now complete!
Adding Fun Details
Adding fun details to your cat toy makes it more exciting and unique. These little touches catch your cat’s eye and keep them engaged. Simple decorations and special inserts bring the toy to life. Let’s explore some easy ways to add charm and appeal to your handmade cat toy.
Decorative Features
Bright colors attract cats and make the toy stand out. Use different fabric patterns like stripes or polka dots. Sew on small shapes such as stars or hearts using felt or embroidery thread. You can also add tiny bells or ribbons to give the toy sound and movement.
- Use contrasting thread for a visible stitch design
- Sew on buttons or beads safely, out of reach
- Create small fabric tails or ears for a playful look
- Choose soft materials that are safe for cats
Incorporating Catnip
Catnip is a favorite scent that excites most cats. Add dried catnip inside a small pouch sewn into the toy. This keeps the catnip secure and prevents spills. You can also mix catnip with stuffing for a gentle scent release.
- Use organic, high-quality catnip for the best effect
- Place catnip in a breathable fabric pouch or sachet
- Seal the pouch tightly with strong stitches
- Refresh the catnip regularly to keep the scent strong
Finishing Touches
Finishing touches make your cat toy both charming and durable. These final steps ensure the toy feels just right for your furry friend to enjoy. Let’s dive into how to stuff your creation perfectly and seal it securely for hours of playful fun.
Stuffing The Toy
Choose stuffing that’s soft yet firm enough to hold shape, like polyester fiberfill or cotton. Avoid materials that can clump or irritate your cat’s skin. Add small amounts at a time, pressing gently to spread the filling evenly.
Think about your cat’s preferences—does your cat like squishy toys or firmer ones? Adjust the stuffing accordingly. A well-stuffed toy will bounce back when squeezed, inviting your cat to pounce and bat it around.
Remember to leave a little space near the seams to prevent overstuffing, which can strain the fabric. If your cat loves toys with a bit of noise, consider adding a small bell or crinkly paper inside before stuffing.
Closing The Seams Securely
Use a strong, tight stitch to close the toy, preventing stuffing from escaping during play. The ladder stitch or invisible stitch works well for a neat finish and durability. Take your time to sew slowly, checking for gaps.
Double stitch the seam if your cat tends to be rough with toys. This extra reinforcement can save you from frequent repairs. Make sure to knot the thread securely at the end to keep the seam intact.
Ask yourself: Is the seam smooth enough to avoid scratching your cat? If not, trim any loose threads and make the stitches tighter. Your cat will appreciate a well-made toy that’s safe to chew and cuddle.
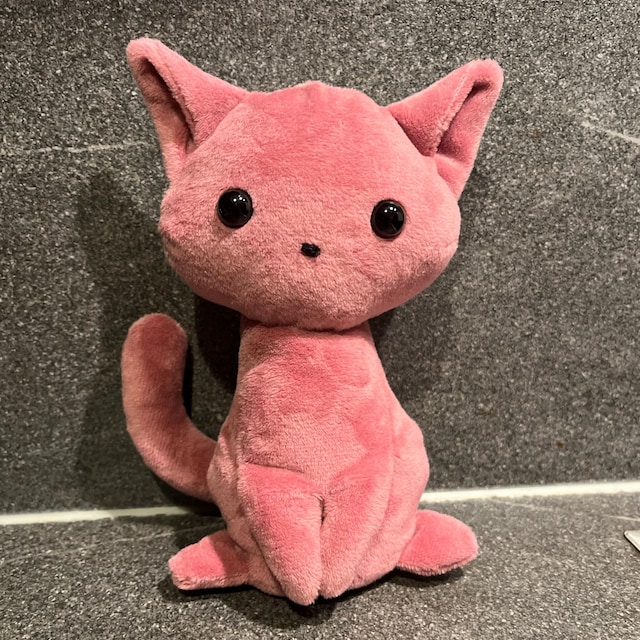
Credit: www.etsy.com
Safety Tips
Safety should be your top priority when sewing a cat toy. A fun toy can quickly become a hazard if you overlook small but important details. Paying attention to the materials you choose and how often you check the toy can keep your furry friend safe and happy.
Choosing Safe Materials
Pick fabrics that are sturdy but soft enough for your cat to enjoy. Avoid materials that shed fibers easily or contain harmful chemicals. For stuffing, use hypoallergenic cotton or felt rather than loose filling that your cat could swallow.
Think about the small parts, too. Buttons or beads might look cute, but they pose choking risks if they come loose. Instead, use embroidery or securely sewn-on details to add character without danger.
Inspecting The Toy Regularly
Check the toy often for tears, loose threads, or missing parts. Cats love to bite and claw, which wears down toys faster than you might expect. Catching damage early prevents your cat from swallowing small pieces or getting hurt.
Set a reminder to examine the toy every week. If you see any damage, repair or replace it immediately. Would you want your pet playing with something that could break apart in seconds? Regular inspection is an easy way to avoid accidents.
Ideas For Toy Variations
Creating cat toys offers many chances to be creative. Simple changes can make each toy unique and fun for your cat. Different shapes and interactive parts keep your cat interested and active. Experimenting with these ideas helps you find the best toys for your pet’s play style.
Different Shapes
Shapes affect how your cat plays. Small balls are easy to bat around. Soft pillows invite gentle pawing. Long tubes encourage chasing and pouncing. You can try:
- Fish shapes for a fun, swim-like feel
- Mouse shapes to mimic prey
- Stars or hearts for a cute look
- Squares or rectangles for batting and carrying
Mixing shapes keeps playtime fresh and exciting.
Adding Interactive Elements
Interactive features make toys more engaging. Cats love surprises. Adding these elements can spark curiosity:
- Squeakers inside for sound
- Crinkly material for noise when touched
- Loose strings or feathers for chasing
- Small bells for jingling sounds
- Hidden pockets to hide treats
These details invite your cat to explore and play longer.

Credit: www.etsy.com
Frequently Asked Questions
What Materials Are Needed To Sew A Cat Toy?
You need fabric, stuffing, needle, thread, scissors, and optional catnip. Use soft, durable fabrics like felt or cotton. Catnip adds extra fun for your cat.
How Long Does It Take To Sew A Cat Toy?
Sewing a basic cat toy usually takes 20 to 30 minutes. Time varies by complexity and sewing skill. Beginners may need a bit more time.
Can I Use Recycled Fabric For Cat Toys?
Yes, recycled fabric works great and reduces waste. Ensure fabric is clean, safe, and free from harmful chemicals. Avoid materials with loose threads or sharp edges.
How Do I Make A Cat Toy Safe For Cats?
Use non-toxic materials and secure all parts tightly. Avoid small pieces that can be swallowed. Regularly inspect toys for wear and replace when needed.
Conclusion
Sewing a cat toy can be simple and fun. You only need a few materials to start. Handmade toys keep your cat happy and active. Each toy shows your care and creativity. Try different shapes and fabrics to find favorites.
Enjoy watching your cat play with your creation. Small efforts make big smiles for your pet. Keep sewing and sharing joy with your furry friend.

Leave a Reply