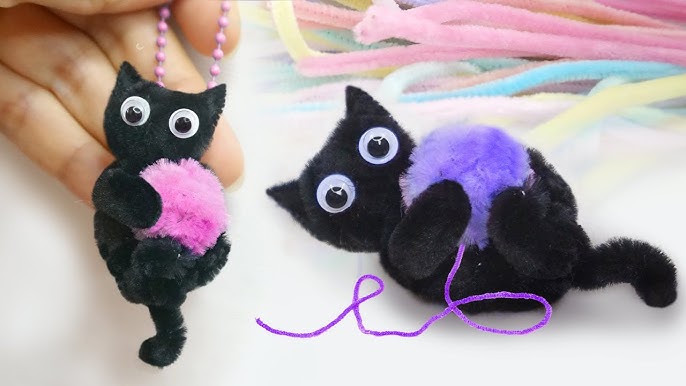
Are you looking for a fun and easy way to keep your cat entertained? Making twist chenille cat toys is a simple craft that you can do at home with just a few materials.
These soft, colorful toys are perfect for your furry friend to chase, bat, and cuddle. Plus, creating them yourself means you can customize the size and colors to match your cat’s personality. Keep reading, and you’ll discover step-by-step instructions that will have you crafting irresistible toys your cat will love in no time.

Credit: www.youtube.com
Materials Needed
Gathering the right materials is the first step to making twist chenille cat toys. Using quality supplies ensures the toy is safe and fun for your cat. Focus on the yarn type and extra tools needed for crafting. Keep everything ready before starting to avoid interruptions.
Choosing The Right Chenille Yarn
Pick chenille yarn that feels soft and plush. Cats love toys with a gentle texture. Choose yarn made from polyester or acrylic for durability. Avoid yarn with loose fibers that can come off easily. Select bright colors to attract your cat’s attention. Thicker yarn works better for twist toys, giving a full shape. Check that the yarn is non-toxic and safe for pets.
Additional Supplies
- Sharp scissors for clean cuts
- Strong thread or thin string to secure twists
- Needle for threading and tying knots
- Measuring tape or ruler to cut yarn evenly
- Optional: small bells or feathers to add fun features
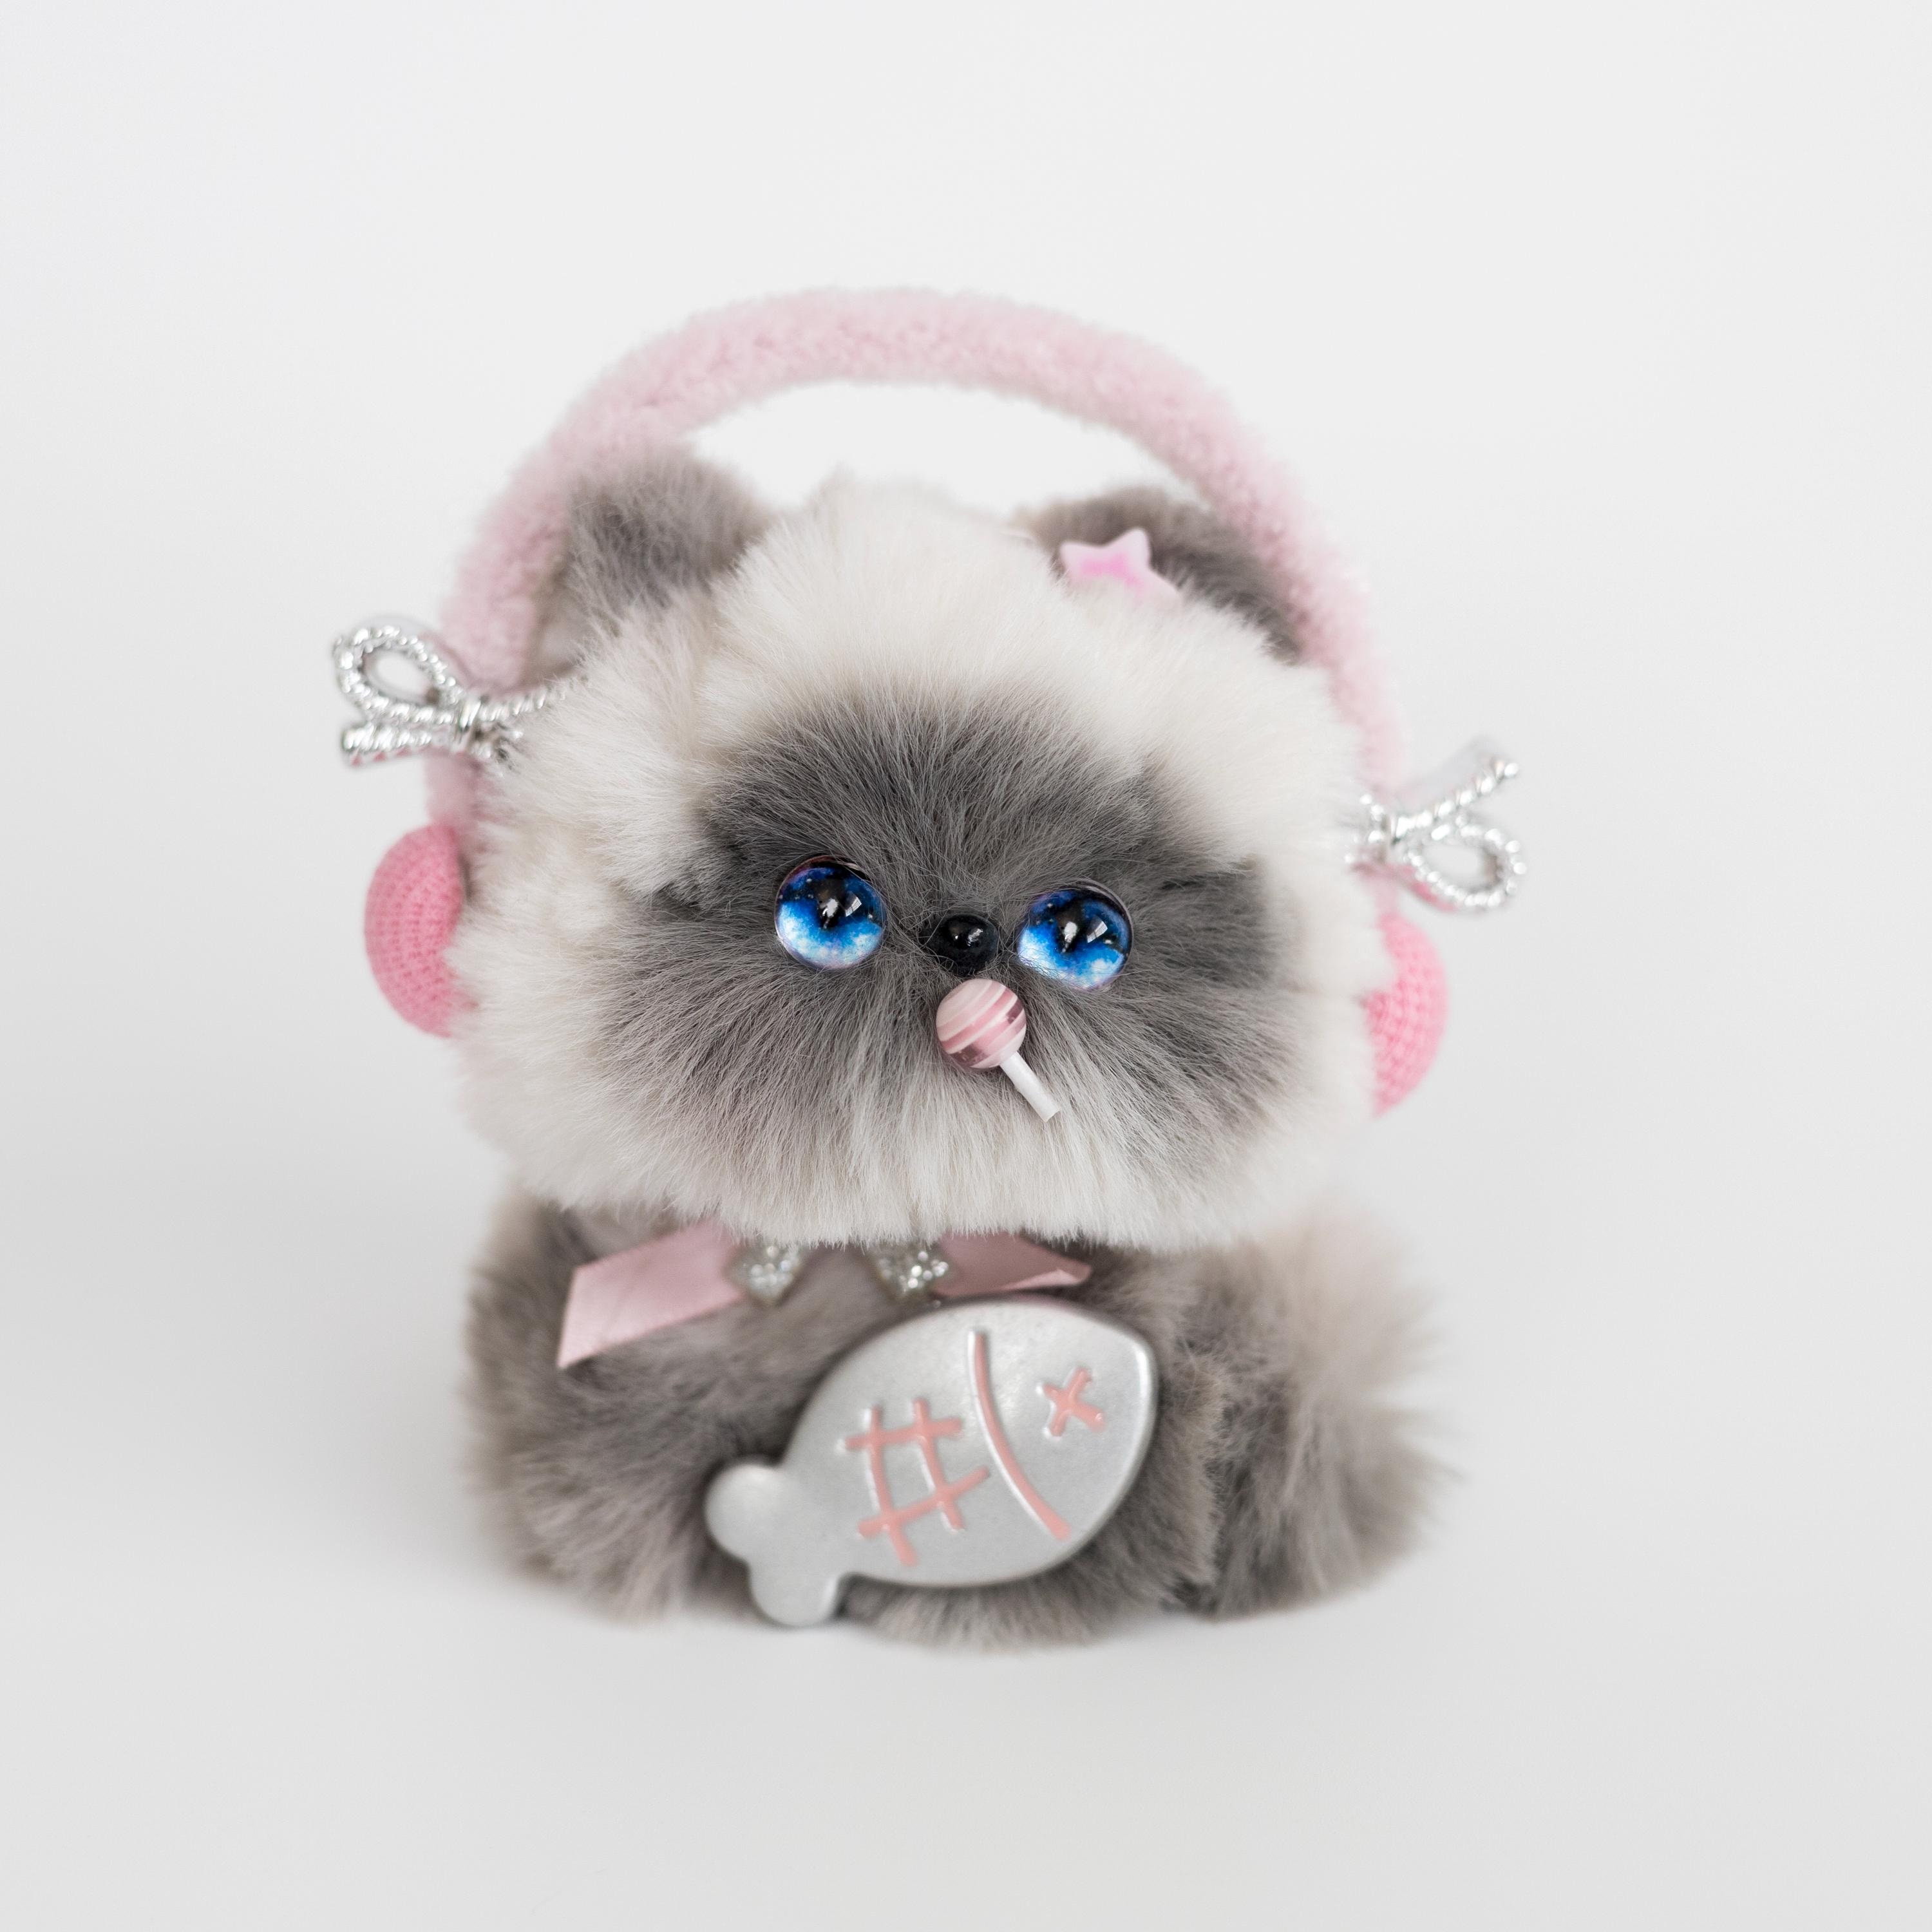
Credit: www.etsy.com
Preparing The Yarn
Preparing the yarn is the first key step in making twist chenille cat toys. This stage ensures the yarn is ready for twisting and shaping. Well-prepared yarn makes the entire process smoother and helps create a durable toy your cat will enjoy.
Start by handling the yarn carefully. Avoid tangles and knots to keep the strands neat and easy to work with. Organizing the yarn properly saves time and effort later.
Measuring And Cutting
Measure the yarn strands to the right length for your toy. Most cat toys need yarn pieces around 12 to 18 inches long. Cut the yarn cleanly with sharp scissors for smooth edges. Avoid frayed ends to keep the toy strong.
Cut several strands at once for consistency. Equal lengths make twisting easier and the final toy look better.
Organizing Strands
Separate the yarn into groups by color or texture. This helps create a fun, colorful toy that attracts your cat’s attention. Lay the strands flat and straighten them out to avoid tangles.
Hold the strands together firmly at one end. This keeps them aligned while you twist the yarn. Use a clip or rubber band to secure the strands temporarily.
Creating The Twist
Creating the twist is the heart of making twist chenille cat toys. This process not only shapes the toy but also determines its durability and the way it will engage your cat. Mastering the twist means you can craft toys that are both fun and long-lasting.
Basic Twisting Technique
Start by holding two chenille stems firmly in one hand. Twist them together tightly, but not so tight that the stems snap or lose their fluff. The goal is to create a spiral that’s even and consistent along the entire length.
If you find the stems slipping, try twisting in small sections before moving along. This helps maintain control and gives the twist a neat appearance. Have you noticed how a well-twisted toy keeps its shape better during play?
Securing The Twist
Once you’ve twisted the chenille stems, securing the end is crucial to keep your toy intact. You can do this by folding the last inch of the twist back and twisting it into the main body. This locks the twist and prevents unraveling.
Alternatively, use a small dab of non-toxic glue or a tightly wrapped piece of thread to hold the end firmly. Remember, a loose twist can come apart quickly, so take your time here. How do you think a secure finish changes your cat’s play experience?
Adding Details
Small details like adding extra chenille strands or colorful threads make the toy more fun for cats. Creating little knots or loops gives the toy texture that cats love to touch and chew. These simple touches keep your pet interested and playful longer.
Adding details to your twist chenille cat toys can make them more appealing. Cats love toys that move and make noise. You can easily enhance your toys with small additions. These details can spark curiosity and provide endless fun for your feline friend.Attaching Bells Or Feathers
Bells add sound to your cat toys. Choose small bells that are lightweight. Use a thread to attach the bell securely to the chenille. Make sure it is tightly fastened. You can also add feathers to the toy. Feathers mimic the prey cats love. Secure them to the end of the chenille. This will make the toy flutter and catch your cat’s attention.Creating Shapes And Sizes
Twist chenille into various shapes. Create circles, spirals, or even zigzags. Different shapes keep your cat engaged. You can make larger toys for bigger cats. Smaller toys are great for kittens. Experiment with different sizes. This variety ensures your cat never gets bored. Mix and match shapes for added fun.Safety Tips
Safety is the foundation of any DIY project, especially when making toys for your cat. You want your furry friend to have fun without any risks. Taking a few simple precautions can make your twist chenille cat toys both enjoyable and safe for your pet.
Using Non-toxic Materials
Choose materials that are safe if your cat chews or licks them. Non-toxic chenille stems and natural fibers reduce the risk of harmful reactions. Avoid synthetic dyes and glues that might cause irritation or poisoning.
I once used regular pipe cleaners without checking their coating, and my cat developed a mild rash. After switching to non-toxic alternatives, she played happily without any issues. Think about what your cat might put in its mouth and pick materials accordingly.
Inspecting For Loose Parts
Loose parts can be a choking hazard or cause internal blockages if swallowed. After twisting and assembling your toy, carefully check every joint and attachment. Make sure no wires or pieces can come undone easily.
Keep an eye on your cat’s behavior with the toy—if you notice any fraying or detachment, repair or replace the toy immediately. Would you want your pet playing with something that might fall apart mid-play? Regular inspections keep your cat safe and your toys lasting longer.
Playing With Your Cat
Playing with your cat strengthens your bond and keeps your pet active. Twist chenille cat toys offer a soft, fun way to engage your cat. These toys mimic the texture and movement of prey, sparking your cat’s natural hunting instincts. Regular playtime helps reduce stress and prevents boredom in cats.
Engaging Your Cat With The Toy
Use the twist chenille toy to catch your cat’s attention quickly. Move it slowly at first to spark curiosity. Gradually increase the speed to encourage chasing and pouncing.
- Drag the toy on the floor to mimic a small animal.
- Wave it gently in the air to invite jumping.
- Let your cat bite and hold the toy to satisfy chewing needs.
Keep play sessions short but frequent to maintain interest. Watch your cat’s reactions and adjust your movements. Always supervise play to ensure safety.
Storing The Toys Properly
Store twist chenille cat toys in a clean, dry place. Proper storage keeps the toys in good shape longer. Use a small basket or box dedicated to cat toys.
- Keep toys away from moisture to prevent damage.
- Regularly check for loose parts and remove unsafe toys.
- Rotate toys to keep your cat interested and prevent boredom.
Good storage habits help extend the life of each toy. This ensures your cat always has a fresh, safe toy to enjoy.
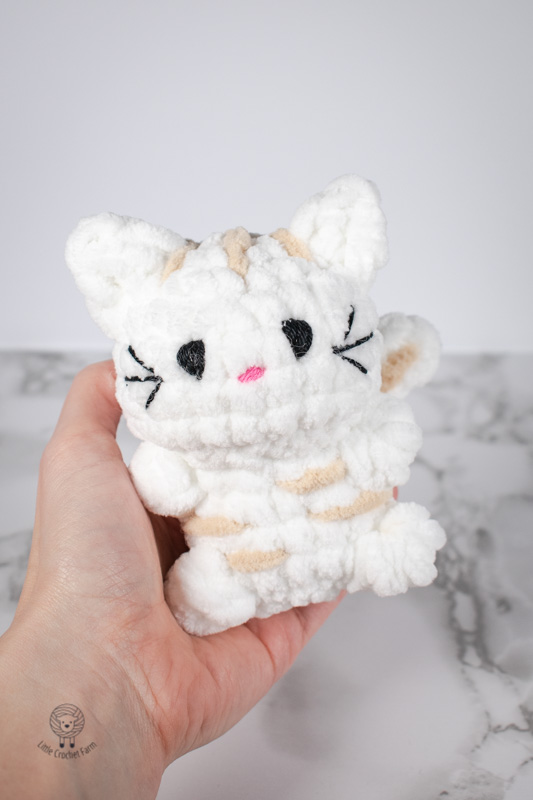
Credit: littlecrochetfarm.com
Frequently Asked Questions
What Materials Are Needed For Twist Chenille Cat Toys?
You need chenille stems, soft yarn, scissors, and catnip. These materials are safe and easy to handle for crafting. Chenille stems provide the base, while yarn adds texture and color. Catnip attracts cats, making the toy more engaging and fun.
How Do You Twist Chenille For Cat Toys?
Twist two chenille stems tightly together starting from one end. Continue twisting until you reach the desired length. Secure the ends by bending them or adding knots. This creates a durable, flexible base perfect for cat play.
Can I Add Catnip Inside Twist Chenille Toys?
Yes, you can insert catnip inside the twist chenille toys. Simply place dried catnip between the twisted stems or wrap it in yarn. This enhances the toy’s appeal, encouraging cats to play and interact more actively.
How Long Does It Take To Make A Twist Chenille Toy?
Making a twist chenille cat toy typically takes 10 to 15 minutes. The process is quick and simple, ideal for beginners. It’s a fun, creative activity that yields an enjoyable toy for your pet.
Conclusion
Making twist chenille cat toys is fun and simple. You only need a few materials and some patience. These toys keep cats active and happy. They also save money compared to store-bought toys. Try different shapes and colors to see what your cat likes best.
Handmade toys show your care and creativity. Give your cat a new favorite toy today. Enjoy the bonding time while making it together. Keep your kitty entertained with these easy, safe, and soft toys.


Leave a Reply