Are you looking for a fun and easy way to keep your cat entertained? Making mouse toys for your feline friend is a simple project you can do at home.
Not only will these toys keep your cat active and happy, but they also save you money and let you customize each toy to your cat’s preferences. Imagine watching your cat chase, pounce, and play with something you made yourself.
Ready to discover how you can create these irresistible mouse toys? Keep reading, and you’ll learn all the tips and tricks to make toys your cat will love.

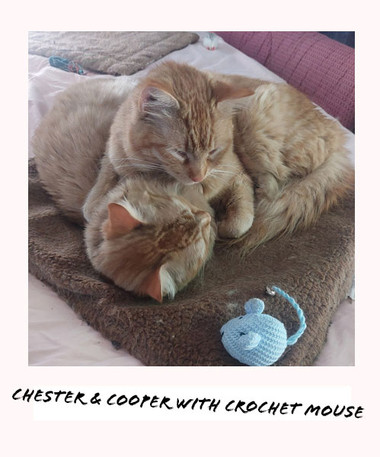
Credit: www.amazon.com
Materials Needed
Gathering the right materials is the first step to crafting mouse toys your cat will love. Choosing safe and durable items ensures the toy lasts through countless play sessions and keeps your furry friend safe. You don’t need fancy supplies; simple, everyday items often work best.
Safe Fabrics
Opt for fabrics that are soft but sturdy. Cotton, felt, and fleece are great choices because they don’t fray easily and are gentle on your cat’s claws. Avoid materials that shed fibers or have toxic dyes, as these can harm your cat if ingested.
Have you noticed how your cat prefers certain textures? Matching the fabric to your cat’s preference can make the toy more irresistible.
Stuffing Options
Use non-toxic stuffing to fill your mouse toy. Polyester fiberfill is popular because it’s lightweight and safe. You can also try wool or cotton stuffing for a natural alternative.
Some people add a pinch of catnip inside the stuffing to boost your cat’s interest. Would your cat enjoy that little extra touch?
Sewing Supplies
Basic sewing tools like needles, thread, and scissors are essential. Choose a strong thread, such as polyester, to make sure the seams hold up to rough play. If you’re using a sewing machine, set it to a tight stitch for durability.
Keep in mind, sharp needles and scissors should be handled carefully to avoid accidents during crafting.
Additional Accessories
Adding small details can make your mouse toy more fun and interactive. Consider using embroidery floss for whiskers or tiny bells to create sound. Just ensure any added pieces are securely attached to prevent choking hazards.
Have you thought about adding a small pouch for catnip? It’s a simple way to keep your toy exciting over time.
Choosing The Right Size
Choosing the right size for mouse toys is key to keeping cats safe and interested. A toy too big or too small can frustrate your cat. The size must feel natural and comfortable for your furry friend. Understanding your cat’s paw size and the toy’s dimensions helps create the perfect plaything.
Cat’s Paw Size
Measure your cat’s paw width and length gently. This helps know what size toy fits well. A toy slightly bigger than the paw works best. It allows your cat to grab and bat the toy easily. Avoid toys smaller than the paw to prevent swallowing risks. Larger paws need bigger toys to stay engaging and safe.
Toy Dimensions
Keep mouse toys small but not tiny. Aim for about 2 to 3 inches long. The width should be enough for your cat to hold comfortably. Soft materials make it easier to catch and carry. Avoid toys with parts that can break off and cause choking. Properly sized toys invite more play and keep cats active.
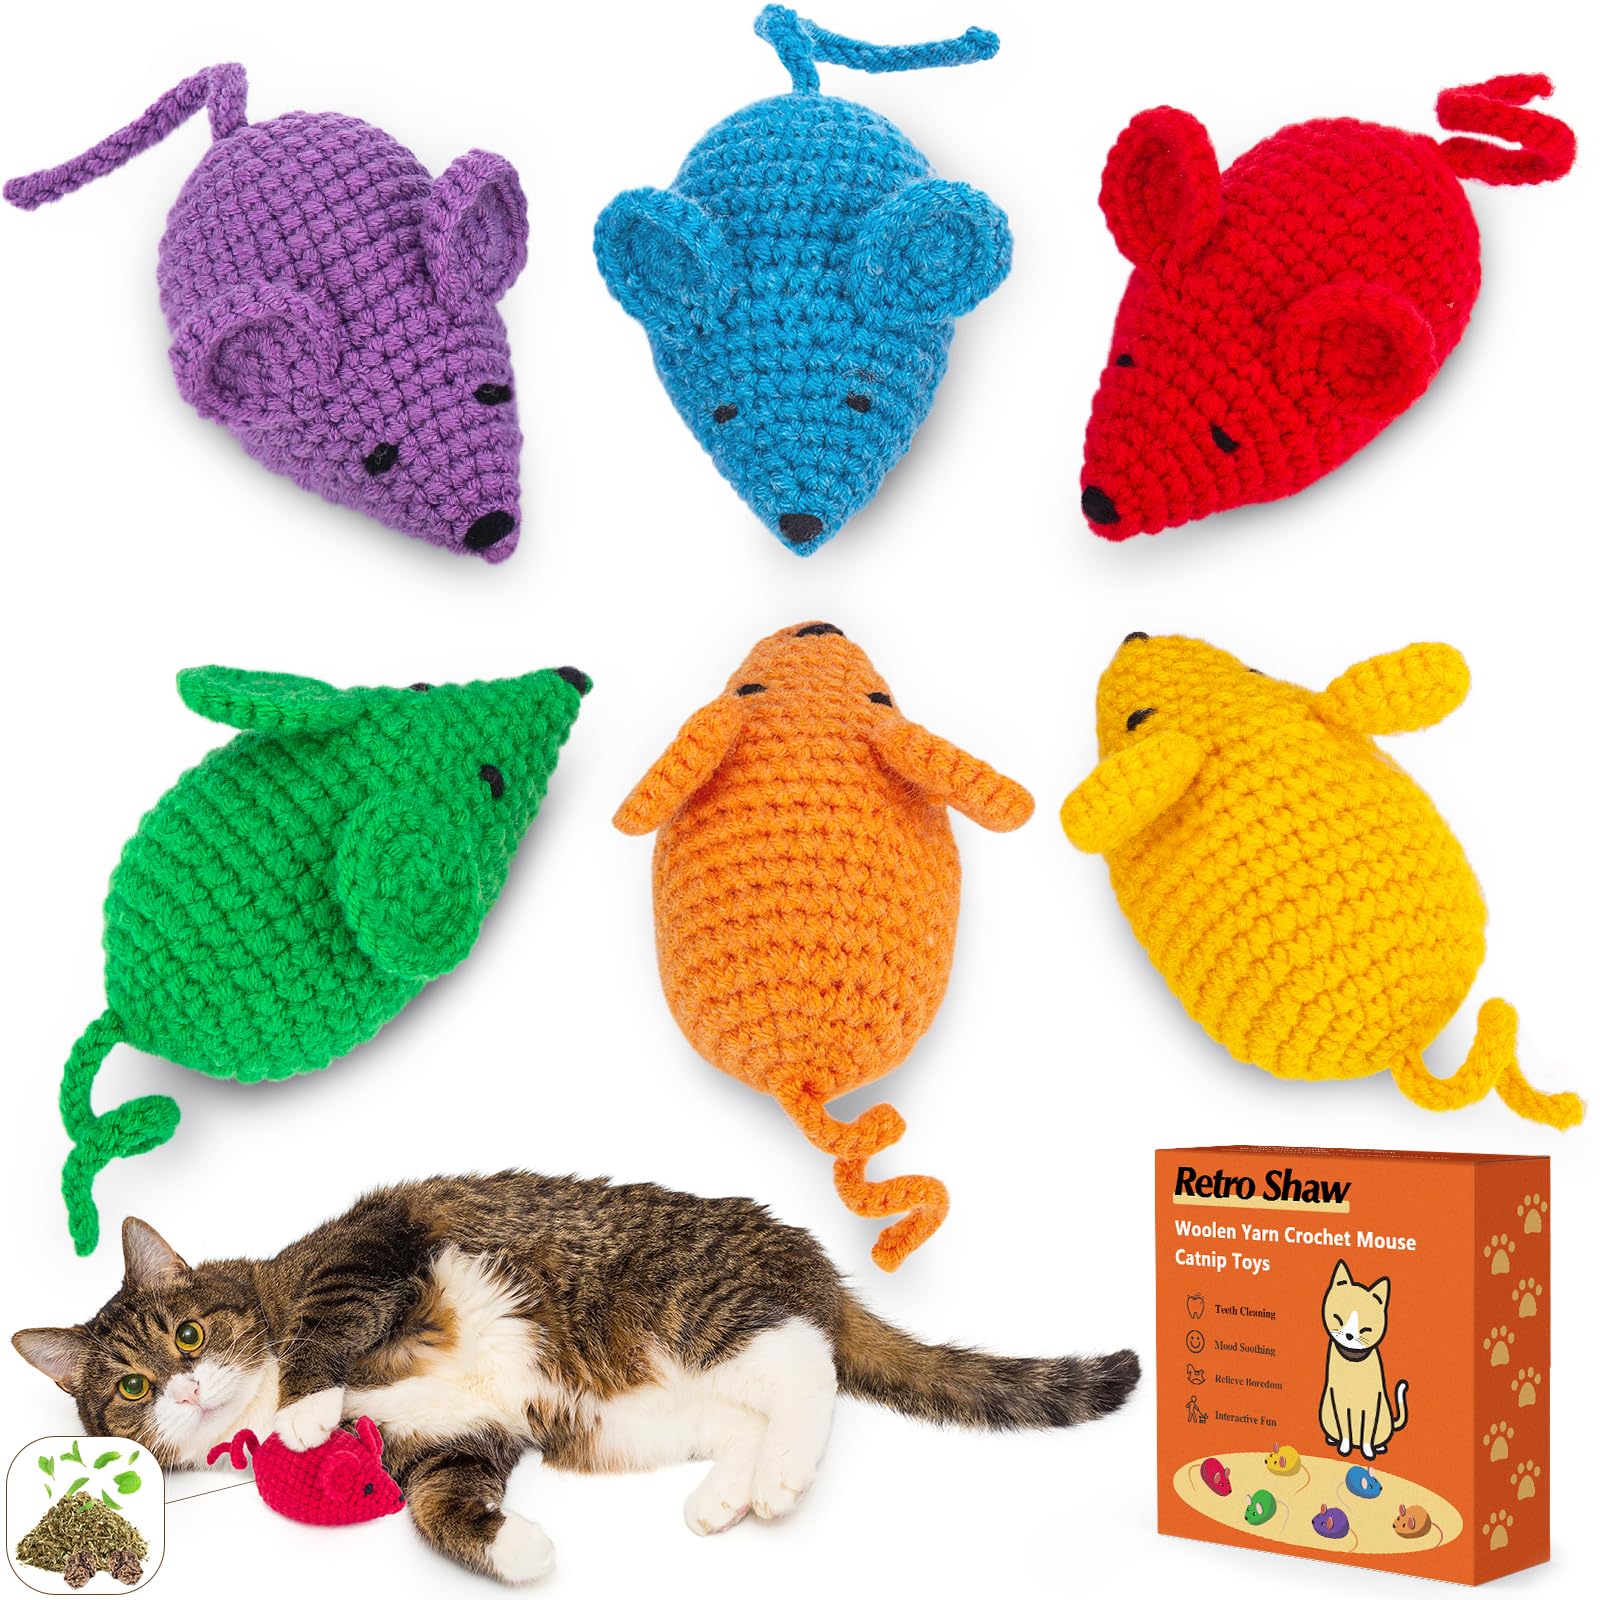
Basic Mouse Toy Patterns
Basic mouse toy patterns are your starting point for crafting fun and engaging toys that will keep your cat entertained for hours. These patterns are simple to make and require only a few materials, making them perfect even if you’re new to sewing or DIY projects. Understanding these basic shapes and features helps you customize each toy to suit your cat’s play style.
Simple Shapes
Begin with basic shapes like ovals, rectangles, or teardrops to form the body of the mouse. These shapes are easy to cut from fabric and sew together. You can use felt, cotton, or any soft material that feels good to your cat’s paws.
Try making a small oval about 3-4 inches long. Sew the edges, leaving a small gap to stuff the toy with catnip or soft filling. Closing the gap securely ensures the stuffing doesn’t escape during play.
Have you noticed how your cat reacts differently to various shapes? Experiment with slightly bigger or smaller shapes to find what excites your feline friend the most.
Adding Tail And Ears
Once you have the basic shape, add simple tails and ears to make the toy more mouse-like. For the tail, a thin strip of fabric or yarn works well. Attach it securely at the back of the body.
Ears can be made from small triangles of fabric. Fold and sew them onto the head area of the mouse toy. These little details not only make the toy cuter but also add textures your cat loves to explore.
Consider using different materials for the ears and tail, such as a crinkly fabric or a soft fuzzy one, to provide varied sensory experiences. This can keep your cat curious and engaged longer than a plain shape would.
Step-by-step Assembly
Making mouse toys for cats is fun and simple. Follow these clear steps to assemble your toy. Each step helps create a safe, playful item for your cat.
Cutting Fabric
Start by choosing soft, durable fabric like felt or cotton. Use a template or draw a mouse shape on paper. Place the template on the fabric and cut two identical pieces. Cut small shapes for ears and tail if you want extra details. Keep edges smooth to avoid fraying.
Sewing Techniques
Pin the two fabric pieces together with the right sides facing each other. Use a running stitch or backstitch to sew around the edges, leaving a small opening. Sew slowly for neat, strong seams. Avoid large stitches to keep stuffing inside.
Stuffing And Closing
Turn the sewn fabric right side out through the opening. Fill the toy with soft stuffing like polyester fiberfill. Add a small amount of catnip for extra fun. Once stuffed, sew the opening closed with tight stitches. Check for loose threads before giving the toy to your cat.
Incorporating Catnip
Catnip makes mouse toys more fun and exciting for cats. Sprinkle some inside the toy to attract your cat’s attention. This simple touch encourages play and keeps your cat active.
Incorporating catnip into homemade mouse toys can thrill your feline friend. Catnip is a natural herb that stimulates cats and makes playtime more exciting. Adding catnip to toys can enhance your cat’s play experience and encourage active behavior. This makes the toy more appealing and fun for your pet.Benefits For Cats
Catnip offers numerous benefits for your furry companion. It stimulates their senses and boosts their mood. Cats often become more playful and energetic after exposure to catnip. This can help reduce stress and anxiety in your pet. Playing with catnip toys can also encourage physical activity. This helps maintain a healthy weight and improves their overall health.Safe Application Methods
Using catnip safely in toys is important for your cat’s health. Ensure that the catnip is fresh and free from pesticides. Dried catnip can be placed inside the toy or sprinkled on the surface. You can also use catnip spray to lightly coat the toy. Always monitor your cat’s reaction to catnip, as some may be sensitive. Limit playtime with catnip toys to avoid overstimulation. This keeps play sessions enjoyable and safe for your pet.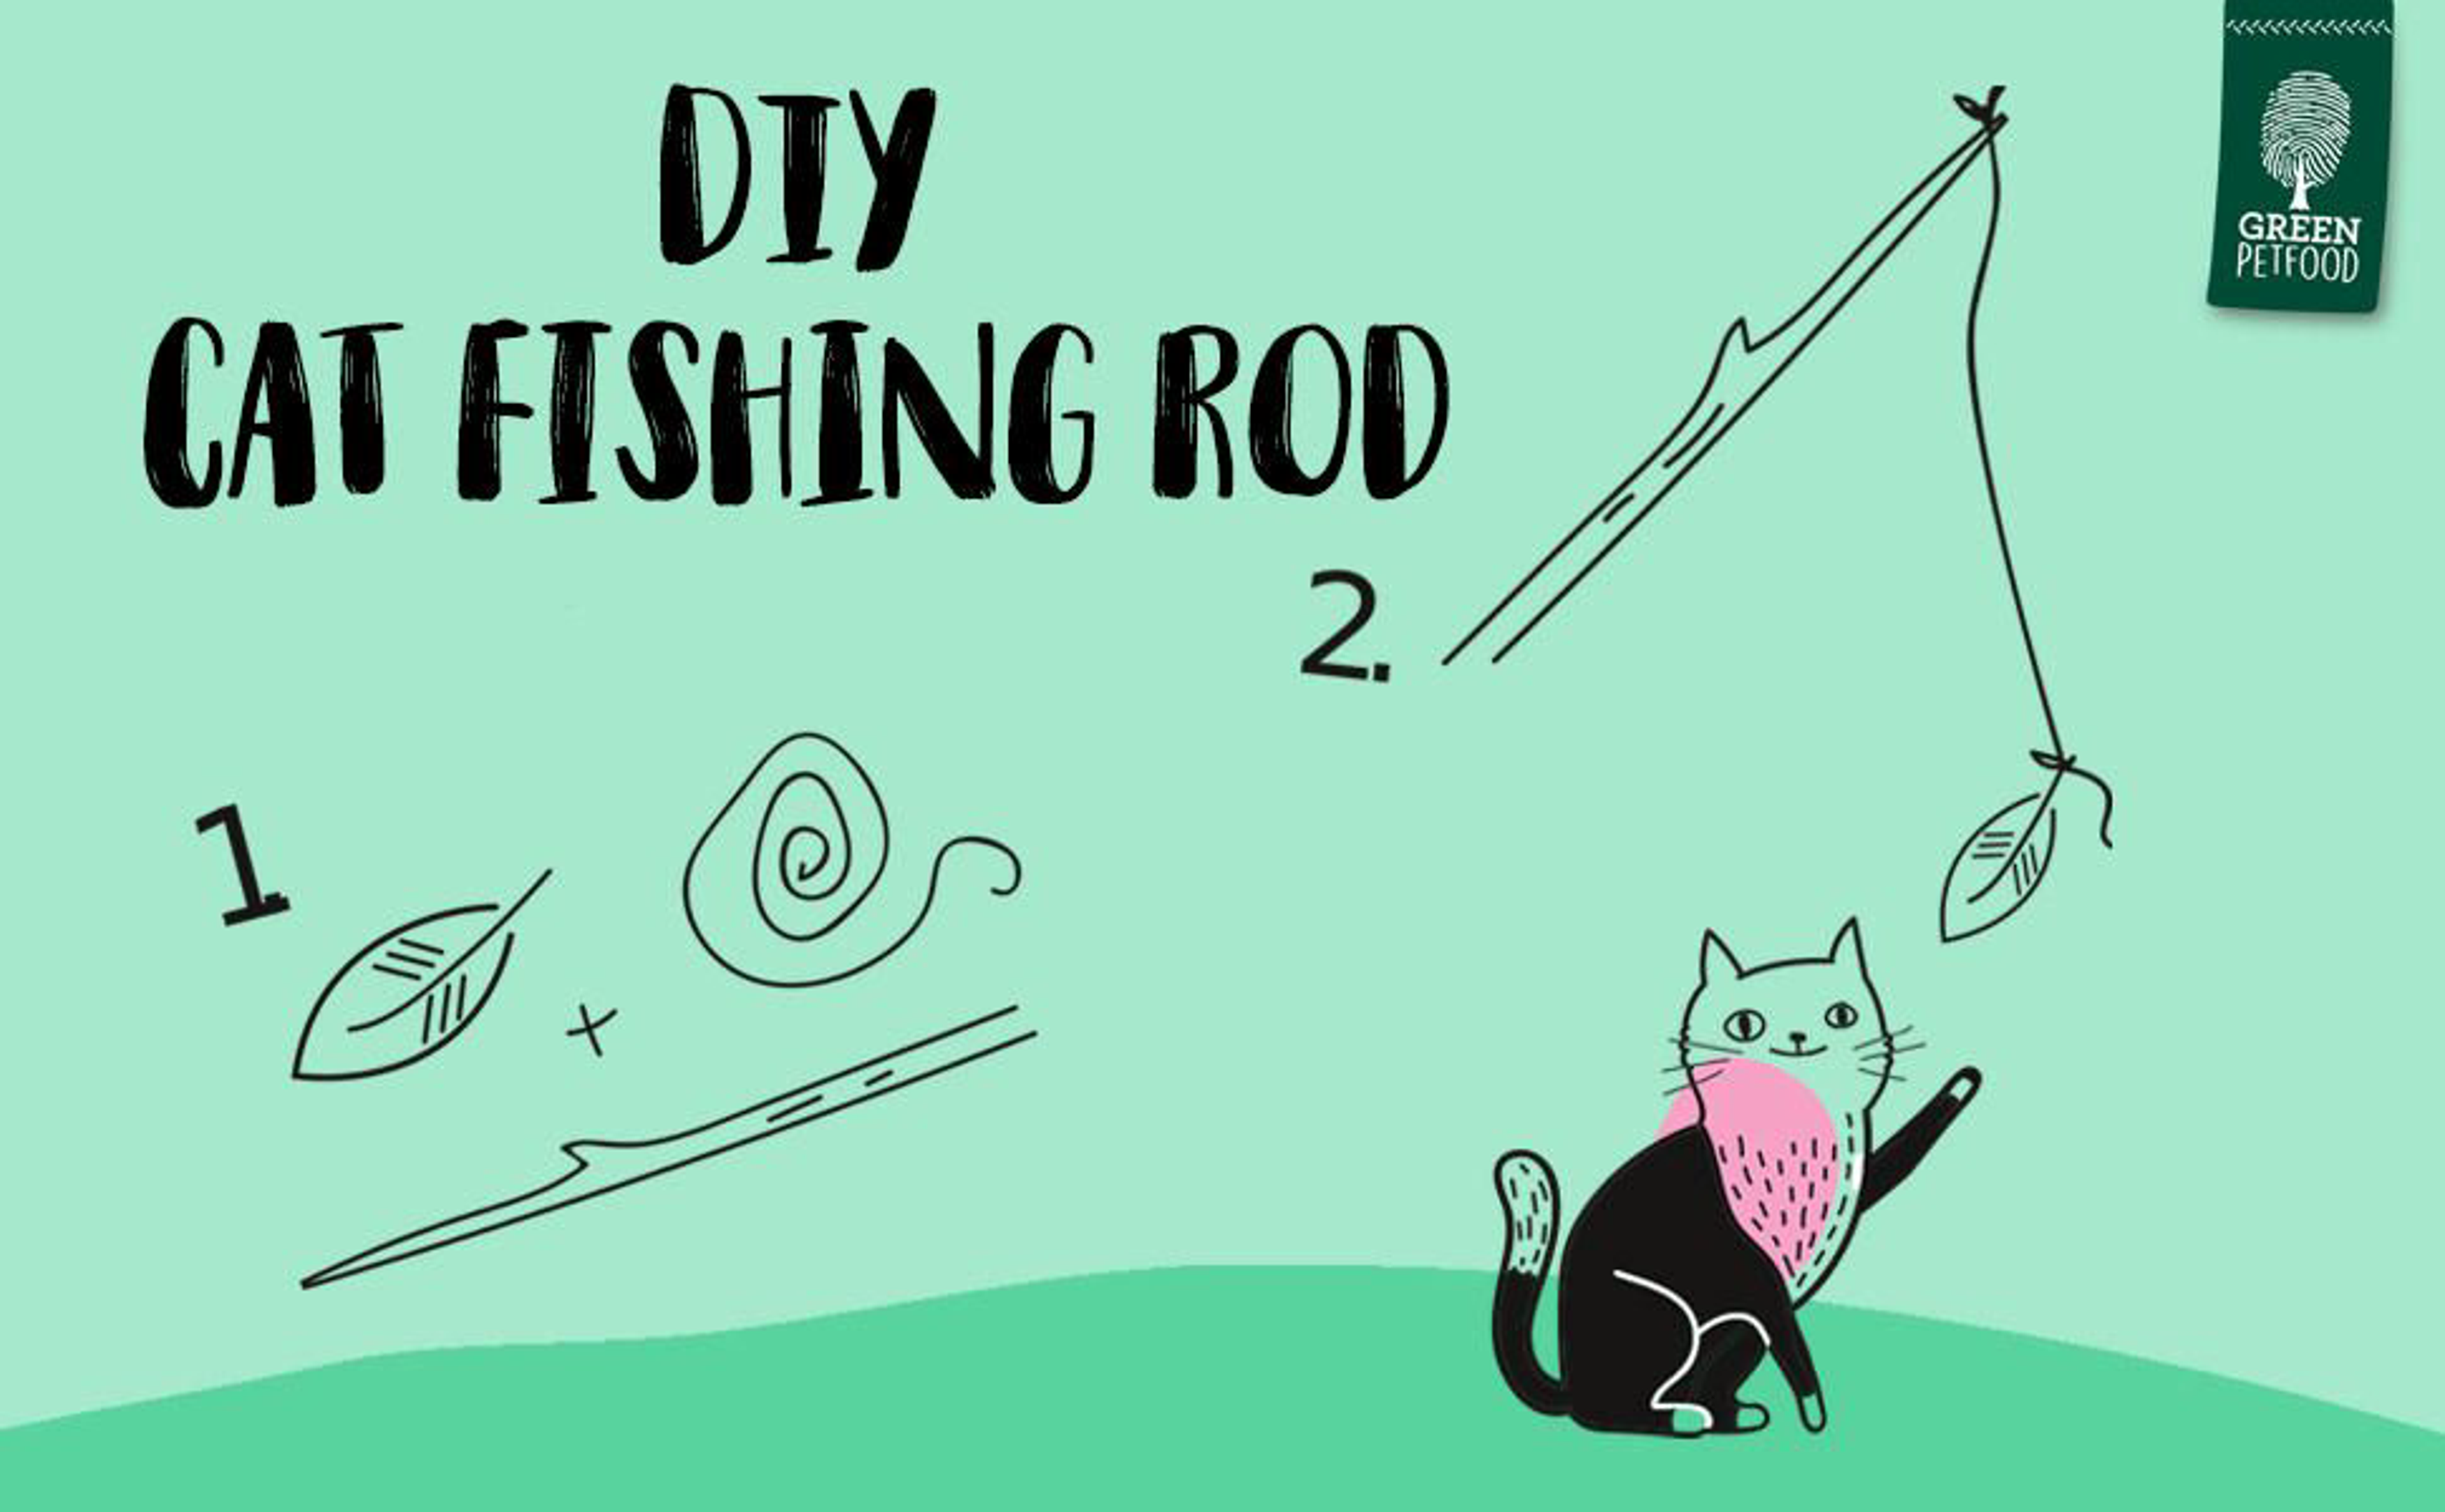
Credit: www.green-petfood.com
Diy Variations
DIY variations make mouse toys more fun and creative. They allow using simple materials and small changes to keep cats interested. Different textures, sounds, and shapes can excite your cat’s natural hunting skills. These ideas are easy to try at home and cost very little.
Using Recycled Materials
Recycled items make great parts for mouse toys. Old fabric, felt scraps, or even small pieces of yarn work well. Use bottle caps or cardboard for the toy’s base. These materials reduce waste and create unique toys. Cats enjoy new smells and textures from recycled items.
- Cut fabric into small mouse shapes.
- Stuff with cotton or old clothes pieces.
- Sew or glue edges to keep stuffing inside.
- Attach a yarn tail for extra fun.
Adding Bells Or Crinkle Paper
Sounds make toys more exciting for cats. Tiny bells create jingling noises that catch attention. Crinkle paper inside the toy adds a crunchy sound. These noises mimic real prey and encourage play. Use safe, pet-friendly bells and paper to avoid harm.
- Place a small bell inside the toy before closing.
- Wrap crinkle paper around stuffing for noise.
- Secure materials tightly so cats can’t swallow them.
- Test the toy to ensure sound is soft, not loud.
Safety Tips
Safety is the top priority when making mouse toys for cats. Cats are curious and playful, but they can also be at risk from unsafe materials or parts. Toys should be made to keep them safe while they have fun. Careful choice of materials and regular checks help prevent accidents and injuries.
Non-toxic Materials
Always choose materials that are safe for cats. Use natural fabrics like cotton or felt. Avoid plastics that contain harmful chemicals. Use non-toxic glue and dyes. Safe materials protect cats if they chew or lick the toy.
Avoiding Small Parts
Small pieces can be a choking hazard. Do not add buttons, beads, or tiny decorations. Make sure all parts are tightly sewn or glued. Large pieces reduce the risk of swallowing. Keep toys simple and sturdy for safe play.
Regular Toy Inspection
Check toys often for loose threads or broken parts. Remove or repair damaged toys right away. A torn toy can expose stuffing or small pieces. Regular inspection keeps toys safe and lasts longer. Replace worn toys to protect your cat.
Credit: www.amazon.com
Encouraging Play
Cats thrive on play. It keeps them active and healthy. Homemade mouse toys spark their curiosity. These toys offer fun and exercise. They also strengthen your bond with your feline friend. Let’s explore how to make playtime engaging.
Introducing The Toy
Start by showing the new toy to your cat. Let them sniff it. This builds excitement and interest. Use soft voices to encourage approach. Toss the toy gently across the floor. Observe your cat’s reaction. Some may pounce immediately. Others may take their time. Be patient and supportive.
Interactive Play Ideas
Interactive play enhances the fun. Use a string to drag the toy around. This mimics prey movement. Cats love to chase. You can also hide the toy under a blanket. Let your cat discover it. This adds a sense of adventure. Rotate toys regularly. This keeps the experience fresh and exciting.
Frequently Asked Questions
What Materials Are Best For Making Mouse Toys For Cats?
Soft fabric, felt, cotton, and faux fur work best for mouse toys. Add stuffing for shape and use non-toxic glue or thread for safety.
How Do I Make A Safe Mouse Toy For My Cat?
Use pet-safe materials and avoid small parts that can be swallowed. Sew edges securely and avoid toxic dyes or paints.
How Long Does It Take To Make A Mouse Toy?
Making a simple mouse toy typically takes 15 to 30 minutes. More detailed designs may require more time.
Can I Use Household Items To Create Mouse Toys?
Yes, old socks, fabric scraps, and yarn can be repurposed. Just ensure materials are clean and safe for cats.
Conclusion
Making mouse toys for cats can be simple and fun. Use safe materials and bright colors to catch your cat’s eye. These toys keep your cat active and happy. You save money and enjoy crafting at home. Your cat will love the new playtime.
Try different shapes and textures to find what your cat likes best. Handmade toys create a stronger bond between you and your pet. Start today and watch your cat enjoy every moment. Small efforts bring big smiles to your furry friend.


Leave a Reply