Are you looking for a fun and simple way to keep your cat entertained? Making a cat toy mouse at home is easier than you think.
With just a few materials, you can create a toy that will spark your cat’s curiosity and energy. In this guide, you’ll discover step-by-step instructions to craft the perfect toy mouse that your furry friend will love. Ready to see your cat’s eyes light up with excitement?
Let’s get started!
Credit: allthingcrafts.com
Materials Needed
Creating a cat toy mouse needs a few simple materials. These materials should be safe and fun for your cat. Choosing the right items makes the toy last longer and keeps your cat happy. Below are the key materials you need to gather before starting.
Fabric Choices
- Cotton: Soft, easy to sew, and safe for cats.
- Felt: Thick and holds shape well, easy to cut.
- Fleece: Soft and cozy, perfect for cuddly toys.
- Old clothes: Reuse clean fabric for a budget-friendly toy.
Stuffing Options
- Polyester fiberfill: Light, fluffy, and washable.
- Cotton balls: Natural and safe for stuffing small toys.
- Fabric scraps: Eco-friendly and adds weight.
- Catnip: Adds scent cats love, mixed with stuffing.
Additional Supplies
- Needle and thread: Choose colors matching your fabric.
- Scissors: Sharp for precise cutting.
- Fabric glue: Helps secure small parts.
- Embroidery floss: Use for eyes and nose details.
- Small bells or crinkle paper: Add sound for extra fun.
Cutting The Fabric
Cutting the fabric is a key step in making a cat toy mouse. It shapes the toy and affects how it feels and moves. The fabric must be cut carefully to match the mouse design. This helps the toy look neat and last longer. Use the right tools and follow the pattern closely.
Creating The Mouse Shape
Start by folding your fabric in half. Place the mouse pattern on the fabric. Pin the pattern to keep it steady. Cut around the pattern with sharp scissors. Leave a small edge for sewing, about ¼ inch. Cutting two identical pieces is important for the front and back of the mouse.
Tips For Precise Cutting
- Use fabric scissors for clean cuts.
- Cut slowly and follow the lines closely.
- Keep your fabric flat to avoid wrinkles.
- Remove pins carefully after cutting.
- Double-check the pieces are the same size.
Sewing The Mouse
Sewing the mouse is the key step in crafting a fun cat toy. This process brings the shape to life and holds all parts together. Choose the sewing style that suits your skills and tools. Both hand sewing and using a sewing machine work well. The goal is to create a sturdy, safe toy for your cat to enjoy.
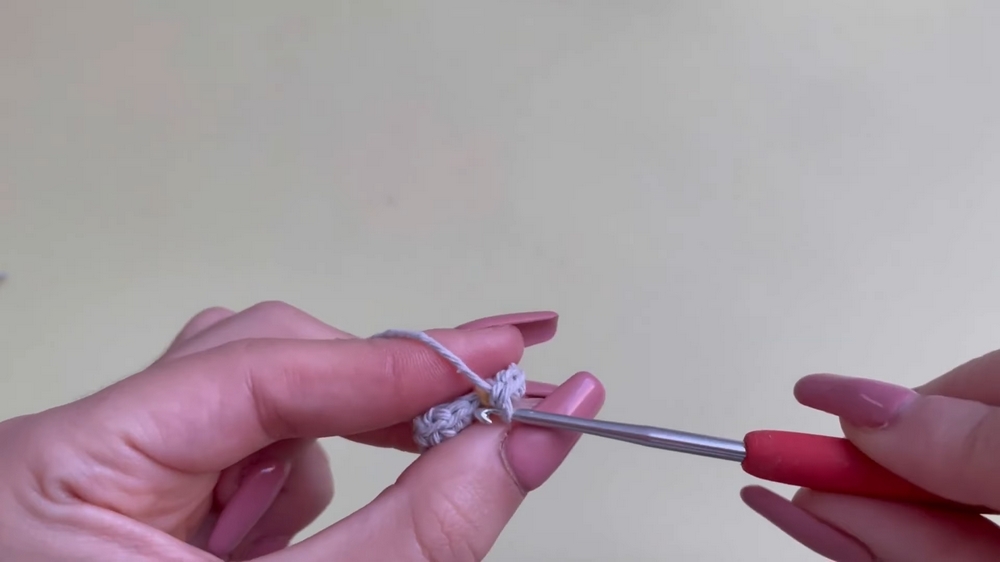
Hand Sewing Techniques
Hand sewing lets you control every stitch. Use a needle and strong thread or embroidery floss. A whip stitch or running stitch works best for this project.
- Start by threading the needle and tying a knot.
- Align the fabric edges of the mouse pieces carefully.
- Use small stitches to keep the seam tight and neat.
- Leave a small opening to add stuffing later.
- Once stuffed, finish sewing the opening closed securely.
Hand sewing is slower but perfect for detailed work. It also allows you to fix mistakes easily without special tools.
Using A Sewing Machine
A sewing machine speeds up the process and creates strong seams. Set the machine to a straight stitch for best results. Use polyester thread for durability.
- Place the mouse fabric pieces right sides together.
- Pin the edges to keep fabric from shifting.
- Sew around the edges, leaving a small gap for stuffing.
- Backstitch at the start and end to secure stitches.
- Turn the mouse right side out and stuff it tightly.
- Close the gap by sewing it shut by hand or machine.
Sewing machines create even stitches and make the toy last longer. It works well if you have basic sewing skills and equipment.
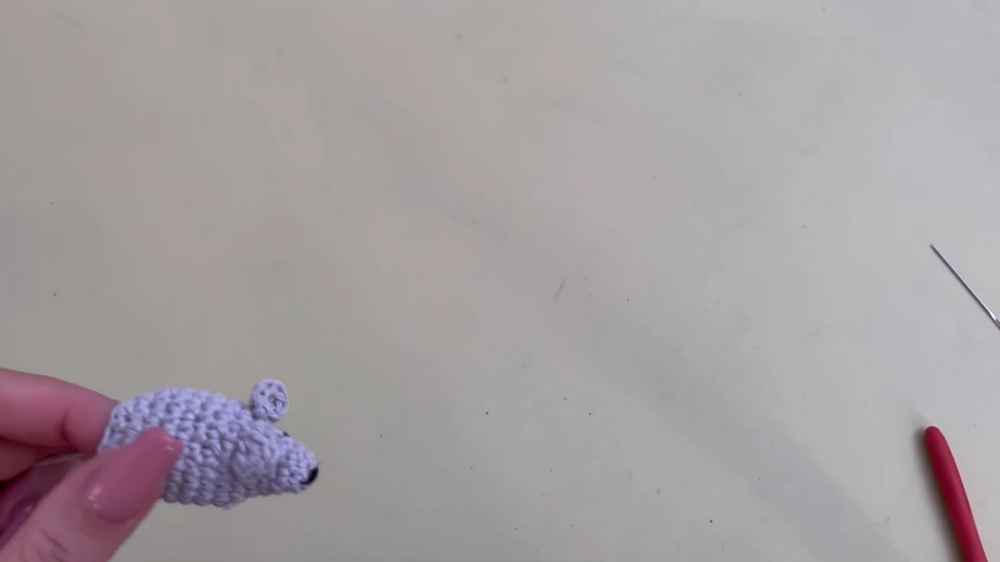
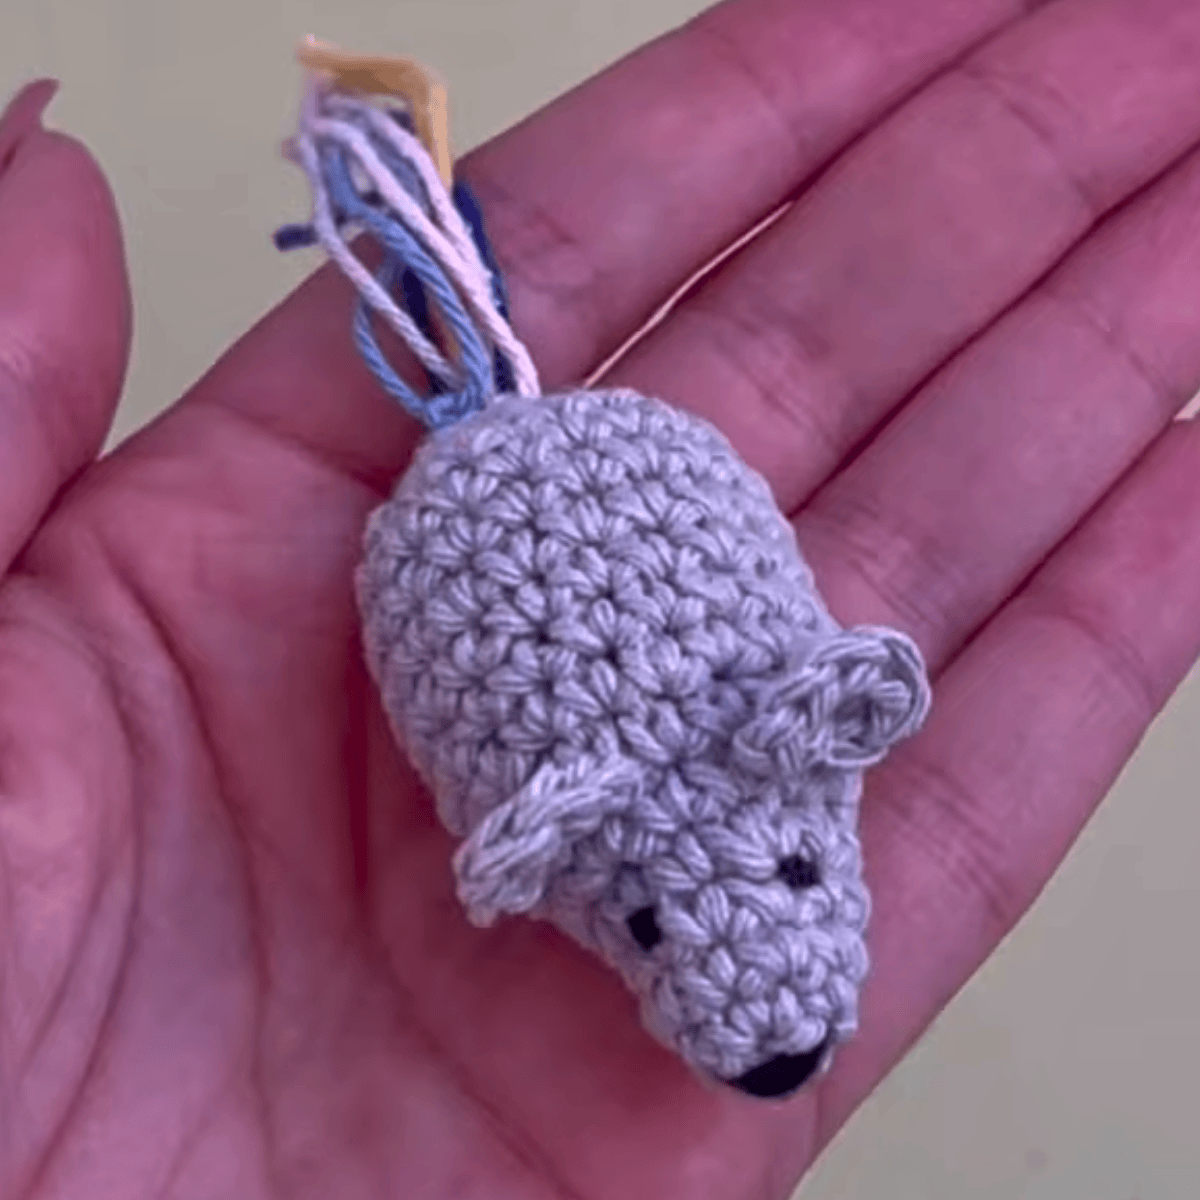
Adding Details
Small stitches and careful shaping bring the mouse toy to life. Adding tiny eyes, a tail, and soft fabric makes it more fun for cats. Simple details create a realistic and playful toy your cat will enjoy.
Adding details to your homemade cat toy mouse adds charm and functionality. These details make the toy more appealing to your feline friend. The process is simple and requires only a few materials.Attaching Ears And Tail
To start, gather some felt or soft fabric for the ears. Cut two small ovals, about the size of a thumbprint. Use a needle and thread to sew the ears onto the top of the mouse body. Ensure they are secure, but don’t worry about perfection. Cats love the texture and feel more than the look. Next, select a string or thin piece of fabric for the tail. Cut it to about four to six inches long. Sew or glue the tail to the rear of the mouse. Make sure it is firmly attached. Cats enjoy swatting and chasing the tail.Decorating The Face
Begin by cutting small circles from felt for the eyes. Black or dark gray works best for contrast. Attach the eyes with glue or thread. For the nose, a small pink bead or piece of felt adds a cute touch. Secure it in place below the eyes. Use a fine marker or thread to create whiskers. Simple lines are all you need for this detail. These finishing touches make your toy mouse irresistible to your cat.Stuffing The Toy
Stuffing the toy mouse is where the magic happens. This step gives your creation shape and personality, making it irresistible to your cat. How firm or soft you stuff it will affect how your cat plays with it, so take your time to get it just right.
Choosing The Right Stuffing
Not all stuffing materials are created equal. You want something safe, lightweight, and durable. Polyester fiberfill is a popular choice because it’s soft, washable, and holds shape well.
Consider natural alternatives like cotton or wool if your cat prefers eco-friendly options. Avoid anything too heavy or noisy, like beans or beads, which might scare or hurt your pet. Have you thought about adding a little catnip inside? It can make the toy even more enticing.
Filling Techniques
How you fill the toy affects its final form and how it feels in your cat’s paws. Start by adding small amounts of stuffing and gently press it into the corners and edges. This prevents lumps and keeps the mouse’s shape realistic.
Use your fingers or a blunt tool, like a pencil, to push the stuffing evenly. Don’t overstuff—your toy should be firm but still have a bit of give. Have you noticed how your cat reacts to toys that are too hard or too floppy? Matching that balance will make your handmade mouse a winner.
Credit: allthingcrafts.com
Incorporating Catnip
Incorporating catnip into a homemade cat toy mouse adds an exciting element to playtime. Catnip attracts cats and encourages active behavior. It makes the toy more appealing and fun for your feline friend. Using catnip in the toy boosts your cat’s interest and keeps them entertained for longer periods.
Benefits For Cats
Catnip stimulates a cat’s senses and encourages exercise. It helps reduce stress and anxiety in many cats. Playing with catnip toys can improve a cat’s mood. It also promotes healthy physical activity. Most cats love the smell and become more playful. This interaction strengthens the bond between you and your pet.
Safe Catnip Usage
Use fresh or dried catnip in small amounts. Too much catnip can cause mild upset or overexcitement. Place catnip inside a small pouch or sew it into the toy. Avoid loose catnip that can spill everywhere. Keep catnip toys away from very young kittens. Observe your cat’s reaction and remove the toy if needed.
Finishing Touches
Finishing touches give your cat toy mouse a neat, safe look. These last steps make the toy durable and fun for your cat. A well-finished toy lasts longer and keeps your cat interested.
Sealing The Toy
Seal the edges with fabric glue or clear nail polish. This stops the stuffing from coming out. Make sure the glue is non-toxic and safe for pets. Apply a thin layer around the seams and let it dry fully. Sealing also helps keep the shape of the mouse toy.
Quality Checks
Check the toy for loose threads or weak spots. Tug gently on the ears, tail, and body parts. Look for any sharp objects or hard pieces inside. Remove or fix anything that could hurt your cat. Test the toy by squeezing and shaking it. A strong, safe toy keeps your cat happy and healthy.
Credit: allthingcrafts.com
Safety Tips
Safety is the top priority when making a cat toy mouse. Cats love to chew and bat toys around. This means the toy must be safe to avoid choking or injury. Small parts or weak materials can cause harm. Follow these safety tips to keep your cat happy and safe.
Avoiding Small Parts
Small parts can be dangerous for cats. Avoid buttons, beads, or tiny decorations. These pieces can come loose and cause choking. Use fabric, felt, or soft materials instead. Sew everything tightly and securely. Check for loose threads or parts before giving the toy to your cat.
Durability Considerations
Choose strong materials that last through play. Cats can be rough with toys. Use thick fabric or felt that resists tearing. Double stitch the seams for extra strength. Avoid weak glue or tape as they can come off easily. Durable toys save money and keep cats safe from broken pieces.
Customizing Your Toy
Creating a cat toy mouse lets you use soft fabric and simple shapes. Choose bright colors and add a small bell for extra fun. Personal touches make the toy special and exciting for your cat.
Customizing your cat toy mouse is where creativity meets fun, allowing you to craft a unique plaything that will delight your feline friend. Personalizing your toy can make it more engaging and special for your pet. Let’s dive into some exciting ideas to make your cat’s new toy truly one-of-a-kind.Color And Pattern Ideas
Choosing the right colors and patterns can make a big difference in how appealing the toy is to your cat. Cats often respond well to bright, contrasting colors. Consider using vibrant shades like red, yellow, or blue to catch your cat’s attention. Patterns can also add a playful element to the toy. Think about using stripes, polka dots, or even animal prints to make the toy more interesting. You could even match the toy’s colors to your home decor for a touch of style. Mix and match different fabrics for texture. A combination of smooth and rough textures can intrigue your cat and make the toy more fun to play with.Adding Interactive Elements
Interactive elements can elevate a simple toy mouse into an engaging playmate for your cat. Adding a bell or a small rattle inside the toy can stimulate your cat’s hunting instincts. The sound will encourage your cat to pounce and play. You might also sew in a feather or a piece of ribbon to the tail of the mouse. The fluttering movement mimics small prey, which will excite your cat and keep them entertained for hours. Consider using catnip within the toy. A small pouch of catnip can make the toy irresistible to your feline, keeping them coming back for more playtime. What other elements can you think of to add to your cat’s toy? Customizing allows you to tailor the toy to your cat’s unique preferences, ensuring they have a favorite plaything they can’t resist.Caring For The Toy
Keeping your cat toy mouse clean and intact helps it last longer. Proper care keeps it safe and fun for your cat. Regular attention prevents germs and damage. This section explains easy ways to clean and fix your toy mouse.
Cleaning Instructions
Remove loose dirt by gently shaking the toy outside. Use a soft brush to remove dust and fur. Spot clean with a damp cloth and mild soap. Avoid soaking the toy to keep the stuffing dry. Let it air dry completely before your cat plays with it again.
For fabric toys, a quick hand wash in cold water works well. Rinse thoroughly to remove soap. Dry it in a warm, airy place. Do not use a dryer as heat can damage the material.
Repairing Wear And Tear
Check the toy often for loose threads or holes. Small tears can be fixed with a needle and thread. Use tight stitches to stop the hole from growing. Replace any lost stuffing with soft cotton or fabric scraps. Avoid small parts that can break off and harm your cat.
If the toy has a bell or small parts, ensure they stay secure. Remove or repair any dangerous pieces immediately. Regular repairs keep the toy safe and enjoyable for your pet.
Frequently Asked Questions
What Materials Are Needed To Make A Cat Toy Mouse?
You need fabric, stuffing, thread, needle, and optional catnip. Soft materials work best for safety and comfort. Catnip attracts cats and increases playtime enjoyment. Scissors and a pattern for cutting fabric are helpful tools.
How Do I Sew A Simple Cat Toy Mouse?
Cut two identical fabric mouse shapes. Sew them together inside out, leaving a gap. Turn right side out, stuff with filling and catnip. Sew the gap closed tightly. Use sturdy thread to withstand rough play.
Can I Use Household Items To Make A Cat Toy Mouse?
Yes, you can use old socks or fabric scraps. Stuff with cotton balls, fabric, or paper. Add catnip for extra attraction. Repurpose buttons or yarn for eyes and tail. Always ensure materials are safe and non-toxic.
How Do I Make The Cat Toy Mouse More Appealing?
Add catnip inside for scent attraction. Use bright colors or textures for visual interest. Attach a string or bell to enhance play. Ensure the toy size is suitable for your cat. Rotate toys regularly to maintain interest.
Conclusion
Making a cat toy mouse is fun and simple. You can use materials found at home. This toy keeps your cat active and happy. It also saves money compared to store-bought toys. Spend a little time crafting, and enjoy seeing your cat play.
Small steps create big smiles for your pet. Try different colors and shapes to find what your cat likes best. Your cat deserves a special toy made with love. Give it a try today!

Leave a Reply