Have you ever wanted to bring the famous Grumpy Cat into your own home? Imagine having a soft, cuddly plush toy that captures all that adorably grumpy charm.
Making your own Grumpy Cat plush toy is easier than you think, and it’s a fun way to show off your creativity. In this guide, you’ll discover simple steps to craft a toy that looks just like the iconic feline.
By the end, you’ll have a unique keepsake that’s all yours. Ready to turn your love for Grumpy Cat into something you can hold? Let’s get started!
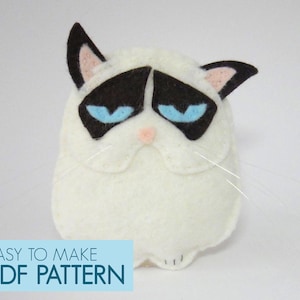
Credit: www.etsy.com
Materials Needed
Gathering the right materials sets the foundation for a perfect Grumpy Cat plush toy. Choosing quality supplies makes the crafting process smooth and enjoyable. It also ensures the final toy looks cute and lasts long.
Fabric Choices
Select soft fabrics that mimic cat fur texture. Fleece and minky fabric work well for a cuddly feel. Felt is good for small details like eyes and nose. Pick colors close to Grumpy Cat’s signature shades: gray, white, and a bit of black.
Stuffing Options
Use polyester fiberfill for a soft and light plush. Cotton stuffing offers a firmer feel but may be heavier. Avoid heavy or rough materials that can make the toy stiff or uncomfortable. Make sure the stuffing is clean and hypoallergenic.
Tools And Accessories
- Sewing needles and thread matching your fabric colors
- Fabric scissors for precise cutting
- Fabric glue for attaching small parts
- Black and white embroidery floss for facial features
- Pins to hold pieces together while sewing
- Chalk or fabric marker to trace patterns
- Optional: Safety eyes for a professional look
Creating The Pattern
Creating the pattern is a key step in making your Grumpy Cat plush toy. This step shapes the entire project and guides your cutting and sewing. A clear, precise pattern helps keep all parts in the right size and shape.
Take your time in this stage. A good pattern saves effort later and makes your plush look neat and tidy. You will first draw the template and then cut the fabric based on that template.
Drawing The Template
Start with a simple sketch of Grumpy Cat’s face and body. Use a pencil and paper. Focus on basic shapes like circles and ovals for the head and body. Add details like ears, eyes, and mouth, but keep them simple.
Make sure to draw each part separately. This includes the front and back of the body, the ears, and the tail. Label each piece clearly. Use a ruler to keep lines straight when needed.
Check the size of each part. Compare it to the size you want your plush to be. Adjust your drawing if pieces look too big or too small. Your template should fit together like a puzzle.
Cutting The Fabric
Place your paper template on the fabric. Pin it down to keep it from moving. Use sharp fabric scissors for clean cuts. Cut slowly around each piece, following the template edges exactly.
Cut two pieces for the front and back of the body. Cut matching pairs for ears and tail. Remember to leave a small margin outside the line for sewing, about ¼ inch.
Keep your fabric flat and smooth while cutting. This prevents uneven edges and wrinkles. Organize your fabric pieces by shape to avoid confusion later. You are now ready to start sewing your plush toy.
Sewing The Pieces
Sewing the pieces of your Grumpy Cat plush toy is where your creation truly begins to take shape. This stage requires patience and precision, but it’s also where your handiwork starts to feel real. Let’s dive into the stitching techniques and how to assemble the body so your grumpy feline comes to life.
Stitching Techniques
Choosing the right stitch can make your plush sturdy and neat. The ladder stitch is perfect for closing seams invisibly after stuffing, giving your plush a clean finish. Meanwhile, a backstitch works well for attaching smaller parts like ears or facial features, offering strength without bulk.
Don’t rush your stitches; even tension is key. Too tight, and the fabric puckers; too loose, and the stuffing might peek through. Have you tried practicing on scrap fabric before starting on your plush? It really helps build confidence.
Assembling The Body
Lay out all your sewn pieces before you start assembling to get a clear picture of the final shape. Start by attaching the head to the body using pins to hold them in place. This way, you can easily adjust before sewing them together permanently.
Stuff each section lightly as you go, checking the shape frequently. Overstuffing can distort your plush, while understuffing makes it floppy. Try giving your plush a gentle squeeze—does it feel just right or too firm? Adjust accordingly.
Once the main parts are connected, sew on the smaller details like the tail and paws. These finishing touches add character and make your Grumpy Cat plush truly unique. What expression will you give yours—extra grumpy or just a little annoyed?
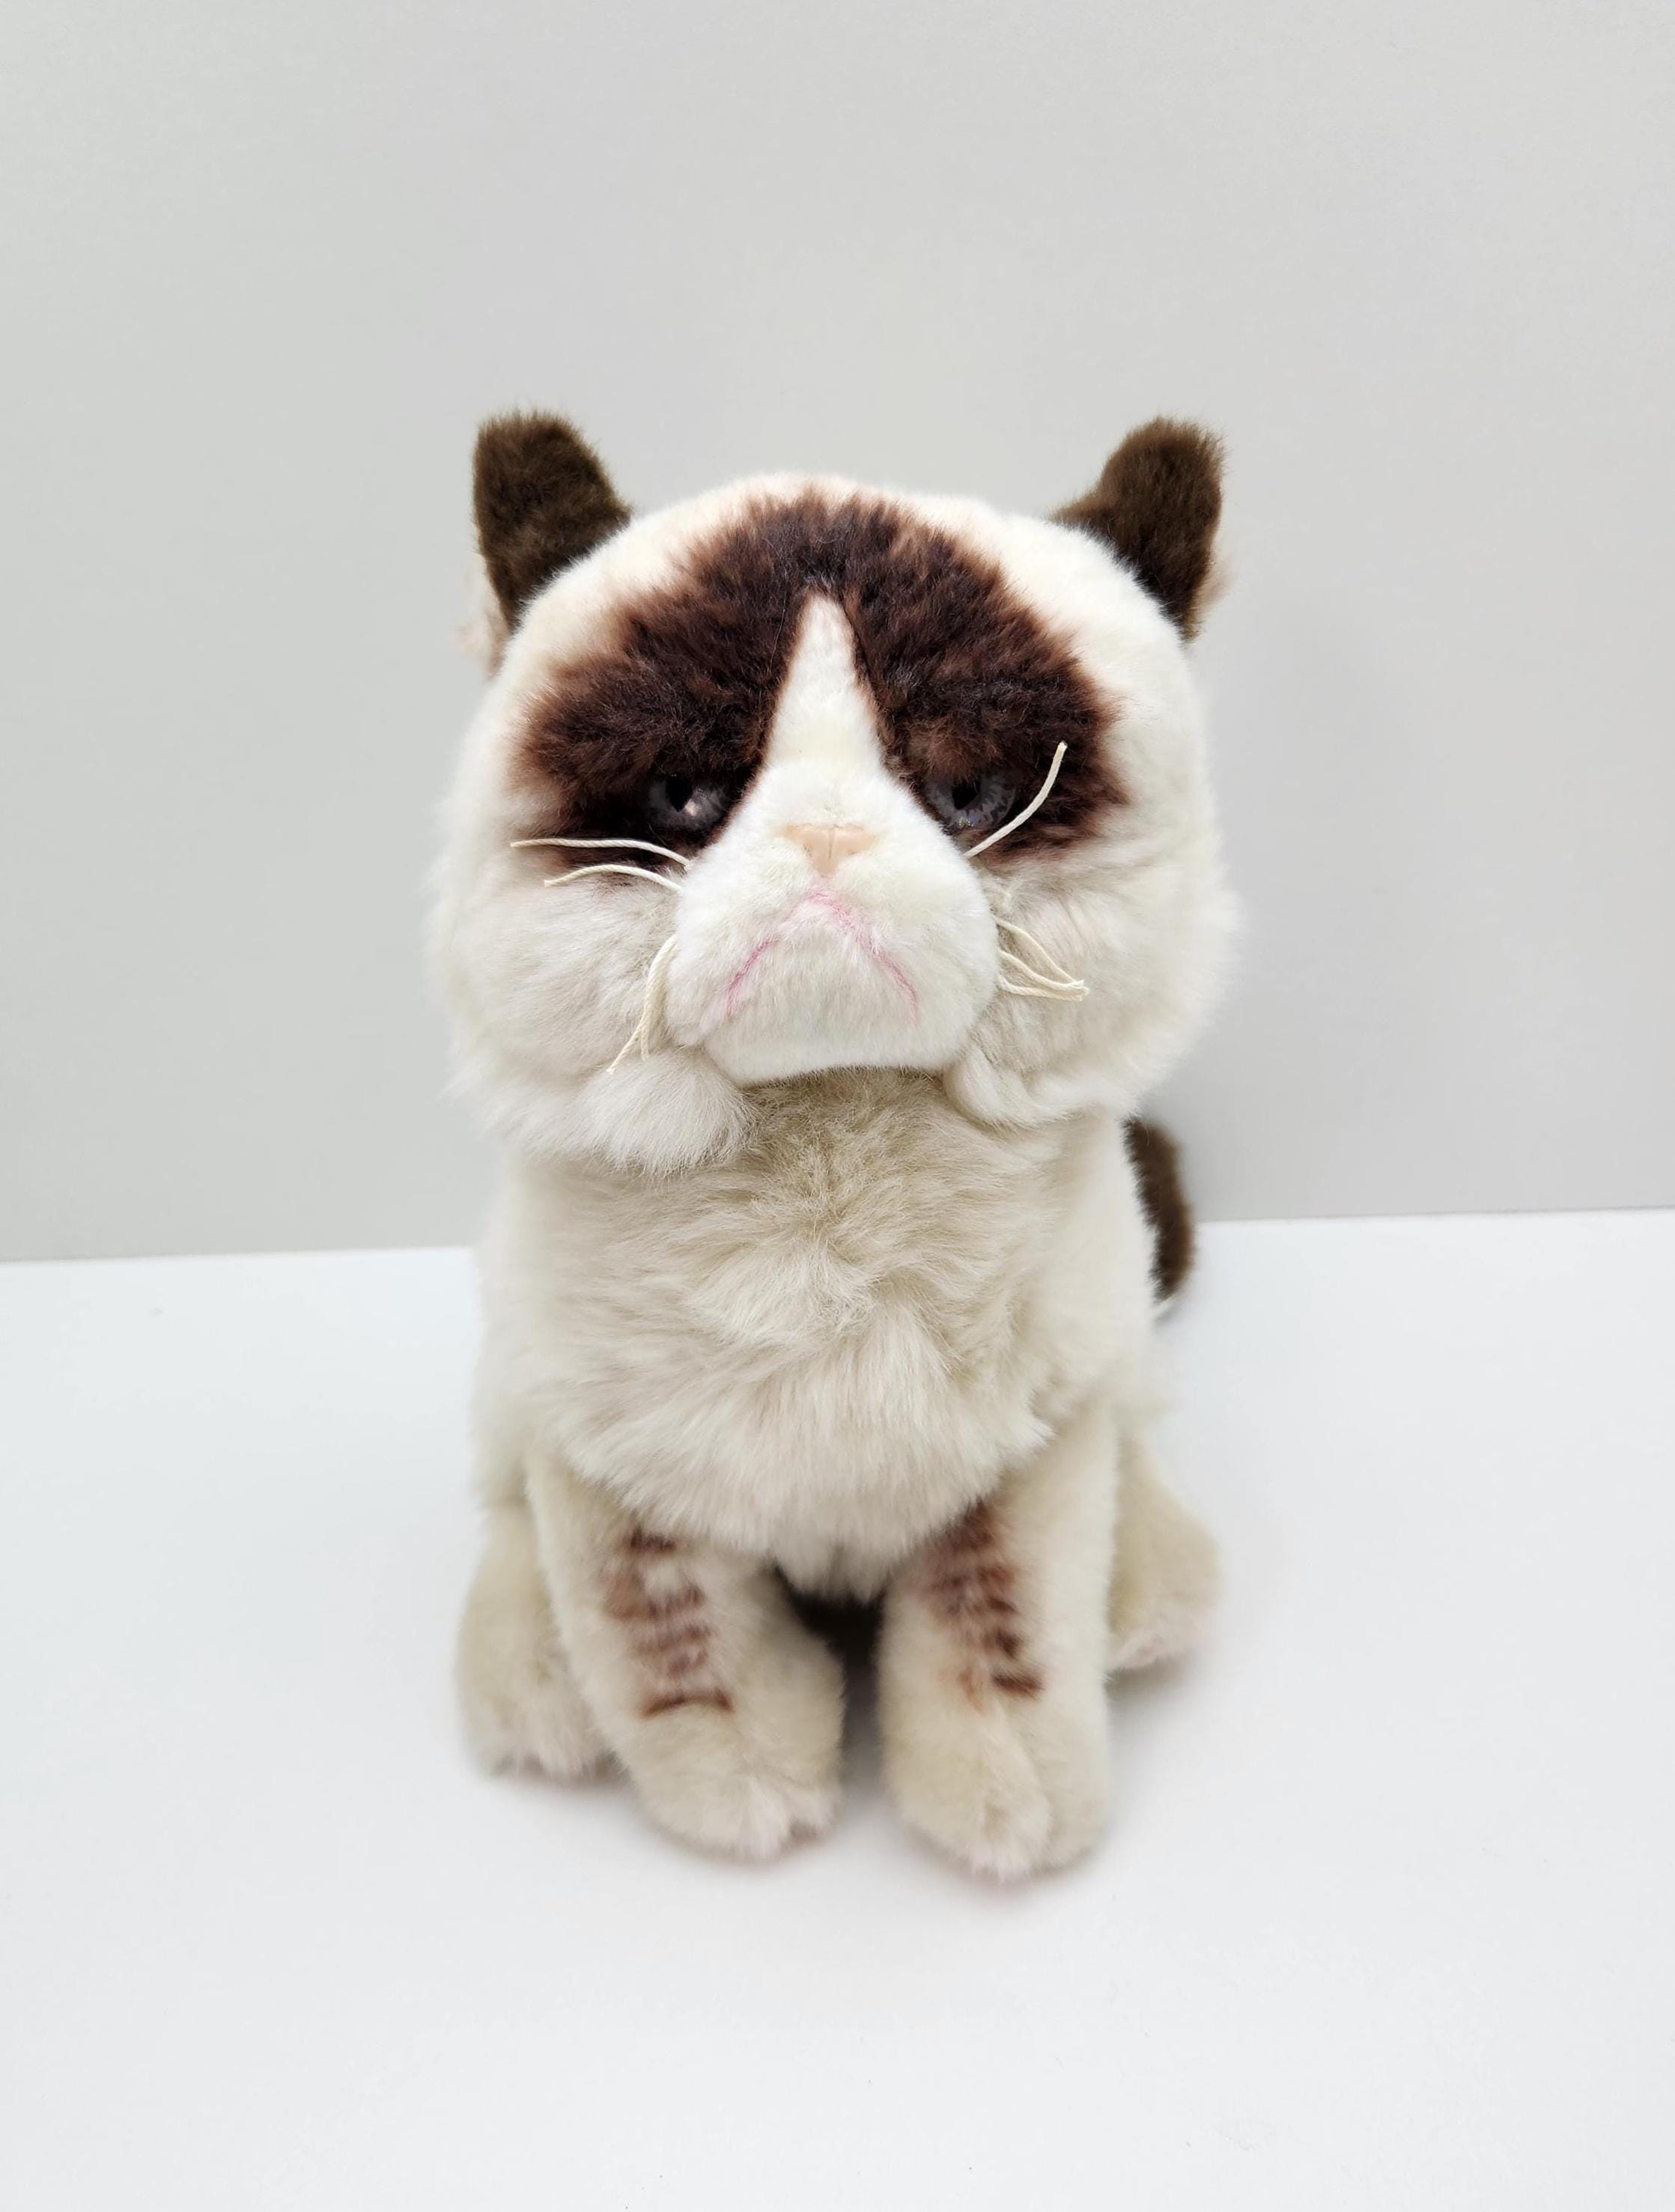
Credit: www.ebay.ca
Adding Facial Features
Adding facial features brings your Grumpy Cat plush toy to life. The face expresses its iconic mood. Focus on the eyes, eyebrows, mouth, and nose. Small details create the unique grumpy look. This part requires careful attention and patience. Use simple tools and materials for best results.
Eyes And Eyebrows
Start with the eyes. Use black buttons or felt circles for pupils. Surround them with white felt or fabric for the eye whites. Position eyes slightly tilted to show grumpiness. Use dark thread to stitch around the eyes for depth.
Eyebrows are key to the grumpy expression. Cut small strips of black or dark brown felt. Shape them with a slight downward slant. Attach above the eyes using fabric glue or careful stitching. Make sure they look uneven or furrowed.
Mouth And Nose Details
The mouth should look like a frown or slight pout. Use black embroidery thread to stitch a small downward curve. Keep stitches close and neat for a clear shape. Avoid a wide smile or straight line.
The nose is small and simple. Use a small triangle piece of pink or black felt. Sew or glue it just above the mouth. Add tiny stitches on each side to show nostrils. This completes the classic grumpy cat look.
Stuffing And Shaping
Carefully fill the plush toy with stuffing for a soft, huggable feel. Shape the body to capture that iconic grumpy expression.
Creating a grumpy cat plush toy is a fun and rewarding project. Stuffing and shaping are key steps in crafting your plush toy. Achieving the right shape gives your toy its personality. Let’s dive into stuffing techniques and shaping secrets.Filling Tips
Choosing the right stuffing is crucial. Polyester fiberfill is lightweight and fluffy. It provides a soft, cuddly texture. Use small amounts of stuffing at a time. This ensures even distribution. Fill the head first, then move to the body. Use a pencil or chopstick to reach small areas. This helps avoid lumps and uneven textures. Ensure the stuffing is firm, but not too tight. A balance creates a plush toy that holds its shape. It also stays huggable and soft. Check for any gaps or loose areas. Add more filling where necessary. This ensures a consistent and smooth finish.Achieving The Grumpy Look
The grumpy expression defines this plush toy. Focus on shaping the face carefully. Start with the eyebrows. Pinch the fabric to create an arched effect. Use small stitches to secure the shape. For the mouth, sew a slight downturn. This gives the signature grumpy appearance. Adjust the eyes for extra effect. Position them with a slight inward tilt. This enhances the moody look. Use embroidery thread for detailing. It adds depth and definition. Pay attention to symmetry. Both sides of the face should match. These shaping tips ensure your grumpy cat looks just right. The details bring your plush toy to life. Enjoy the process and let your creativity shine.Finishing Touches
The finishing touches bring your Grumpy Cat plush toy to life. This stage highlights key features that make the toy look complete and true to the character. Careful attention here enhances the overall charm and feel of your creation.
Attaching Ears And Tail
Start by sewing the ears securely to the top of the head. Make sure they are symmetrical and stand upright. Use small, tight stitches for durability.
Next, attach the tail to the back of the body. Position it so it looks natural and balanced. Reinforce the base of the tail with extra stitches to keep it sturdy during play.
Final Adjustments
Check all seams for loose threads or gaps. Tighten any weak spots with extra stitching. Fluff the plush toy gently to shape it nicely.
Make sure the facial expression is clear and grumpy-looking. Adjust the eyes or mouth if needed to match the iconic Grumpy Cat look. Your plush toy is now ready for hugs and display.
Care And Maintenance
Taking good care of your Grumpy Cat plush toy keeps it soft and lovely. Proper care helps the toy stay clean and last a long time. Follow easy steps to maintain your plush in the best shape.
Cleaning Tips
Use a gentle approach to clean your Grumpy Cat plush. Spot clean with a damp cloth and mild soap. Avoid harsh chemicals that can damage the fabric. For deeper cleaning, hand wash in cold water. Squeeze gently, do not twist or wring the toy. Let it air dry completely before use. Avoid direct sunlight to prevent colors from fading.
Storage Advice
Store your plush in a dry, cool place. Keep it away from dust and dirt. Use a breathable fabric bag or box for protection. Avoid plastic bags that trap moisture and cause mold. Keep it away from pets and rough surfaces. Fluff the plush occasionally to maintain its shape.

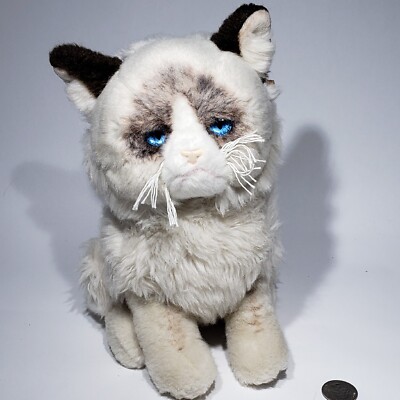
Credit: www.ebay.ca
Frequently Asked Questions
What Materials Are Needed For A Grumpy Cat Plush Toy?
You need soft fabric, stuffing, fabric glue, scissors, needle, and thread. Print a Grumpy Cat template for accuracy. Use felt or fleece for facial details. These materials ensure your plush toy is soft and durable.
How Do I Create The Grumpy Cat Face Details?
Cut out eyes, nose, and mouth shapes from felt. Use fabric glue or stitch them carefully. Add facial expressions with fabric markers if needed. Precise details bring the plush toy’s character to life.
Can Beginners Make A Grumpy Cat Plush Toy?
Yes, beginners can make it with patience. Follow step-by-step instructions and use simple stitches. Choose easy-to-handle fabrics like fleece. Start with basic shapes and add details gradually.
How To Stuff The Grumpy Cat Plush Evenly?
Use small amounts of stuffing at a time. Push stuffing into corners and curves carefully. Avoid overstuffing to maintain shape and softness. Even stuffing prevents lumps and keeps the plush cuddly.
Conclusion
Making a Grumpy Cat plush toy is fun and simple. You only need a few materials and patience. Each stitch brings your creation to life. Enjoy the process and add your own touch. This project makes a great gift or keepsake.
Try it today and see how cute your plush turns out. Everyone loves a handmade toy with personality. Keep practicing to improve your sewing skills. Crafting brings joy and a sense of pride. Give your Grumpy Cat a cozy home on your shelf.


Leave a Reply