Are you ready to create something cute, cozy, and completely handmade? Knitting a toy cat is a fun and rewarding project that anyone can try, even if you’re new to knitting.
Imagine holding a soft, adorable cat that you made with your own hands—perfect as a gift or a charming decoration. In this guide, you’ll discover an easy, free pattern that walks you through every step. Let’s get started and turn your yarn into a lovable little friend you’ll be proud of!

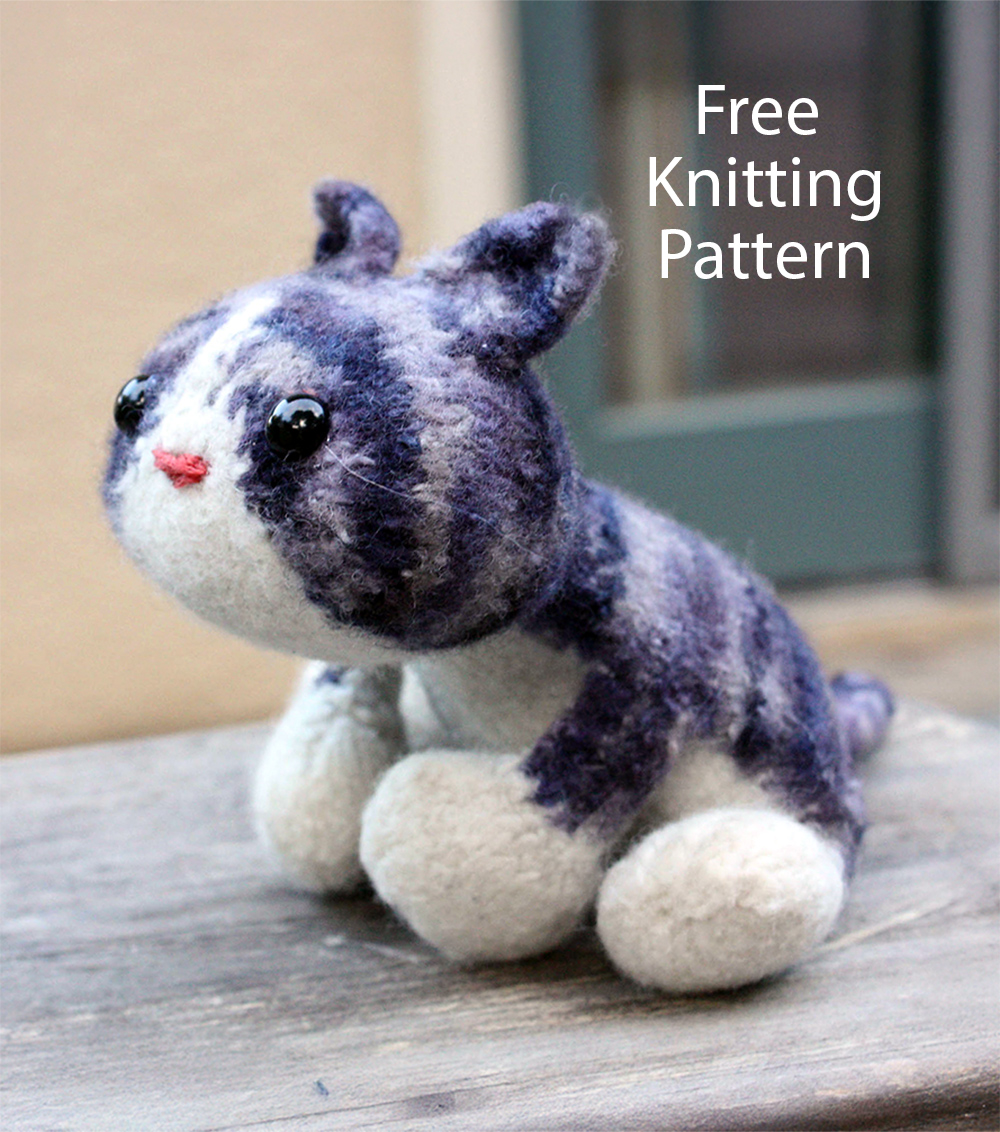
Credit: www3.rcherz.com
Materials Needed
Before you start knitting your toy cat, gathering the right materials is essential. The quality and type of supplies you choose can make a big difference in your knitting experience and the final look of your toy. Let’s break down what you’ll need to get started.
Yarn Selection
Choose yarn that feels soft and is easy to work with. Acrylic yarns are budget-friendly and come in many colors, while wool offers a cozy texture but may be a bit tricky for beginners. Think about the toy’s purpose—if it’s for a child, opt for washable and hypoallergenic yarn.
Have you considered using variegated yarn? It can give your cat a unique, colorful appearance without extra effort. Also, check the yarn weight; a medium worsted weight is usually perfect for toy knitting, providing good stitch definition without being too bulky.
Needle Types
Needles come in various materials like metal, wood, and plastic. Metal needles slide easily, which speeds up knitting but may feel slippery if you’re new. Wood or bamboo needles offer more grip and control, which might help you keep your stitches even.
Most toy patterns recommend using double-pointed needles (DPNs) or circular needles for knitting in the round. If you don’t have these, try magic loop technique with a long circular needle. What needle size matches your yarn? Usually, a size 4-6 mm needle works best with worsted yarn.
Additional Supplies
Besides yarn and needles, there are a few extras you’ll need. Stitch markers help you keep track of rounds or pattern repeats, so don’t skip them. A yarn needle is essential for sewing pieces together and weaving in ends neatly.
Stuffing material is crucial to give your toy cat shape—polyester fiberfill is common, but you can also use scrap yarn or fabric bits. Safety eyes or embroidery thread bring your cat’s face to life. Have you thought about adding tiny bells or ribbons for personality? These small touches make your toy truly special.
Basic Knitting Techniques
Knitting a toy cat starts with learning basic techniques. These skills build the foundation for your project. Each step is simple but important. Practice these to create neat, strong stitches. This section covers casting on, knit and purl stitches, and binding off.
Casting On
Casting on creates the first row of stitches on your needle. It sets the width of your toy cat’s body. Begin with a slip knot to secure the yarn. Use the long-tail cast on for a stretchy edge. Hold the needle and yarn carefully to keep tension even. Count stitches to match the pattern’s requirements.
Knit And Purl Stitches
The knit stitch forms the smooth side of the fabric. Insert the right needle into the first stitch on the left needle. Wrap the yarn around the needle and pull it through. The purl stitch creates a bumpy texture. Insert the needle from the front to the back. Wrap the yarn and pull through the stitch. Combine knit and purl stitches to make patterns. Practice both to keep your knitting even and tidy.
Binding Off
Binding off finishes your knitting and secures the stitches. Knit two stitches first. Use the left needle to lift the first stitch over the second. Continue knitting one stitch and lifting the previous stitch. This closes the edge and stops unraveling. Cut the yarn, leaving a small tail. Pull the tail through the last stitch to lock it. Your toy cat’s shape stays firm and neat.
Reading The Toy Cat Pattern
Reading a toy cat knitting pattern might seem tricky at first, but it becomes clear once you understand the basics. Patterns are written in a special language filled with symbols, row-by-row instructions, and notes on shaping and sizing. Getting comfortable with these elements will save you time and help you avoid mistakes.
Pattern Symbols
Pattern symbols are like a secret code that tells you exactly what to do with your stitches.
- K:Knit stitch
- P:Purl stitch
- Inc:Increase (add a stitch)
- Dec:Decrease (reduce a stitch)
- Sl st:Slip stitch
These abbreviations are consistent in most patterns, so once you memorize them, you’ll read future patterns faster. Keep a list handy while you knit. Have you noticed how using symbols speeds up your knitting experience?
Row Instructions
Row instructions guide you through the project one line at a time. They tell you how many stitches to work, what type, and when to change.
For example, a row might say: K5, P3, Inc, K2. This means knit five stitches, purl three, increase one stitch, then knit two. Don’t rush through these instructions—read each step carefully before you start knitting the row.
Shaping And Sizing
Shaping gives your toy cat its unique form, like rounded ears or a plump body. Patterns include special instructions for shaping, often using increases and decreases at specific points.
Sizing details tell you how big your toy will be and sometimes offer options for making it smaller or larger. Pay close attention to these notes, especially if you want your cat to fit a particular space or be the perfect size for a child’s hands. How might adjusting the size change the personality of your knitted cat?
Knitting The Body
Knitting the body of your toy cat brings the shape to life. This part creates the soft, cuddly form that defines the toy. It takes simple stitches and turns them into a charming figure.
Starting The Base
Begin by casting on the number of stitches needed for the base. Use a circular or double-pointed needle for seamless knitting. Knit in the round to avoid seams. This base is usually a small circle that forms the bottom of the body.
Keep your stitches even and tight. This prevents stuffing from showing through later. Use a stitch marker to mark the beginning of the round. It helps keep track of your progress.
Increasing And Decreasing
Increase stitches gradually to widen the body. Knit two stitches into one to add width. Space increases evenly around the round. This shapes a gentle curve for the belly.
Decrease stitches to taper the body near the neck. Use knit two together (k2tog) for smooth decreases. Space decreases evenly as well. This creates a rounded, natural torso shape.
Forming The Torso
After shaping, knit several rounds without changes. This builds the length of the torso. Keep tension consistent to maintain shape.
Stuff the body lightly as you go. Use soft fiberfill for a cuddly feel. Make sure the stuffing is firm but not tight.
Close the top by decreasing until the opening is small. Bind off and weave in ends securely. Your toy cat’s body is now ready for attaching head and limbs.
Creating The Head And Face
Start by shaping the head with simple stitches, making it round and soft. Add the face details carefully to bring the toy cat to life. Use small, even stitches for eyes, nose, and mouth to create a cute expression.
Creating the head and face of your toy cat is where your project begins to take on personality and charm. This part of the process is more than just assembling yarn and needles—it’s about giving life to your creation. Imagine the joy on a child’s face when they see a friendly, hand-knitted cat smiling back at them.Shaping The Head
Start by casting on the required number of stitches, ensuring even tension for a smooth finish. The head’s roundness is achieved through strategic increases and decreases. As you knit, notice how your yarn begins to form a gentle curve; this is the magic of shaping. Keep an eye on your stitch count to maintain symmetry. Uneven stitches can lead to a lopsided head, which might give your cat an unintended quirky look.Adding Facial Features
Once the head is shaped, it’s time to add the features that will define your toy cat’s personality. Decide on the placement of the eyes and nose, using pins to mark their positions before you commit. Buttons or beads can serve as eyes, while a small knitted triangle or a piece of felt works well for the nose. Secure these features carefully to ensure they remain in place, even after countless cuddles.Embroidering Details
Embroidering adds those final touches that bring your toy cat to life. Use contrasting yarn to create whiskers, a mouth, or even some fun eyebrows. These little details can make a big difference in expressing your cat’s character. Consider the story your toy cat tells through its expression. Is it playful, mischievous, or serene? Your choice of embroidery can convey these traits vividly. By taking the time to carefully craft each element, you ensure that your toy cat is not just a plaything, but a cherished companion. What special touch will you add to make your toy cat unique?Making The Limbs
Making the limbs of your knitted toy cat brings it to life. The limbs give character and balance, so paying attention to their shape and size matters. You’ll find that knitting the legs and arms involves similar techniques, but each has its unique charm.
Knitting The Legs
Start with a small number of stitches to keep the legs slim and cat-like. Use your favorite yarn and needles that match the pattern’s gauge for a neat finish.
Keep your tension even to avoid bulky spots. A good tip is to count your rows as you go, so both legs end up the same length.
Want to add a bit of personality? Try a subtle color change at the “paw” area to mimic a cat’s natural fur variation.
Crafting The Arms
The arms usually require fewer stitches than the legs, making them look delicate and soft. Use a similar knitting style to maintain consistency across the toy.
Remember to stuff the arms lightly while knitting, so they stay flexible and cuddly. Overstuffing can make them stiff and hard to pose.
Consider adding tiny claws by stitching small details at the tips. It’s a simple touch that adds realism and charm.
Attaching The Limbs
Securely sewing the limbs onto the body is key. Use a whip stitch or mattress stitch to keep everything tight and neat.
Pin the limbs in place before sewing to check their position. This helps you avoid awkward angles that can make your toy look off-balance.
Take your time here—how your limbs sit affects your toy’s personality. Don’t hesitate to adjust until you’re happy with the pose and proportion.
Finishing Touches
Finishing touches bring your knitted toy cat to life. This final stage makes the toy soft, sturdy, and full of charm. Proper finishing ensures your cat looks neat and feels cuddly. Each step adds detail that enhances the overall appeal.
Stuffing The Toy
Use soft polyester fiberfill for stuffing. Fill the cat gently to keep its shape. Avoid overstuffing, which can stretch the stitches. Add stuffing gradually, shaping the body evenly. Focus on filling the head and limbs firmly for support.
Sewing Pieces Together
Match pieces carefully before sewing. Use a yarn needle and matching yarn color. Stitch with small, tight seams to hide thread. Secure the ends by knotting inside the toy. Check for gaps to keep stuffing inside safely.
Adding Accessories
Give your toy cat personality with simple accessories. Sew on embroidered eyes or use safe buttons. Add a small collar or a knitted scarf for charm. Keep accessories secure to avoid choking hazards. These details make your toy unique and special.
Tips For Beginners
Begin by choosing soft yarn and simple needles for easy handling. Follow the pattern carefully and knit slowly to avoid mistakes. Small, even stitches create a neat toy cat shape.
For those new to knitting, creating a toy cat can seem daunting. But with the right guidance, it becomes a fun and rewarding experience. Let’s explore some essential tips to help beginners knit a toy cat pattern with confidence.Avoiding Common Mistakes
New knitters often face similar challenges. Dropping stitches is one common issue. Keep an eye on each stitch as you work. Another mistake is knitting too tightly. This makes it hard to insert the needle. Relax your hands and keep a gentle grip on the yarn. Also, remember to count your stitches regularly. This ensures your cat has the correct shape.Maintaining Tension
Tension affects the look of your knitted cat. Consistent tension is key. Practice holding the yarn steadily. This helps maintain even stitches. A yarn tension ring can also help. It keeps the yarn flowing smoothly. Try knitting a small swatch first. This helps you get a feel for the tension.Choosing The Right Yarn
The yarn choice impacts the final toy’s texture. Soft yarns are ideal for toys. Cotton or acrylic yarns are good options. They are easy to work with and washable. Check the yarn label for its weight. Choose a light to medium weight for better control. Avoid yarns with too much fuzz. They can make your toy look messy.Care And Maintenance
Taking care of your knitted toy cat keeps it soft and looking new. Proper care helps the toy last longer. It also keeps colors bright and the shape firm. Simple care steps make a big difference. Follow these tips to enjoy your handmade cat for years.
Washing Instructions
Hand wash your toy cat gently in cold water. Use mild soap made for delicate fabrics. Avoid harsh scrubbing or twisting the toy. Rinse well to remove all soap. Press out water softly with a towel. Do not wring or squeeze hard. Let it air dry flat on a clean towel. Keep it away from direct sunlight or heat sources. Avoid machine washing or drying to prevent damage.
Storage Suggestions
Store your knitted toy cat in a cool, dry place. Avoid damp or humid areas to stop mold and mildew. Use a breathable container, like a fabric bag or box with holes. Keep it away from sharp objects that can pull threads. Do not store under heavy items that can squash the toy. Occasionally, air out the toy to keep it fresh. Proper storage keeps the toy safe and clean for play or display.
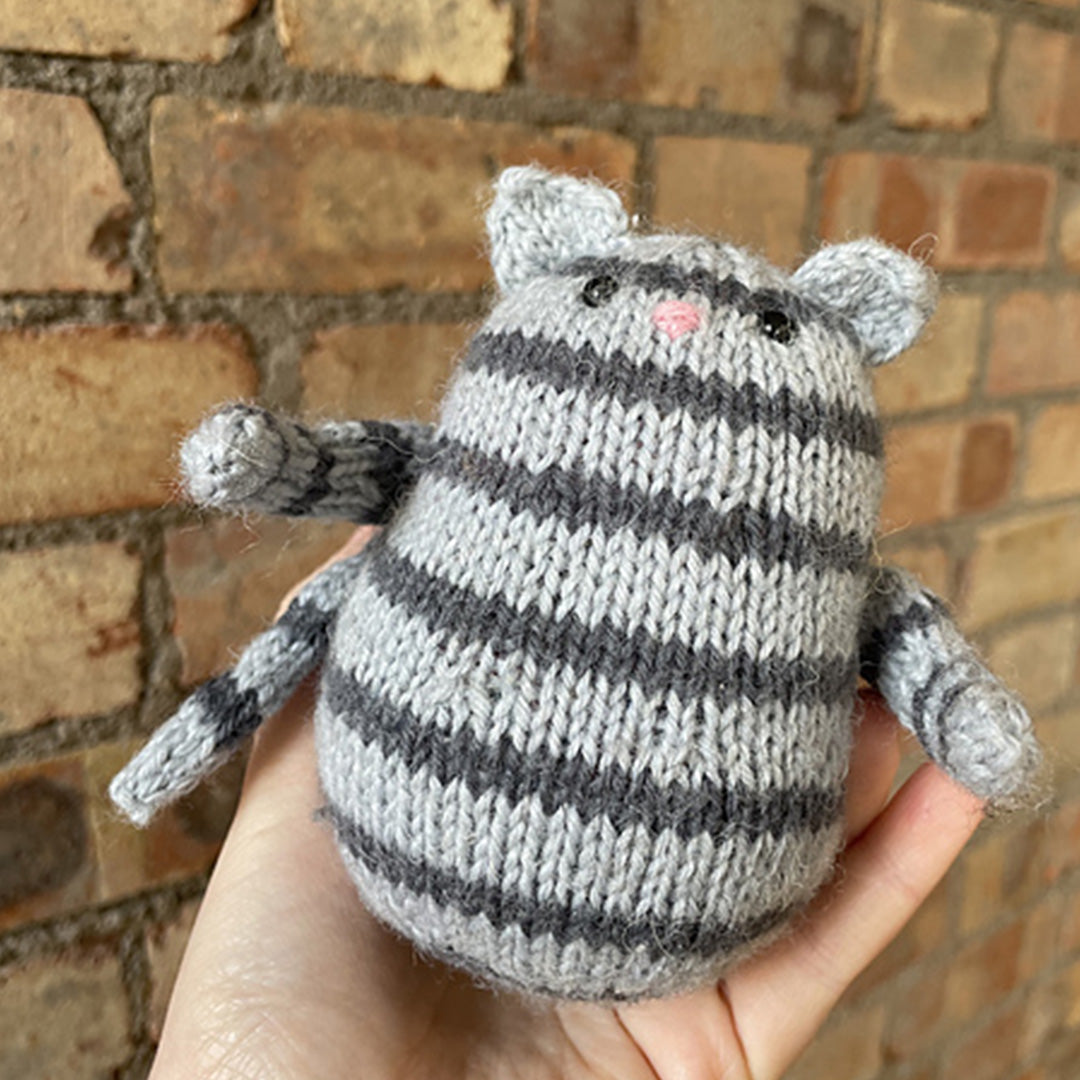
Credit: www.woolandcompany.com
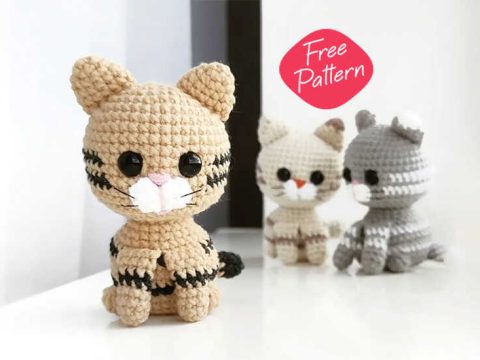
Credit: www.alwaysfreeamigurumi.com
Frequently Asked Questions
How Do I Start Knitting A Toy Cat Pattern?
Begin by choosing the right yarn and needles. Cast on the required stitches, then follow the pattern step-by-step for the toy cat’s body and head.
What Yarn Is Best For Knitting A Toy Cat?
Use soft, washable yarn like acrylic or cotton. These yarns are safe for kids and easy to clean, making them ideal for toy cats.
Can Beginners Knit A Toy Cat Easily?
Yes, toy cat patterns are beginner-friendly. They use basic stitches like knit and purl, making the project simple and enjoyable for new knitters.
How Long Does It Take To Knit A Toy Cat?
Knitting a toy cat usually takes 4 to 6 hours. Time varies based on skill level and pattern complexity.
Conclusion
Knitting a toy cat can be fun and relaxing. The free pattern makes it easy to start right away. You only need basic knitting skills and some yarn. Each stitch brings your toy cat to life. It’s a great project for beginners or experts.
Try different colors to make your cat unique. Enjoy the process and share your creation with friends. Keep practicing, and your knitting will improve fast. Happy knitting and have fun crafting your toy cat!


Leave a Reply