Do you love the colorful charm of Nyan Cat and wish you had a cuddly version to hold? Making your own Nyan Cat stuffed toy is easier than you think, and it’s a fun way to bring this internet icon to life.
Imagine having a soft, handmade companion that brightens your day and shows off your creativity. In this guide, you’ll discover simple steps and handy tips that make the process enjoyable, even if you’re new to sewing. Ready to turn your passion into a cute, huggable creation?
Let’s dive in and make your very own Nyan Cat stuffed toy!
Materials Needed
Gathering the right materials is key to making a perfect Nyan Cat stuffed toy. Choosing quality fabric and tools will help your project look neat and last long.
Prepare everything before starting. This saves time and avoids frustration. The list below covers all basics needed for your craft.
Fabric Choices
- Felt fabric in gray for the cat body
- Bright colors like pink, red, orange, yellow, green, blue, and purple for the rainbow
- Light beige or cream felt for the cat’s face
- Soft stuffing fabric or fleece for a cuddly feel
Tools Required
- Sharp fabric scissors for clean cuts
- Needle and thread matching fabric colors
- Fabric glue for small decorations
- Pins to hold pieces before sewing
- Marker or fabric pencil to trace patterns
Additional Supplies
- Polyester fiberfill for stuffing
- Black buttons or embroidery thread for eyes
- Paper to create and cut out patterns
- Optional: small beads or ribbons for extra details

Credit: www.reddit.com
Preparing The Pattern
Preparing the pattern is a key step in making your Nyan Cat stuffed toy. It helps you get the right shape and size. A good pattern makes sewing easier and the final toy look great.
Start with a clear plan of the parts you need. The pattern will guide you through cutting fabric pieces correctly. Take your time to get the pattern just right before moving on.
Drawing The Template
Draw the template on paper first. Use a ruler and pencil for straight lines. Sketch the Nyan Cat body, head, tail, and pop-tart parts. Keep the shapes simple and clear.
Mark where the pieces will join. Add a small seam allowance around each shape. This space helps when sewing the parts together. Double-check the sizes and proportions.
Cutting The Fabric
Pin the paper templates to the fabric. Choose colorful felt or soft cloth for a cozy toy. Cut carefully along the edges of the template. Use sharp scissors for clean cuts.
- Cut two body pieces for front and back
- Cut the head and tail parts
- Cut the pop-tart shapes and details
Keep all fabric pieces organized. Lay them out to make sure you have everything. This step sets up your sewing to be smooth and fun.
Sewing The Pieces
Sewing the pieces of your Nyan Cat stuffed toy brings the project to life. This step requires focus and patience to ensure all parts fit well together. Use neat stitches to create a smooth, soft toy that holds its shape perfectly.
Start with the main body. Careful stitching here forms the base for the legs and tail. Take your time to keep seams even and tight.
Stitching The Body
Place the front and back fabric pieces together, right sides facing each other. Pin the edges to keep them from shifting. Sew along the outline, leaving a small gap for turning the fabric inside out. Use a backstitch or a tight running stitch for durability. After sewing, turn the body right side out carefully through the gap. Stuff it firmly with soft filling, making sure to push the stuffing into corners for a full shape. Close the gap with a ladder stitch for a clean finish.
Attaching The Legs And Tail
Prepare the legs and tail by sewing their edges and turning them right side out. Lightly stuff these parts to keep them soft but firm. Position each leg and the tail on the body where you want them attached. Pin them in place to avoid movement. Sew the legs and tail to the body using small, tight stitches. Double stitch for extra strength to withstand play. Make sure all attachments are secure to avoid any loose parts.
Adding Details
Adding details to your Nyan Cat stuffed toy brings it to life. This stage transforms basic shapes into a charming character. Pay attention to each element, and you’ll see how small touches make a big difference.
Creating The Face
The face is where your Nyan Cat’s personality shines. Use black embroidery thread to stitch the eyes, keeping the stitches small and close for a clean look.
Don’t rush the mouth—it’s the smile that makes your toy lovable. If you want, add tiny white felt dots for eye highlights to create a spark of life.
Try experimenting with different expressions. A little tilt or curve can change the mood instantly. How do you want your Nyan Cat to feel—happy, mischievous, or calm?
Sewing The Pop-tart Body
The body is the iconic Pop-Tart shape, so accuracy matters. Use colorful felt in pink or beige, and sew the two sides together with tight, even stitches to keep the stuffing secure.
Add small dashes of contrasting thread to mimic sprinkles. You can sew these by hand or use fabric paint for a quicker effect.
Make sure to leave a small gap when sewing for turning and stuffing. This step can feel tricky, but patience here pays off with a smoother finish.
Embellishing With Features
Details like the tail and rainbow trail make your Nyan Cat unique. Cut strips of felt in rainbow colors and sew or glue them in layers for a vibrant effect.
Don’t forget the ears and whiskers. Use a sturdier thread for whiskers so they stand out. You could also add a tiny bell or ribbon to personalize your toy further.
What little feature would make your Nyan Cat stand out on your shelf? These final touches reflect your creativity and make the toy truly yours.
Stuffing The Toy
Stuff the toy carefully to shape your Nyan Cat, using soft stuffing to fill the body evenly. Adjust the stuffing in the ears and tail to maintain their distinct shapes. Secure the seams to ensure the stuffing stays in place.
Stuffing the toy is a crucial step in bringing your Nyan Cat stuffed creation to life. It’s that moment where a flat piece of fabric transforms into a huggable companion. The right stuffing can make all the difference in how the toy feels and holds its shape. As you embark on this step, consider what kind of cuddly experience you want your Nyan Cat to deliver.Choosing The Right Stuffing
When selecting stuffing, think about the toy’s intended use. Will it be cuddled often or displayed on a shelf? Polyester fiberfill is a popular choice due to its softness and affordability. It’s great for toys that need to be cuddly and lightweight. If you prefer an eco-friendly option, consider organic cotton or recycled stuffing. These options offer a more sustainable approach while still providing a soft finish.Filling Tips
To achieve an even and smooth texture, stuff the toy in small amounts. Use a chopstick or pencil to push the stuffing into corners and small areas. This ensures the Nyan Cat maintains its shape, especially around the ears and legs. A fun tip: Add a few dried lavender flowers to the stuffing. This adds a delightful scent, making your Nyan Cat more than just cute—it’s aromatic! As you fill, think about the toy’s final shape. Do you want it to be firm for support or soft for snuggling? Adjust the amount of stuffing accordingly. By focusing on the stuffing process, you’re not just making a toy; you’re crafting a memory. What kind of plushie will your Nyan Cat be? The choice is in your hands!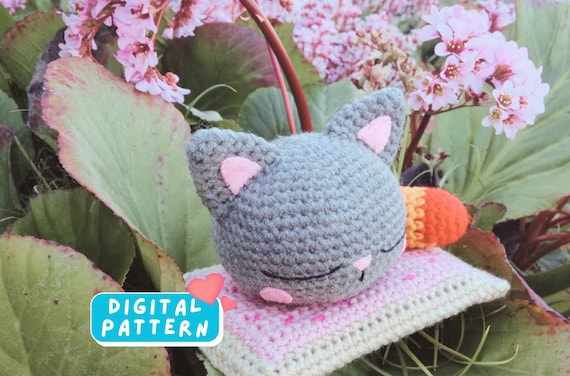
Credit: www.etsy.com
Finishing Touches
Finishing touches bring your Nyan Cat stuffed toy to life. This part makes the toy look neat and feel soft. Small details matter. They ensure your creation is safe to hug and looks just like the colorful character.
Sealing The Toy
Close all openings carefully. Use a strong thread and small stitches. This keeps the stuffing inside and stops it from falling out. Try to hide your stitches so they don’t show on the toy’s surface. Double-check corners and edges for any gaps. A sealed toy stays fluffy and lasts longer.
Final Adjustments
Look over your Nyan Cat for any loose threads. Trim them for a clean finish. Adjust the shape by gently shaping the stuffing inside. Smooth out lumps or bumps for a soft touch. You can also add small details, like embroidered eyes or a smile. These final steps make your toy special and ready to enjoy.
Care And Maintenance
Taking good care of your Nyan Cat stuffed toy keeps it soft and bright. Proper care helps the colors stay vivid and the fabric fresh. It also extends the life of your handmade toy. Simple cleaning and smart storage are key to keeping your Nyan Cat looking great.
Cleaning Tips
- Use a gentle hand wash with mild soap and cold water.
- Avoid harsh detergents that can fade colors or damage fabric.
- Spot clean stains with a soft cloth and light soap solution.
- Rinse well to remove all soap residue.
- Air dry flat on a clean towel, away from direct sunlight.
- Do not use a dryer to prevent shrinking or deformation.
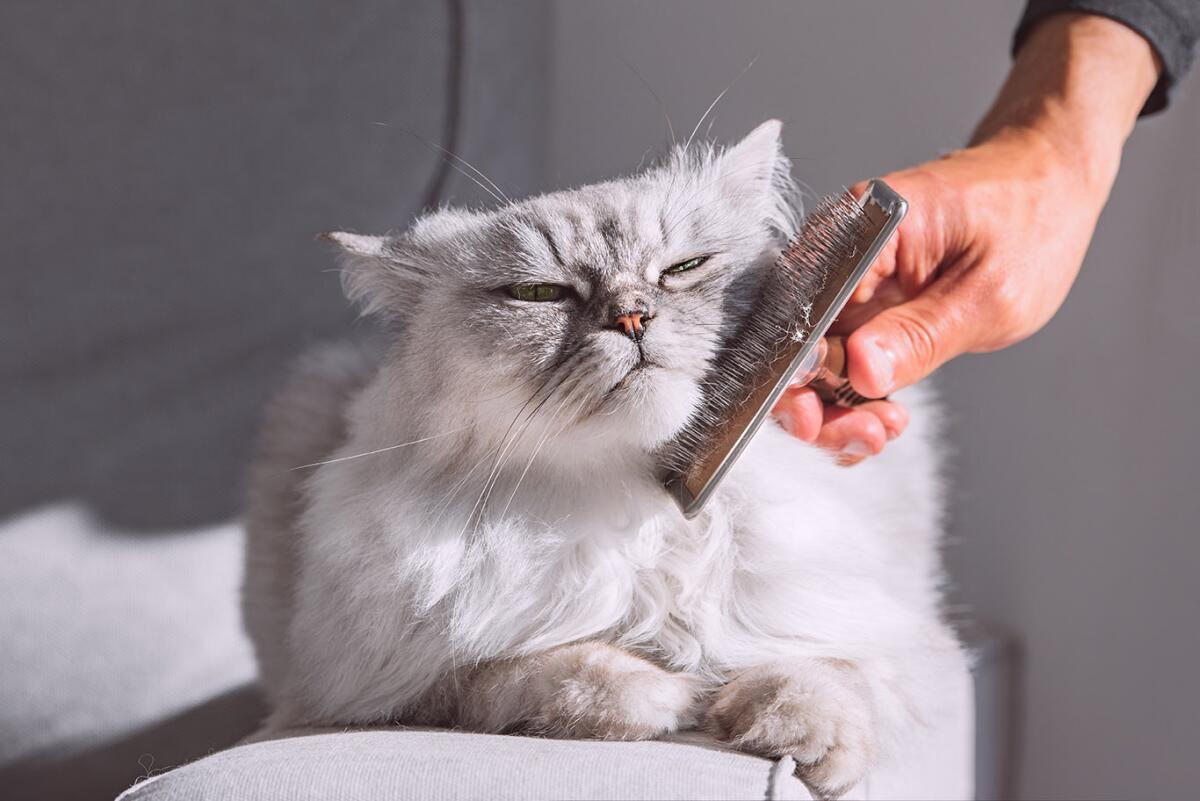
- Brush gently with a soft brush to restore fluffiness after drying.
Storage Advice
- Keep your Nyan Cat in a cool, dry place.
- Avoid storing in damp areas to prevent mold and mildew.
- Use a breathable fabric bag or pillowcase for dust protection.
- Store away from direct sunlight to stop colors from fading.
- Keep away from pets that might chew or damage the toy.
- Do not compress the toy under heavy items to keep its shape.

Credit: www.youtube.com
Frequently Asked Questions
What Materials Are Needed For A Nyan Cat Stuffed Toy?
You need colorful felt, stuffing, thread, needle, scissors, and fabric glue. Optional items include googly eyes and embroidery floss for details.
How Long Does It Take To Make A Nyan Cat Toy?
Making a Nyan Cat stuffed toy typically takes 2 to 4 hours. Time varies based on skill level and detail.
Can Beginners Easily Sew A Nyan Cat Stuffed Toy?
Yes, beginners can sew it with basic skills. The project uses simple shapes and stitches, making it beginner-friendly.
How Do I Add The Rainbow Tail To The Toy?
Cut felt strips in rainbow colors. Sew or glue them in layers to the cat’s back for the tail.
Conclusion
Making a Nyan Cat stuffed toy can be fun and simple. Follow the steps carefully and take your time. Use bright colors to match the original character. Sewing each part with care will make your toy last longer. Enjoy the process and be proud of your creation.
This project is perfect for fans and beginners alike. You now have a cute, handmade Nyan Cat to keep or gift. Try making more toys and share your love for crafting. Keep creating and have fun every step of the way!


Leave a Reply