Have you ever wanted to create a soft toy cat that feels like a warm hug? Making your own plush cat is easier than you might think, and it lets you add your personal touch to every stitch.
Whether you’re looking for a cute gift or a cozy companion, this guide will show you simple steps to bring your soft toy cat to life. Keep reading, and you’ll soon have a cuddly friend made by your own hands.
Materials Needed
Gathering the right materials sets the foundation for making a soft toy cat that feels just right in your hands. Choosing fabrics, stuffing, and extra supplies carefully will affect how your toy looks, feels, and lasts. Let’s break down what you’ll need to create a cuddly companion that you’ll be proud of.
Fabric Choices
Pick a fabric that feels soft and is easy to sew. Cotton and fleece are popular because they’re gentle on the skin and come in many colors. If you want a fluffy look, consider minky or faux fur fabric.
Think about how durable your fabric needs to be. Are you making this for a child who might play rough? Choose something sturdy like denim or canvas. You can mix fabrics to give your cat different textures—soft ears, fuzzy tail, smooth body.
Stuffing Options
The stuffing gives your soft toy cat its shape and cuddle factor. Polyester fiberfill is the most common; it’s lightweight, hypoallergenic, and easy to wash. If you want a heavier feel, you might add plastic pellets or beans to the bottom for stability.
Have you considered natural stuffing like wool or cotton batting? These options are eco-friendly and give a firm but soft feel. Just keep in mind that natural stuffing might require more care when cleaning.
Additional Supplies
- Needles and thread:Choose colors that match or contrast your fabric for neat stitching.
- Scissors:Sharp fabric scissors help cut clean edges.
- Pins or clips:These hold fabric pieces together while you sew.
- Fabric markers or chalk:Mark your patterns clearly before cutting.
- Buttons or safety eyes:For the cat’s eyes, make sure they are securely attached or embroidered for child safety.
- Pattern template:Either printed or hand-drawn to guide your cuts.
What extra touches will make your soft toy cat unique? Maybe a ribbon collar or embroidered whiskers? Think about small details that bring personality and charm to your creation.
Preparing The Pattern
Preparing the pattern is an important step in making a soft toy cat. This part helps you plan the shape and size of your toy. A well-prepared pattern makes sewing easier and the final toy look better. Take your time here to get things right.
Choosing A Design
Pick a design that is simple and clear. Look for patterns with basic shapes like circles and ovals. These are easier to cut and sew. Decide if you want a sitting cat or one that looks like it is standing. Think about the size of your toy too. Small toys are quick to make but harder to sew. Larger toys are easier to handle but need more fabric.
Printing And Cutting
Print your pattern on paper. Use a good quality printer for sharp lines. Check the print size matches your plan. Cut out the pieces carefully using scissors. Keep your cuts smooth and follow the edges exactly. Use pins to hold the paper pattern on the fabric before cutting. This keeps everything in place and prevents mistakes.
Cutting The Fabric
Cutting the fabric is a crucial step in making a soft toy cat. It sets the foundation for the shape and size of your toy. Precise cutting ensures all pieces fit together well during sewing. Careful handling of fabric helps avoid mistakes and waste.
Tracing The Pattern
Begin by laying your fabric flat on a clean surface. Place the paper pattern on top of the fabric. Use a fabric marker or chalk to trace around the pattern edges. Trace all parts of the cat, including ears, body, and tail.
Double-check that you have traced every piece before moving on. Mark any notches or important sewing points. These marks guide your stitching later. Keep the fabric steady to avoid shifting during tracing.
Tips For Accurate Cutting
- Use sharp fabric scissors for clean cuts.
- Cut slowly and follow the traced lines exactly.
- Hold the fabric firmly but avoid stretching it.
- Cut on a flat surface to keep edges straight.
- Keep pieces together if they are symmetrical or paired.
- Check for any missed marks or details before cutting.
Accurate cutting saves time and frustration. It helps your soft toy cat look neat and well-made. Take your time and focus on each piece carefully.
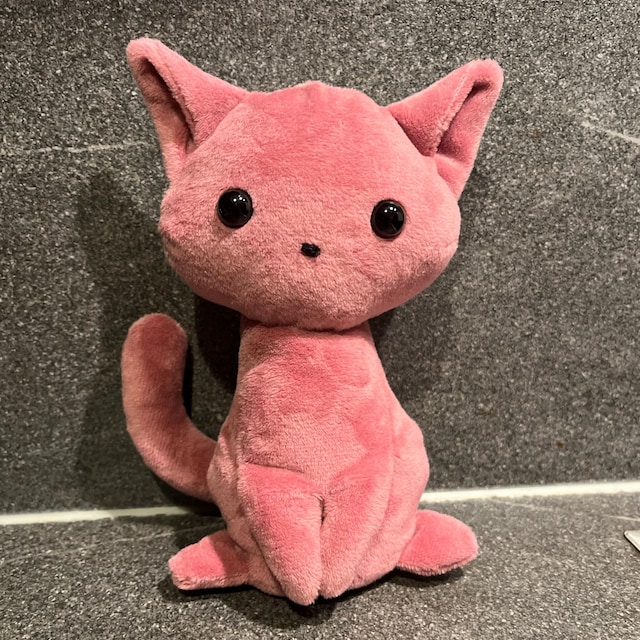
Credit: www.etsy.com
Sewing The Pieces
Sewing the pieces is the stage where your soft toy cat starts to take shape. This part needs patience and care to ensure all parts fit well together. Sewing creates a strong hold, making the toy durable and cuddly. Focus on neat stitches and matching seams for the best look.
Stitching The Body
Begin by placing the fabric pieces with the right sides facing each other. Use pins to hold them firmly in place. Sew along the edges with a small, even stitch. Leave a gap to turn the fabric inside out and fill the toy later. Backstitch at the start and end to secure the thread.
Attaching The Ears And Tail
Position the ears and tail on the body before sewing. Pin them securely so they do not shift. Use a strong stitch to attach each part firmly. Check that the ears stand upright and the tail is in the right spot. Reinforce the stitches for extra strength, especially on moving parts.
Stuffing The Toy
Stuff the toy cat gently with soft filling to keep it cuddly and smooth. Fill small areas carefully to keep the shape neat and even. Use enough stuffing to make the toy firm but still soft to touch.
Stuffing a toy cat requires attention to detail. This step ensures your toy cat feels soft and cuddly. The stuffing process is crucial for giving your cat the right shape and feel. Let’s explore how to stuff your toy cat effectively.Filling Evenly
To achieve an even fill, use small amounts of stuffing. This method prevents lumps and provides a uniform texture. Work from one end of the toy to the other. Ensure each area has the same amount of stuffing. Use your fingers to push the stuffing into corners and small areas. This helps maintain the toy’s shape. Distribute stuffing evenly for a smooth appearance.Shaping The Cat
Shaping the toy cat involves adjusting the stuffing. This step ensures the toy maintains a realistic form. Use your hands to mold the toy gently. Pay special attention to the head, paws, and tail. Ensure these parts have defined shapes. Adjust the stuffing until the toy resembles a real cat. Check the overall balance of the toy. Make sure it stands or sits properly. Adjust the stuffing as needed for stability.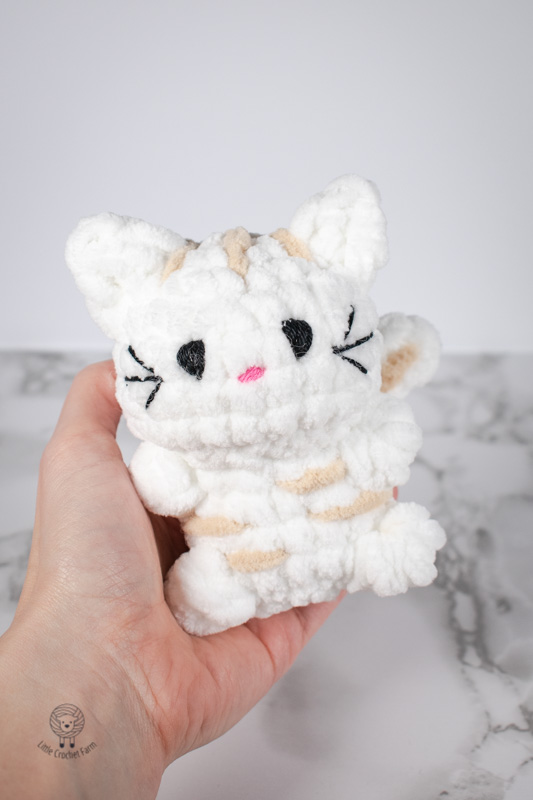
Credit: littlecrochetfarm.com
Adding Facial Features
Adding facial features brings your soft toy cat to life. The eyes and nose give it character and charm. Small details make a big difference in appearance. Choose a method that suits your skills and style. Both embroidery and attaching materials create cute, expressive faces. Keep the design simple for a friendly look. Careful work ensures safety and durability.
Embroidering Eyes And Nose
Embroidery offers a soft, safe way to create facial features. Use embroidery floss and a needle to stitch the eyes and nose. Simple stitches like satin or backstitch work well. Pick thread colors that contrast with the fabric. Small, neat stitches give a clean finish.
- Draw the shapes lightly on the fabric first.
- Fill the eyes with satin stitch for a smooth look.
- Use a few stitches for the nose to keep it small.
- Secure the thread tightly to avoid unraveling.
This method is perfect for toys made for young children. It avoids small parts that could be swallowed. Embroidery also adds a handmade touch to your toy cat.
Using Buttons Or Felt
Buttons or felt pieces add texture and color to the face. Choose small, flat buttons for eyes or cut felt shapes. Sew or glue these pieces carefully onto the face. Use fabric glue for felt or hand stitch buttons securely.
- Select buttons without sharp edges for safety.
- Cut felt into circles or ovals for eyes and a triangle for the nose.
- Use matching thread colors to blend stitches.
- Attach pieces firmly to prevent them from coming off.
This method creates a playful, bright look. Felt allows easy customization with different colors. Buttons add a classic, polished finish. Both options offer quick ways to decorate your soft toy cat’s face.
Finishing Touches
Finishing touches bring your soft toy cat to life. They ensure your creation stays intact and adds personality that makes it unique. Paying attention to these final details can transform a simple toy into a cherished companion.
Securing Seams
Strong seams keep your soft toy cat from falling apart during play. Double stitching the edges is a reliable way to make sure the fabric holds up well over time. You can also use a backstitch, which is tighter and more durable than a regular running stitch.
After sewing, gently pull on the seams to test their strength. If you find any weak spots, reinforce them immediately. This step saves you from surprises later when your soft toy faces some rough cuddling.
Optional Accessories
Adding accessories can give your soft toy cat character and charm. Consider sewing on a tiny felt collar or attaching a small bell to make it more playful. You can also add embroidered whiskers or use fabric paint to create unique patterns on the fur.
Think about what makes your cat special. Would it wear a bowtie or have a little patch on its ear? These small additions invite you to get creative and personalize your soft toy exactly how you want it.
Care Tips For Longevity
Soft toy cats bring joy and comfort to many. Keeping them in good shape ensures they last longer. Here are some simple care tips to maintain their charm and softness over time.
Cleaning Instructions
Keep your soft toy cat clean with gentle washing. Use mild soap and lukewarm water. Avoid using hot water to prevent damage. Hand wash the toy to maintain its shape and texture. Rinse thoroughly to remove soap residue. For drying, use a towel to absorb excess water. Air dry the toy in a shaded place. Avoid direct sunlight, which can fade the colors. Do not use a dryer. It can warp the stuffing or fabric.
Storage Advice
Store your soft toy cat properly to maintain its quality. Choose a dry and cool place away from direct sunlight. Use a breathable storage bag for protection from dust. Avoid plastic bags that can trap moisture and cause mildew. Keep the toy away from pets to prevent accidental damage. Regularly check for any signs of wear or loose threads. Repair them promptly to extend the toy’s life.

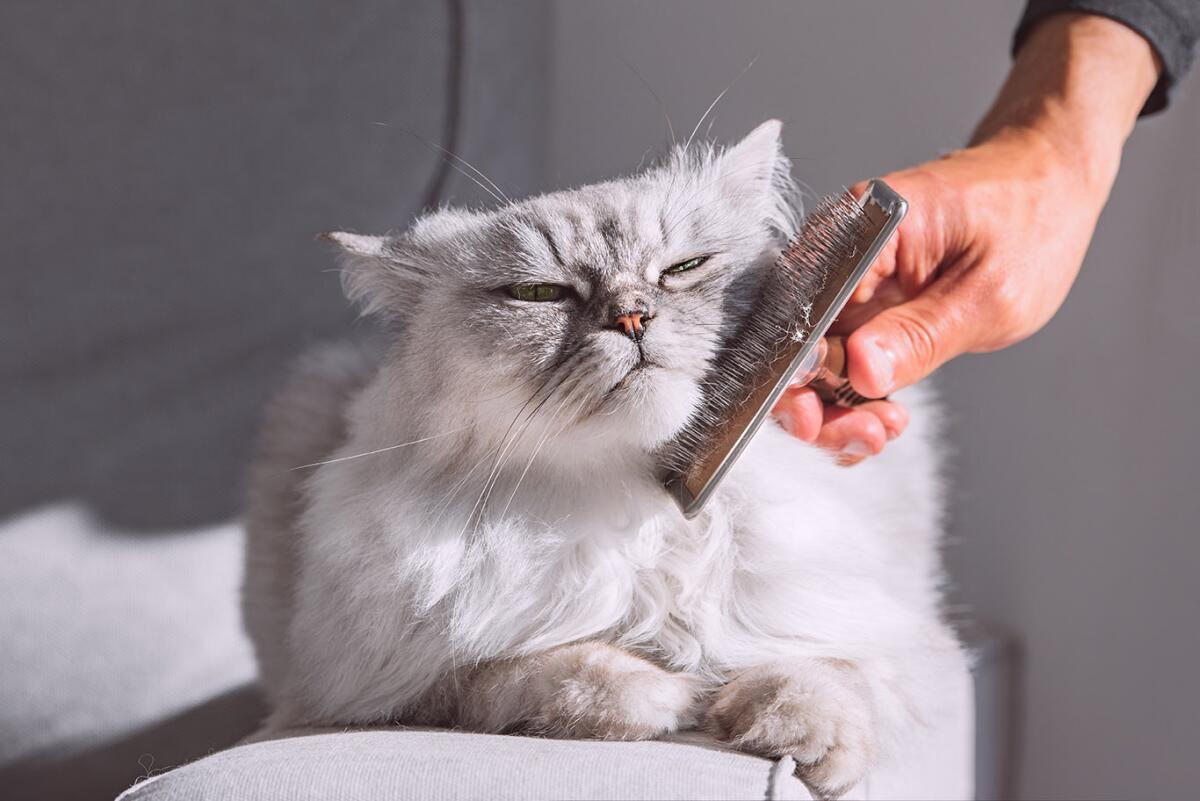
Credit: dailydoll.shop
Frequently Asked Questions
What Materials Are Needed To Make A Soft Toy Cat?
You need fabric, stuffing, thread, scissors, and sewing needles. Optional materials include buttons or felt for eyes and nose. Choose soft, durable fabric for a cuddly toy cat. Quality materials ensure a safe, long-lasting soft toy.
How Do I Sew The Soft Toy Cat Parts?
Cut fabric pieces using a pattern. Sew edges together inside out, leaving a gap for stuffing. Turn the fabric right side out before stuffing. Finally, sew the gap closed securely to finish the toy.
What Stuffing Is Best For A Soft Toy Cat?
Polyester fiberfill is the most popular stuffing for soft toys. It is lightweight, hypoallergenic, and washable. Avoid using materials that can clump or cause allergies. Proper stuffing gives the toy a soft, cuddly feel.
How Long Does It Take To Make A Soft Toy Cat?
Making a soft toy cat usually takes 2 to 4 hours. Time varies based on skill level and complexity of the design. Beginners may take longer, while experienced crafters can finish faster.
Conclusion
Making a soft toy cat is fun and simple. You only need some fabric, thread, and stuffing. Follow each step with care to get the best result. Take your time to sew neatly and add details. This project brings joy and a cute toy to keep.
Try different colors or sizes to make it unique. Enjoy crafting and share your soft toy cat with friends or family. Keep practicing, and your skills will improve every time.


Leave a Reply