Do you want to create a cat cuddly toy that feels soft, cute, and just right for hugging? Imagine holding a little friend you made with your own hands—something perfect to brighten your day or gift to someone special.
Making your own cat cuddly toy is easier than you think, and it’s a fun way to bring your creativity to life. Keep reading, and you’ll discover simple steps to craft a toy that’s full of charm and comfort. Your new favorite cuddle buddy is waiting!
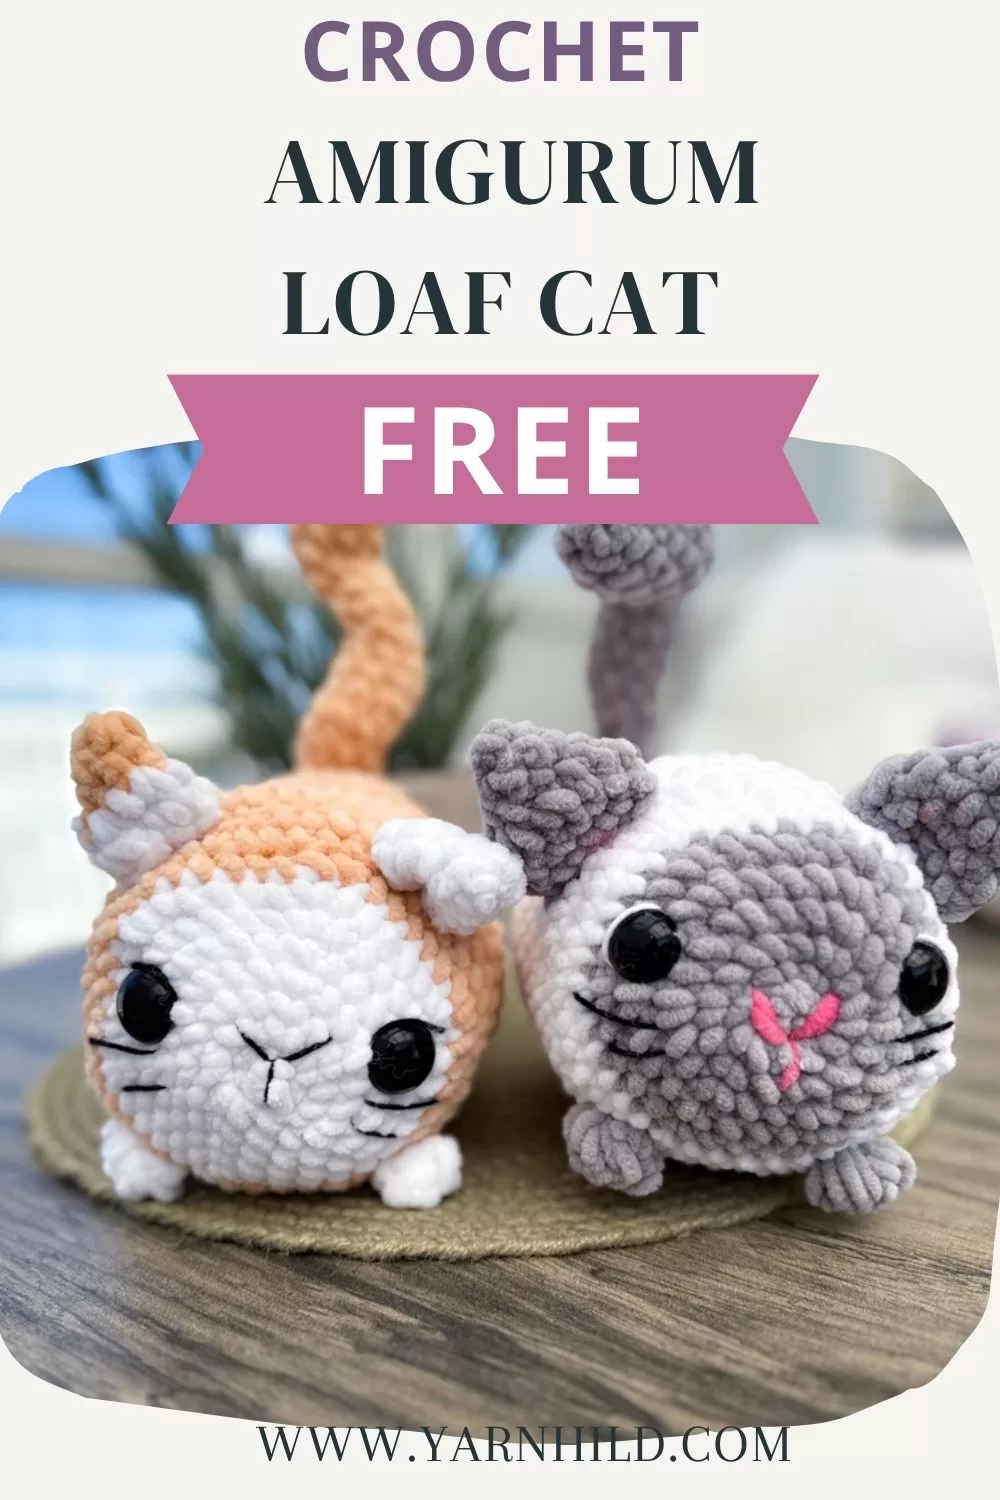
Credit: yarnhild.com
Materials Needed
Gathering the right materials is the first step to make a soft, cuddly cat toy. Choosing good fabrics and filling ensures your toy feels nice and lasts long. You also need some basic tools to sew and decorate the toy.
Fabric Choices
- Cotton: Soft and easy to sew, great for beginners.
- Fleece: Very soft and cuddly, holds shape well.
- Felt: Easy to cut and glue, good for small parts.
- Minky fabric: Plush and smooth, perfect for a luxurious feel.
- Old clothes or scraps: Eco-friendly and budget-friendly option.
Stuffing Options
- Polyester fiberfill: Lightweight, fluffy, and hypoallergenic.
- Cotton batting: Natural, soft, and breathable.
- Fabric scraps: Reuse small pieces for stuffing.
- Wool roving: Warm and natural, but can be pricey.
- Beans or rice: For a weighted toy, inside a small pouch.
Additional Supplies
- Sewing needles and thread matching the fabric color.
- Scissors for cutting fabric precisely.
- Pins or clips to hold pieces together while sewing.
- Fabric markers or chalk for drawing patterns.
- Buttons or safety eyes for the cat’s eyes (optional).
- Embroidery floss for details like nose and mouth.
- Hot glue gun for quick fixes and attaching small parts.
Credit: www.etsy.com
Preparing The Pattern
Preparing the pattern is a crucial stage in making your cat cuddly toy come to life. It sets the foundation for the size, shape, and overall look of your creation. Taking time here saves frustration later and helps you achieve a toy that feels just right in your hands.
Choosing A Design
Start by thinking about what kind of cat you want to create. Do you prefer a realistic look or something more cartoonish and playful? Consider your skill level too—simpler shapes are easier to sew and stuff well.
Look through pictures or sketches of cats to find inspiration. You might even mix features from different cats you know to make your toy unique. What kind of personality do you want your cuddly cat to have?
Drawing The Template
Once you have a design in mind, sketch the parts of your cat on paper. Break it down into basic shapes like the body, head, ears, legs, and tail. Keep your lines clear and smooth to make cutting easier later.
Make sure to add seam allowances—about 0.5 to 1 cm outside your drawing lines—so you have space to sew. Label each piece to avoid confusion during assembly. I once skipped labeling and ended up sewing the tail upside down!
If you want, trace your final sketch on sturdy cardboard or thick paper. This makes your template reusable and more durable as you cut fabric multiple times.
Cutting The Fabric
Lay your template flat on the fabric and pin it securely to prevent shifting. Choose soft, cuddly fabric like fleece or minky for a cozy feel. Remember to place the template on the fabric’s right side if your fabric has a pattern or texture.
Cut carefully around the edges of the template, following your seam allowances. Sharp fabric scissors make a big difference—dull scissors can cause jagged edges. Double-check you have all the pieces before moving on to sewing.
Have you ever felt frustrated because a fabric piece stretched or shifted while cutting? Using pattern weights or multiple pins can help keep everything stable.
Sewing The Pieces
Sewing the pieces of your cat cuddly toy is where your creation starts to take shape. It’s about joining the fabric parts carefully so the final toy looks neat and feels soft to touch. Paying attention to every stitch will make your toy durable and perfect for endless cuddles.
Pinning And Stitching
Pin the fabric pieces together before sewing to keep everything aligned. Use straight pins or clips, placing them perpendicular to the edges so they don’t get in your way when stitching. This simple step prevents the fabric from shifting and saves you from uneven seams.
Choose a stitch length that’s not too long; smaller stitches hold the fabric better and make the toy sturdier. If you’re hand sewing, use a backstitch for strength. Don’t rush—take your time to keep your stitches consistent and tight.
Leaving An Opening
Always leave a small gap unsewn to turn the fabric right side out and stuff the toy. A 2-3 inch opening is usually enough for this step. Mark this spot clearly before sewing to avoid accidentally stitching it closed.
Think about where the opening will be least visible once the toy is finished. The back or underbelly of your cat cuddly toy usually works best. This way, the opening won’t distract from your toy’s cute design.
Seam Tips
- Trim seam allowancesto reduce bulk, especially around curves like the head and paws.
- Clip curvescarefully without cutting into the stitches to help the fabric lay flat once turned.
- Press seamsopen with an iron to create a smooth edge—this makes stuffing easier and gives a polished look.
- Double stitchareas that will get extra wear, like the ears or tail, for added durability.
Have you noticed how small details like clipping curves can make stuffing easier and your toy look more professional? Paying attention to these seam tips can really elevate your sewing project and make your cat cuddly toy a favorite for years.

Credit: www.youtube.com
Adding Stuffing
Adding stuffing to your cat cuddly toy is a crucial step that brings it to life. The right stuffing gives the toy its soft, huggable shape and ensures it feels just right to hold. How you choose and add the filling will affect the toy’s comfort and durability.
Choosing The Right Fill
Not all stuffing materials are created equal. Polyester fiberfill is popular for its softness and ease of use, making your cuddly toy squishy and light. Cotton stuffing offers a natural feel but can be denser and heavier, changing how the toy feels in your hands.
Consider hypoallergenic options if the toy is for a child or someone with sensitivities. You might also want to add a small amount of fabric scraps inside to give the toy a bit more weight and texture. What kind of feel do you want when you hold your cuddly cat?
Filling Evenly
Stuffing evenly is key to avoiding lumps and misshapen parts. Start by adding small amounts and gently push the stuffing into corners and narrow spaces. Use a chopstick or the back of a pencil to reach tricky spots without tearing the fabric.
Take your time to spread the stuffing so the toy holds a smooth, consistent shape. Test by squeezing and feeling for firm or empty areas. How does the toy feel in your hands now? Adjust until every part feels just right.
Securing The Opening
After stuffing, closing the opening neatly will keep the stuffing secure and your toy looking polished. Use a ladder stitch or invisible stitch to sew the gap shut by hand. This stitch hides the thread and keeps the seam strong, even after many hugs.
If you want extra security, double knot your thread at the end and trim any excess. A well-closed opening means your cuddly cat will last longer and stay cuddly no matter how much it’s loved. Are you ready to give your toy its final, cozy form?
Creating Facial Features
Facial features bring a cat cuddly toy to life. Use simple stitches for eyes, nose, and mouth. Soft fabric and careful shaping make it look friendly and cute.
Creating Facial Features Crafting the facial features of your cat cuddly toy is where you can truly let your creativity shine. It’s these features that will give your toy its personality and charm. Whether you choose embroidery, buttons, or felt, each method offers a unique look and feel.Embroidery Techniques
Embroidery can add a delicate and detailed touch to your cat’s face. Start by sketching the features on the fabric with a washable marker. Use a simple backstitch for outlines, and a satin stitch for filling in areas like the nose. Choose thread colors that stand out yet complement your fabric. A contrasting color can make features pop. If you’re new to embroidery, practice on a scrap piece of fabric first.Using Buttons And Felt
Buttons make great eyes, adding a classic and whimsical touch. Be sure to sew them on securely. Felt can be cut into various shapes for noses, mouths, and even whiskers. Mix and match materials for a playful look. Felt is easy to work with and can be glued or sewn onto your fabric. Consider layering different colors of felt for depth.Safety Considerations
Safety should always be a top priority, especially if the toy is for a child. Secure all embellishments tightly to prevent any choking hazards. Opt for embroidery or felt for younger children, as buttons might pose a risk. Always test the sturdiness of your attachments by giving them a gentle tug. Creating a safe yet adorable toy ensures endless cuddles and peace of mind. Are there other ways you enhance safety without compromising on creativity?Final Touches
The final touches make your cat cuddly toy truly special. These steps bring life and charm to your creation. Small details enhance the look and feel. They also improve durability and ease of care.
Adding Accessories
Choose simple accessories to give character to the toy. Tiny bows, collars, or buttons work well. Sew or glue them securely to avoid choking hazards. Use soft materials to keep the toy cuddly. Avoid sharp or hard objects that might hurt.
Brushing And Shaping
Brush the fabric gently to smooth out wrinkles. Use a soft brush to keep the fluff neat. Shape the toy by adjusting the stuffing inside. Make sure the toy feels firm but soft. Check all seams to ensure they are tight and even.
Care Instructions
Teach how to keep the toy clean and safe. Hand wash with mild soap and cold water. Air dry the toy, avoiding direct sunlight. Spot clean stains quickly to prevent damage. Store the toy in a dry place to avoid mold.
Frequently Asked Questions
What Materials Are Needed To Make A Cat Cuddly Toy?
You need soft fabric, stuffing, thread, needles, and scissors. Optional items include buttons or felt for eyes and nose. Choose non-toxic, pet-safe materials to ensure safety and comfort for your cat.
How Do I Sew A Cat Cuddly Toy Step-by-step?
Cut fabric pieces, sew them inside out leaving a gap. Turn inside out, stuff with filling, then sew the gap closed. Add details like eyes or whiskers last for a realistic look.
Can I Customize The Cat Cuddly Toy’s Size And Color?
Yes, you can choose any size and color fabric. Use patterns or freehand cut shapes for customization. Personalizing makes the toy unique and better suited to your cat’s preferences.
How Do I Ensure The Toy Is Safe For Cats?
Use non-toxic, durable materials and secure all small parts tightly. Avoid loose threads or buttons that cats can swallow. Regularly inspect the toy for wear and replace if damaged.
Conclusion
Making a cat cuddly toy is fun and simple. You can choose soft fabric and bright colors. Sewing pieces together step by step helps keep it neat. Stuff the toy gently to make it huggable. Personal touches make your toy special and unique.
Enjoy crafting and sharing your cozy creation with others. Small efforts bring big smiles. Try making one today and see how much joy it brings!


Leave a Reply