Looking for a fun and easy way to keep your cat entertained? Making a catnip cat toy at home is a great idea!
You’ll not only save money but also create something your furry friend will love. Imagine your cat pouncing, rolling, and playing happily with a toy you made yourself. Ready to discover how simple it is? Keep reading, and you’ll learn step-by-step how to make a catnip cat toy that will bring endless joy to your pet.
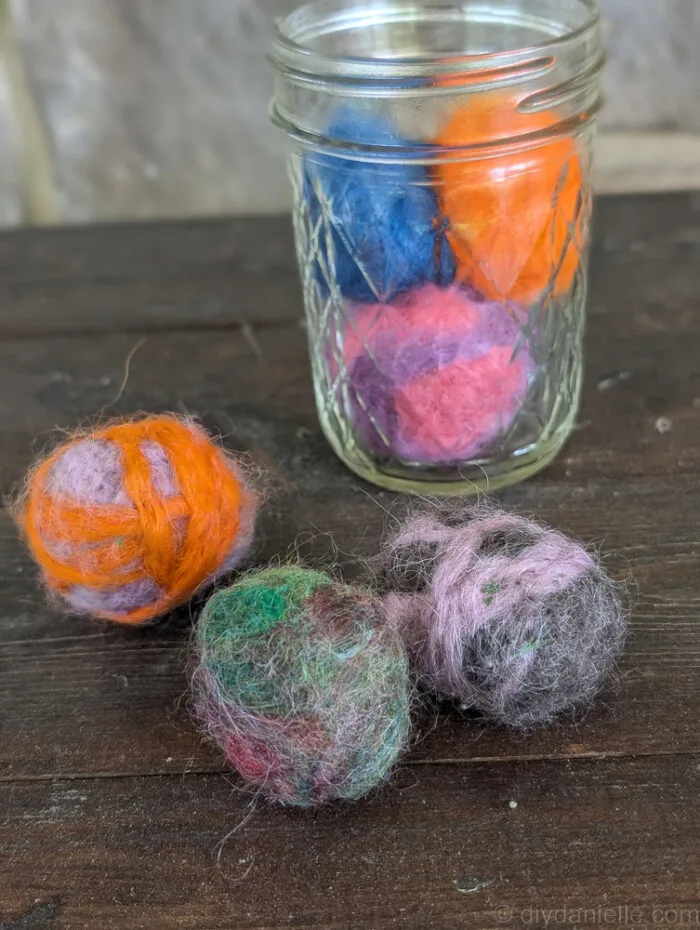
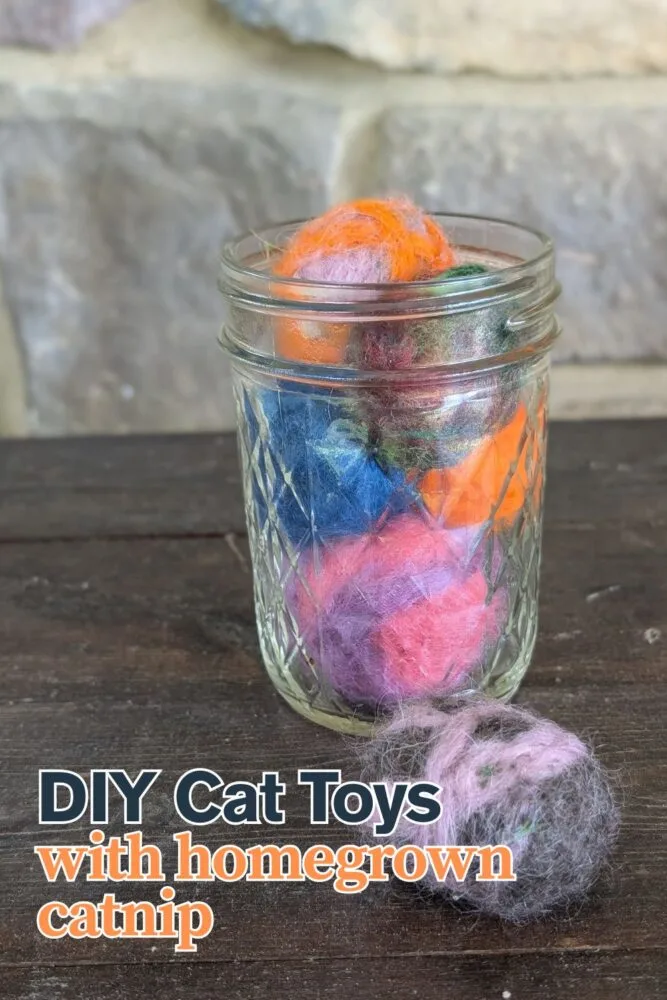
Credit: diydanielle.com
Materials Needed
Gathering the right materials sets the foundation for creating a catnip cat toy that your feline friend will adore. Choosing quality ingredients not only ensures safety but also boosts the toy’s appeal to your cat’s senses. Let’s look at what you’ll need to get started.
Catnip Options
Fresh catnip leaves bring a natural scent that cats love, but dried catnip is often more potent and longer-lasting. You might also find organic catnip, which is free from pesticides and chemicals, ideal for your pet’s health. Some pet stores offer catnip-filled sachets or pellets, which can be convenient if you want to skip the mess.
Fabric Choices
Choosing the right fabric affects both the toy’s durability and how your cat interacts with it. Cotton and felt are popular because they’re soft yet sturdy enough to withstand scratching and biting. Avoid fabrics with loose threads or harsh chemicals—your cat will likely chew on the toy, so safety is key.
Additional Supplies
You’ll need a needle and thread to sew the toy, or a sewing machine if you prefer faster assembly. Scissors for cutting fabric and a small funnel or spoon to fill the toy with catnip come in handy. Consider adding a bit of stuffing or crinkly paper for extra texture—cats often love toys that engage multiple senses.
Preparing The Fabric
Preparing the fabric is a crucial step in making a catnip cat toy that your feline friend will truly enjoy. The right fabric can hold the catnip well and stand up to your cat’s playful claws. Taking your time here ensures the toy lasts longer and keeps your cat engaged.
Cutting To Size
Choose a fabric piece that’s easy to handle and durable enough for play. A 4×4 inch square is a perfect starting size for most catnip toys. It’s big enough to contain the catnip and small enough for your cat to carry around.
Cutting clean, straight edges helps when sewing or gluing the toy together. If you want, you can also cut slightly larger pieces to leave room for seams or stuffing. Have you noticed how cats prefer toys that fit comfortably in their paws? That’s why size matters.
Choosing Shapes
Simple shapes like squares, rectangles, or circles work best for catnip toys. They’re easy to cut and sew, especially if you’re new to crafting. Odd shapes might look fun but can be tricky to assemble and less durable.
Try experimenting with shapes like small hearts or fish outlines once you feel confident. These add a personal touch and can catch your cat’s interest visually. What shape do you think your cat would love to bat around the most?
Filling The Toy
Filling the catnip toy properly is key to making a fun and safe plaything for your cat. You want the toy to be full enough to hold its shape but soft enough for your cat to bat around. Let’s look at how to add the essential ingredients that make the toy irresistible.
Adding Catnip
Start by choosing good quality dried catnip. Freshness matters because the scent is what attracts your cat. Sprinkle a generous amount inside the fabric before sealing the toy.
If you want your cat to stay interested, try mixing catnip with a little silvervine or valerian root. These herbs can boost the toy’s appeal and keep your cat coming back for more.
Using Stuffing
Stuffing gives the toy shape and makes it fun to squeeze and toss. Use soft materials like cotton batting or polyester fiberfill. Avoid anything too hard or sharp that could hurt your cat if the toy breaks open.
Fill the toy enough so it feels solid but still squeezable. You can also add small crinkly materials inside for extra fun sounds. Have you noticed how some cats love the noise more than the catnip itself?
Credit: www.kittykickstix.com
Sewing Techniques
Create a simple catnip toy using basic sewing techniques. Cut fabric into small shapes and sew the edges. Fill with catnip and secure the opening. Your cat will enjoy this handmade toy.
Creating a catnip cat toy is a delightful project, combining creativity with practicality. Sewing techniques play a crucial role in ensuring your toy is both durable and attractive. Whether you’re hand sewing or using a machine, each method offers unique benefits and challenges. Let’s dive into the specifics of each technique to help you craft the perfect toy for your feline friend.Hand Sewing Tips
Hand sewing allows you more control and precision, especially when working on small, intricate designs. It’s also perfect for those who find machine sewing intimidating or enjoy the therapeutic rhythm of hand stitching. To make your stitches strong, use a double thread and knot it securely. Choose a sturdy needle that suits the fabric you’re using. A sharp needle makes it easier to sew through thicker materials like felt or denim. Practice the backstitch technique for a durable seam; it mimics the strength of a machine stitch, ensuring your toy withstands plenty of playtime.Using A Sewing Machine
Using a sewing machine speeds up the process significantly and offers clean, professional-looking seams. If you’re new to sewing machines, start with a simple straight stitch. It’s ideal for sewing the edges of your cat toy and ensuring a snug fit for the catnip inside. Adjust the machine’s tension settings to match your fabric’s thickness. Too tight, and the fabric might pucker; too loose, and the stitches may be weak. Use a universal needle for lightweight fabrics or switch to a heavier needle for sturdier materials. Both hand and machine sewing have their place in crafting cat toys. Which technique resonates more with your style?Finishing Touches
Adding the finishing touches to your catnip cat toy is crucial for both durability and appeal. This stage ensures the toy lasts through many playful sessions and catches your cat’s attention every time. Let’s dive into how you can secure the toy properly and add decorative elements that make it irresistible to your feline friend.
Securing Seams
Strong seams keep the catnip safely inside and prevent stuffing from escaping. Use a tight stitch like a backstitch or double stitch along all edges. If you’re sewing by hand, keep your stitches close together—about 1/8 inch apart—to avoid gaps.
Thinking about using glue? Avoid it near your catnip toy, as it can be harmful if ingested. Instead, focus on sewing techniques that hold up well to biting and clawing. You might also want to reinforce stress points, such as corners or where the toy will get the most action.
Decorative Elements
Adding simple decorations can make your toy more appealing and unique. Consider using colorful fabric scraps or small bells sewn securely inside the toy for extra fun. Just make sure any additions are safe, non-toxic, and firmly attached to avoid choking hazards.
Have you noticed your cat’s favorite colors or textures? Incorporate those to make the toy more inviting. Sometimes, adding a small feather or a strip of soft ribbon can turn a plain toy into your cat’s new favorite plaything.

Credit: www.youtube.com
Toy Variations
Creating a catnip toy opens up a world of fun possibilities beyond just stuffing fabric with catnip. The way you design the toy can make a huge difference in how your cat interacts with it. By experimenting with different shapes and added features, you can keep your feline friend curious and engaged for hours.
Different Shapes
Try making catnip toys in various shapes to see which one excites your cat the most. Simple shapes like mice, balls, or fish are easy to sew and often become instant favorites. If your cat loves to pounce, consider a flat, mouse-shaped toy that fits perfectly under their paws.
You can also get creative with shapes like stars, hearts, or even tiny pillows. These shapes change the way the toy moves and feels, making playtime more interesting. Have you noticed if your cat prefers toys they can bat around or those they like to cuddle with? Use that to guide your shape choices.
Adding Bells Or Strings
Adding a small bell inside the toy can make playtime more exciting by adding sound to the mix. The jingling noise triggers your cat’s hunting instincts and encourages more interaction. Just make sure the bell is securely sewn in to avoid any choking hazards.
Strings or ribbons attached to the toy can also boost your cat’s interest. They love to chase and grab dangling things, so a string can turn a simple catnip pouch into an engaging chase toy. How do you think your cat would react to a toy that moves unpredictably when they bat it?
Safety Tips
Keeping your cat safe while enjoying a homemade catnip toy is very important. Safety helps prevent harm and keeps your pet happy. Always choose the right materials and watch your cat during play. Here are key safety tips to follow.
Non-toxic Materials
Use only materials safe for cats. Natural fabrics like cotton or felt work well. Avoid plastics or synthetic fabrics that can cause allergies. Choose organic catnip without chemicals. Check all stuffing to ensure it is non-toxic and clean. Stay away from small parts that can be swallowed.
Supervision Guidelines
Watch your cat while playing with the toy. Supervision helps catch problems early. Remove the toy if it becomes torn or damaged. Do not leave the toy with your cat overnight. Keep an eye on chewing to prevent choking risks. Replace the toy regularly for safety and freshness.
Cleaning And Maintenance
Keeping your catnip cat toy clean is key to your cat’s health and fun. Dirt and oils can build up on the toy. This may reduce the catnip’s smell and make the toy less safe. Regular cleaning keeps the toy fresh and safe for your cat to enjoy.
Washing Instructions
Hand washing is best for catnip toys. Use mild soap and warm water. Gently scrub the toy’s surface. Avoid soaking the toy for too long. Rinse well to remove all soap. Let the toy air dry completely before giving it back to your cat. Machine washing can damage the toy or reduce the catnip’s scent.
Refreshing Catnip
Catnip loses its scent over time. Refresh the toy by adding new catnip inside. Open the toy’s seam or pouch carefully. Add a small amount of dried catnip. Seal it tightly to keep the scent inside. You can also sprinkle a bit of catnip on the toy’s surface. This keeps your cat interested and playful.
Frequently Asked Questions
What Materials Do I Need To Make A Catnip Cat Toy?
You need fabric, dried catnip, needle, thread, and scissors. Choose soft, durable fabric for safety and comfort. Use dried catnip for a strong scent that attracts cats.
How Do I Safely Fill A Catnip Toy?
Fill the toy with a small amount of dried catnip. Avoid overfilling to prevent spillage. Sew the toy securely to keep catnip inside during play.
Can I Use Fresh Catnip In Toys?
Fresh catnip is less effective and wilts quickly. Dried catnip retains scent longer, making it better for toys. Use dried catnip for lasting cat interest and enjoyment.
How Often Should I Replace Catnip In Toys?
Replace catnip every few weeks to keep the scent fresh. Over time, catnip loses potency, reducing your cat’s interest. Refreshing catnip maintains your cat’s excitement and playfulness.
Conclusion
Making a catnip cat toy is simple and fun. You only need a few materials and some time. Cats love the smell and will enjoy playing with it. Homemade toys can keep your cat happy and active. Plus, you save money by making them yourself.
Try different shapes and sizes to find what your cat likes best. Enjoy watching your furry friend have fun with a toy you made. Give it a try today!


Leave a Reply